Scripts and Code for Let’s Talk Explained
To facilitate the full screen experience a manifest.JSON file was created. This allowed for the application to open without the browser container, once the website is added to the homepage.
{
  "short_name": "Let's Talk ",
  "name": "Let's Talk - Sex Ed for Kids",
  "icons": [
    {
      "src": "logoapp.jpg",
      "sizes": "192x192",
      "type": "image/jpg"
    }
  ],
  "start_url": "/index.html",
  "display": "standalone",
  "orientation": "landscape"
}
The index.html file is displayed when a user isn’t logged in, it consists of a form that facilitates user login into the application. This form links back to a database of users, the only user currently created demouser and this user must log in with the passcode demouser1. This document links to both my own style in style.css and Font Awesome’s all.css which is where the login person icon and lock icon come from. Font Awesome CDN is a very quick and easy way to insert simple icons onto your webpage. This document then contains a form which links to ‘authenticate.php’, which processes the data gathered by the form. This form requires only two inputs, the username and the password, and the form method POST is used. The submit button has the value of “login”, but it simply submits the data entered into the form to be processed in ‘authenticate.php’.
<html>
<head>
<meta charset="utf-8">
<title>Login</title>
<link rel="stylesheet" href="https://use.fontawesome.com/releases/v5.7.1/css/all.css">
        <link href="style.css" rel="stylesheet" type="text/css">
</head>
<body id="index">
<div></div>
<div class="login">
<div><img src="assets/logo.png" id="logo" class="logo"></div>

<form action="authenticate.php" method="post">
<label for="username">
<i class="fas fa-user"></i>
</label>
<input type="text" name="username" placeholder="Username" id="username" required><br>
<label for="password">
<i class="fas fa-lock"></i>
</label>
<input type="password" name="password" placeholder="Password" id="password" required>
<br>
<input type="submit" value="Login">
</form>
</div>
<div></div>
</body>
</html>
The ‘authenticate.php’ file uses session_start(); to create a session or resumes the current one based on a session identifier passed via the POST request. Next it connects to the database, the below file is connecting to a database on the local host, for security reason to avoid displaying my webdevcit login online. If there is an error with this connection, the process will be stopped and the error message will be displayed. Next this script checks for the data submitted in the form elements, if this data isn’t set an error will display. If neither fields have been filled then the process will be stopped and the error message ‘You must enter both a username and password’ will display.Next we prepare our SQL statement using bind parameters (s = string, i = int, b = blob,). Bind parameters are a different way to insert data into a database using placeholders like “?”, and although it isn’t necessarily bad to input directly into a database, bind variables are more secure and can be more efficient. We then select the id and the password where the username is equal to ‘s’, the bind parameter string. We then execute the statement and store the result so that we can verify if that account exists in the database. If the username is present in that database we check that the password entered by the user corresponds with the one stored in the database. If they correspond the user is now logged in so we create a session to remember data on the server across pages and bring them to the home.php page. If the password isn’t correct a password error is displayed, if the username isn’t present on the database a username error is displayed. This is an example of nested if statements. This php file has been adapted from a tutorial by David Adams on login systems.(2019)
<?php
session_start();
$DATABASE_HOST = 'localhost';
$DATABASE_USER = 'root';
$DATABASE_PASS = '123';
$DATABASE_NAME = 'phplogin';
$con = mysqli_connect($DATABASE_HOST, $DATABASE_USER, $DATABASE_PASS, $DATABASE_NAME);
if ( mysqli_connect_errno() ) {
		die ('Failed to connect to MySQL: ' . mysqli_connect_error());
}
if ( !isset($_POST['username'], $_POST['password']) ) {
	die ('You must enter both a username and password');
}
if ($stmt = $con->prepare('SELECT id, password FROM accounts WHERE username = ?')) {
	$stmt->bind_param('s', $_POST['username']);
	$stmt->execute();
	$stmt->store_result();
    if ($stmt->num_rows > 0) {
	$stmt->bind_result($id, $password);
	$stmt->fetch();
	if ($_POST['password'] === $password) {
		session_regenerate_id();
		$_SESSION['loggedin'] = TRUE;
		$_SESSION['name'] = $_POST['username'];
		$_SESSION['id'] = $id;
		header('Location: home.php');
	} else {
		echo 'Incorrect password!';
	}
} else {
	echo 'Incorrect username!';
}
$stmt->close();
}
The Home.php file begins with a session start(); as we need to use sessions, we must then check if the user is logged in and if the are not we force them back to the login page. The rest of this page is relatively straightforward, grids are used to style the page with a sidecar, which contains the logout and display profile buttons. At the time of writing this blog post the final version of this screen has not been completed, yet all the fundamental elements of functionality are present. <?=$_SESSION[‘name’]?> gets the name of the user from the database and allows for the home screen to be customised for the user that is currently logged in.
<?php
session_start();
if (!isset($_SESSION['loggedin'])) {
	header('Location: index.html');
	exit();
}
?>
<!DOCTYPE html>
<html>
<head>
<meta charset="utf-8">
<title>Home Page</title>
<link href="style.css" rel="stylesheet" type="text/css">
<link rel="stylesheet" href="https://use.fontawesome.com/releases/v5.7.1/css/all.css">
</head>
<body class="loggedin">
 <div><img src="assets/logo.png" id="logoheader"></div>
        <nav class="navtop">
		<div class="side">
   <div class="profile1"><a class='profile'href="profile.php"><i class="fas fa-user-circle"></i>Profile</a></div><div></div>
<div class="logout1"><a class='logout'href="logout.php"><i class="fas fa-sign-out-alt"></i>Logout</a></div>
		</div></nav>

<div class="content">
			<p>Welcome back, <?=$_SESSION['name']?>!</p>
<div class="newuser">  New Here ? <a href="puberty.html">Begin Journey</a> </div></div>
</body></html>
The Profile page connects to the database and reproduces the users information onto the page. We begin this file by starting a session and redirecting logged out users to the index page. We then connect to the database in the same way we did in ‘authenticate.php’. This page is styled using the same grid technique as was used in home.php. At the time of this blog post, this page also had not been completed. Initially, it had been thought that another table in the database would be used to gather users scores and track their progression through the application. However, as there is at present only one possible user for the application because it is a prototype, it was decided that local storage would be an appropriate way to track the users progression through the application. This page shows example of retrieving data from both the database and local storage. Below, profile information is retrieved using the database, the user id is used here to select data from the database. This data is then displayed using <?=$_SESSION[‘name’]?>,<?=$email?>,<?=$password?>.Local storage is used to gather results from the various quizzes in the application, here an onload event triggers a function called scoreMe(); which checks for a score saved in local storage and gives feedback based on this score. This will be further developed to display medals and rewards based on scores achieved in tests, all the basic principles of this are evident from the below code.
<?php
<!--------PHP--------!>
session_start();
if (!isset($_SESSION['loggedin'])) {
	header('Location: index.html');
	exit();
}
$DATABASE_HOST = 'localhost';
$DATABASE_USER = 'root';
$DATABASE_PASS = '123';
$DATABASE_NAME = 'phplogin';
$con = mysqli_connect($DATABASE_HOST, $DATABASE_USER, $DATABASE_PASS, $DATABASE_NAME);
if (mysqli_connect_errno()) {
	die ('Failed to connect to MySQL: ' . mysqli_connect_error());
}
$stmt = $con->prepare('SELECT password, email FROM accounts WHERE id = ?');
$stmt->bind_param('s', $_SESSION['id']);
$stmt->execute();
$stmt->bind_result($password, $email);
$stmt->fetch();
$stmt->close();
?>
<!DOCTYPE html>
<html>
	<head>
		<meta charset="utf-8">
		<title>Profile Page</title>
		<link href="style.css" rel="stylesheet" type="text/css">
		<link rel="stylesheet" href="https://use.fontawesome.com/releases/v5.7.1/css/all.css">
	</head>
	<body class="loggedin">
         <div><a href="home.php"><img src="assets/logo.png" id="logoheader"></a></div>
		<nav class="navtop">
			<div class="side">
                <div class="profile1"><a class='profile'href="profile.php"><i class="fas fa-user-circle"></i>Profile</a></div>
                <div></div>
				<div class="logout1"><a class='logout'href="logout.php"><i class="fas fa-sign-out-alt"></i>Logout</a></div>
			</div>
		</nav>
        <script>

function scoreMe(){
var periodscore = localStorage.periodScore;
document.getElementById("periodscore").innerHTML= periodscore;
var perscore = document.getElementById("periodscore").innerHTML;
//console.log(periodscore);}
// var score = localStorage.getItem('myScore');
if( perscore == "undefined"){console.log("Test Not Taken");}
else if( perscore <= "3"){console.log("You Failed");}
else if( perscore == "4"){console.log("You Passed");
                         document.getElementById("periodsmedal").style.display=("block")
                         document.getElementById("periodsmedal").style.innerHTML=("You Passed")}
}

 function load() {
        console.log("load event detected!");
        scoreMe();
      }
      window.onload = load;
        </script>
<!--------CSS--------!>
<style>#periodsmedal{
border: 2px solid red;
display: none;
}</style>
<!--------HTML---------!>
<html>
<div id="periods">
<div id="periodsmedal">YAY</div>
<div id="periodscore"></div>
</div>
</html>

		<div class="details">
			<h2>Profile Page</h2>
			<div>
				<p>Your account details are below:</p>
				<table>
					<tr>
						<td>Username:</td>
						<td><?=$_SESSION['name']?></td>
					</tr>
					<tr>
						<td>Password:</td>
						<td><?=$password?></td>
					</tr>
					<tr>
						<td>Email:</td>
						<td><?=$email?></td>
					</tr>
				</table>
			</div>
		</div>
	</body>
</html>
This is the script that supports the book pages in the application, an example of which is shown below

The below functions support the audio, at this point in development only one voiceover was created, once the others have been created an array will be used to store the different audio for every page. When the book button is pressed, the page reads the audio. The onlaod function plays he background music on loop once the window is loaded
var readme = new Audio();
readme.src = "assets/voiceover.mp3";


window.onload = function() {
    document.getElementById("assets/my_audio").play();
}
The below function allows the text div to expand and retract. After user testing this function will be altered so that the div is expanded by default as opposed to retracted by default. This function works using the grid template column style to effect the portion of the screen that is taken up by the text div. The function stores the “container” div, which is the ones that contains the text, as variable y. The function then calls and if function that retracts the div if it;s expanded and expands it if its retracted.
function readMe(){
     var y = document.getElementById("container");
if(y.style.gridTemplateColumns == '4fr 7fr 1fr 0fr'){y.style.gridTemplateColumns = '1fr 10fr 1fr 0fr';
document.getElementById("view").style.display = "none";}
    else{y.style.gridTemplateColumns = '4fr 7fr 1fr 0fr';
    document.getElementById("view").style.display = "block";}
}


function Menu(){
    var x = document.getElementById("hiddenbuttons");
   if( x.style.display == "block"){
       x.style.display = "none";
  } else {
    x.style.display = "block";
  }
}
The menu button works in a similar way. By storing the hidden buttons div as a variable x, it when uses an if statement to hide them if they are displayed and display them if the are hidden.
Both these functions utilize if statements to allow the buttons to both complete and reverse a function
Functions for individual framework pages
Below are an example of some of the functions contained in framework.js that are called by specific framework pages only. These functions effects animations, styles or inner html of the pages to which they are associated. They all support the functionality in the center image elements of the pages.
function sun(){
if(document.getElementById("sun").style.top = "300px"){document.getElementById("sun").style.top = "100px";document.getElementById("sun").style.transitionDuration = "1s";}
else{
document.getElementById("sun").style.top = "300px"; }
}
function circle(){
document.getElementById("circle").style.display= "block";
}
function egg(){
document.getElementById("egg").style.animationName="egg";
}
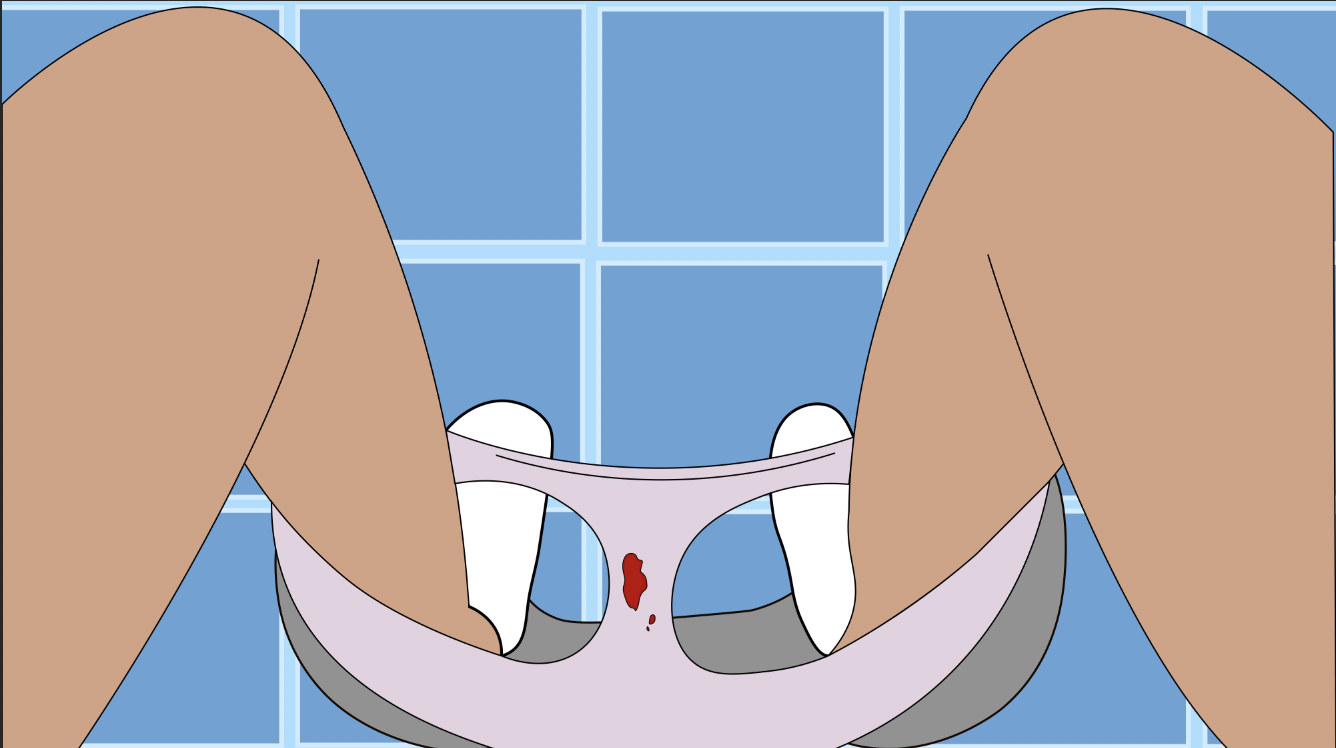
function blood(){
document.getElementById("egg").style.animationName="blood";
document.getElementById("blood").style.animationName="blood";
}
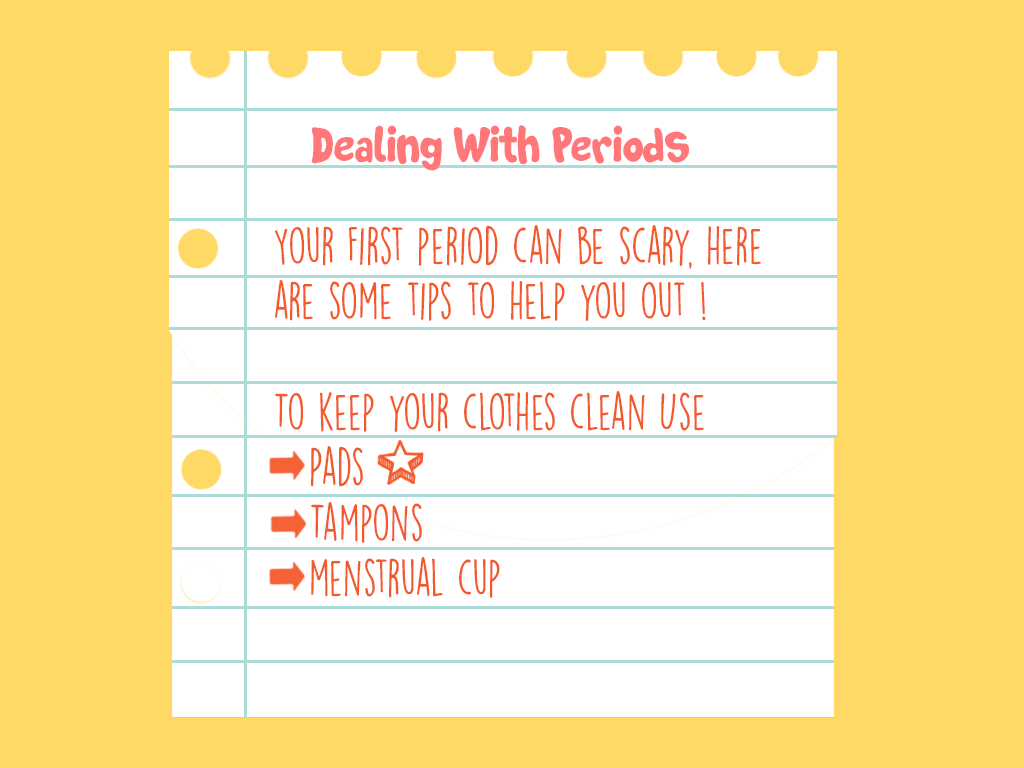
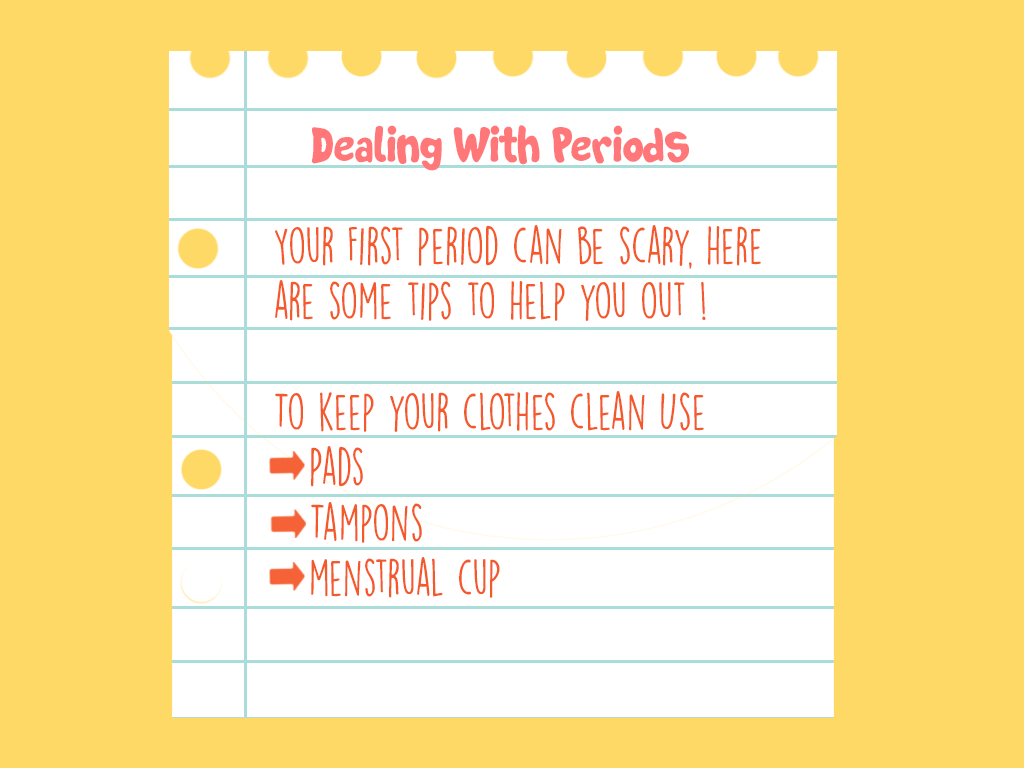
function pad(){
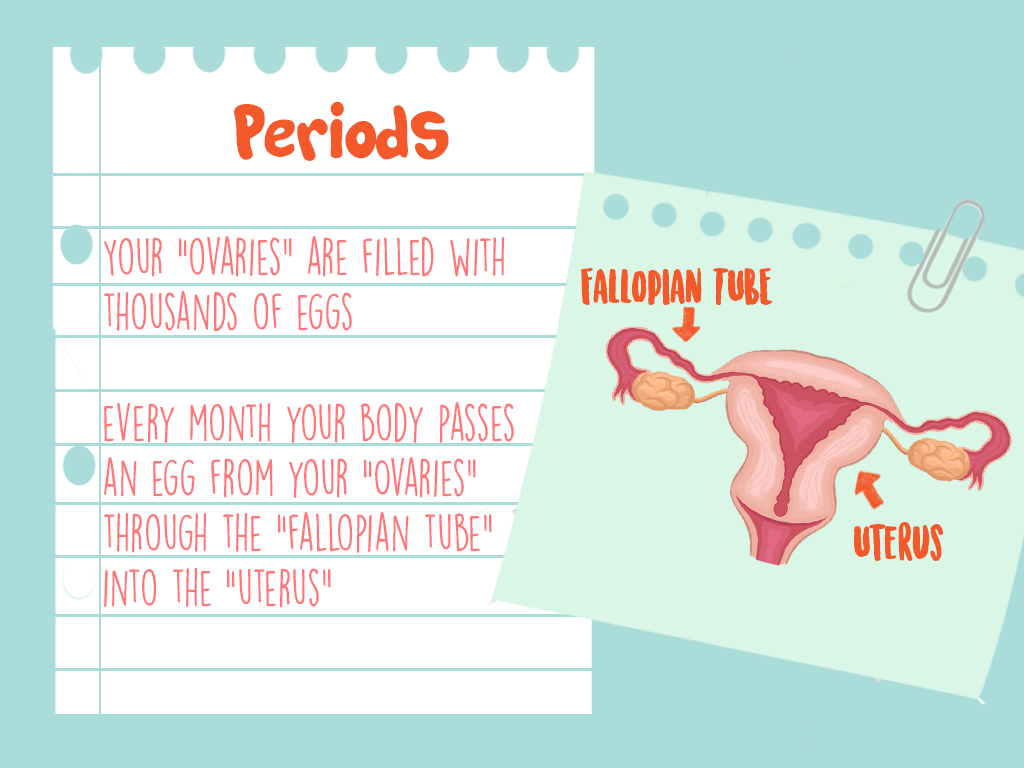
document.getElementById("info").style.display="block";
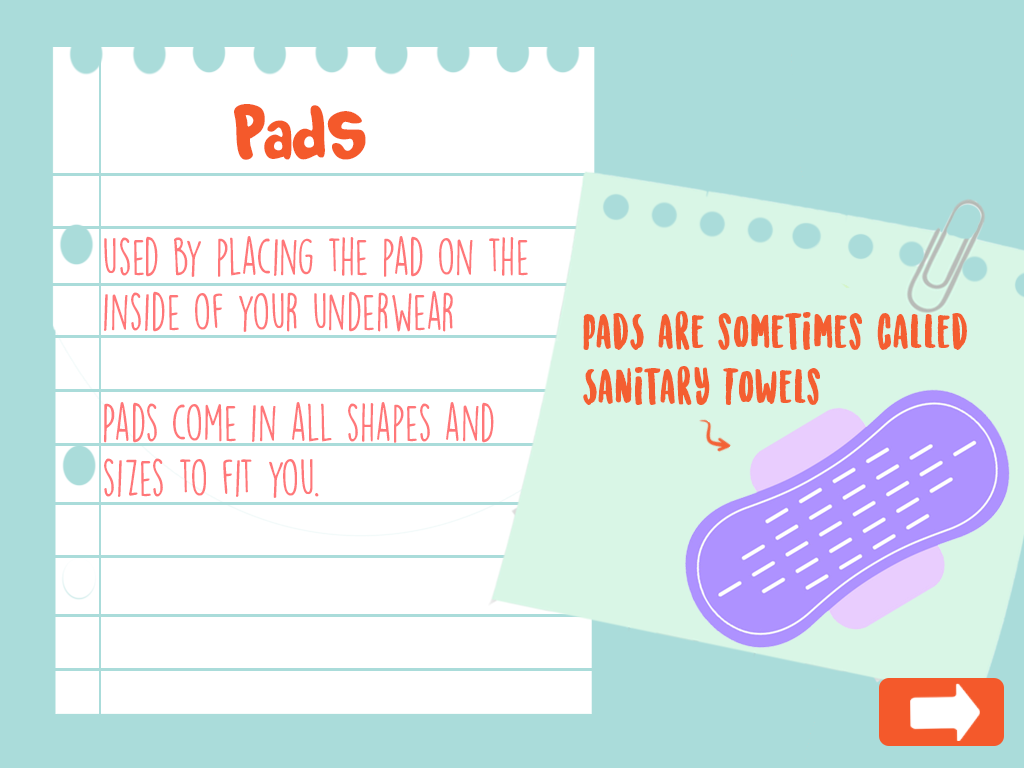
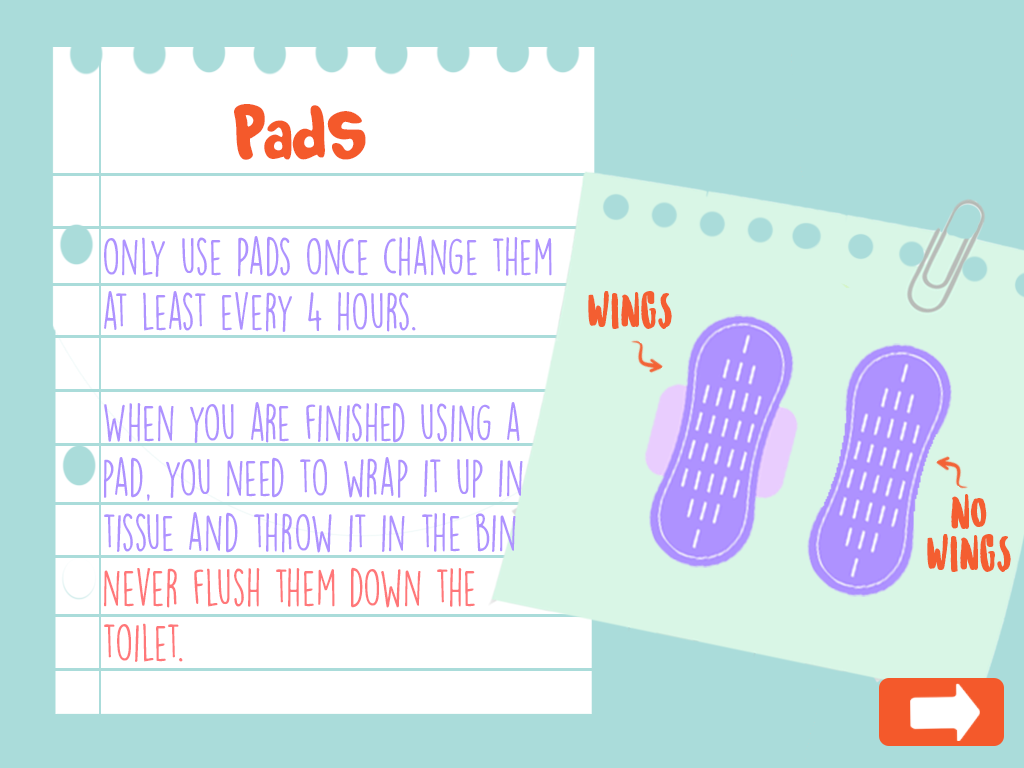
document.getElementById("infop").innerHTML="Used by placing the pad on the inside of your underwear where it can absorb the menstrual fluid as it leaves the vagina.Pads come in all shapes and sizes to fit you.Each pad should only be used once and should be changed at least every 4 hours.When you are finished using a pad, you need to wrap it up in tissue and throw it in the bin – never flush them down the toilet.";
document.getElementById("infohead").innerHTML="Pads";
}
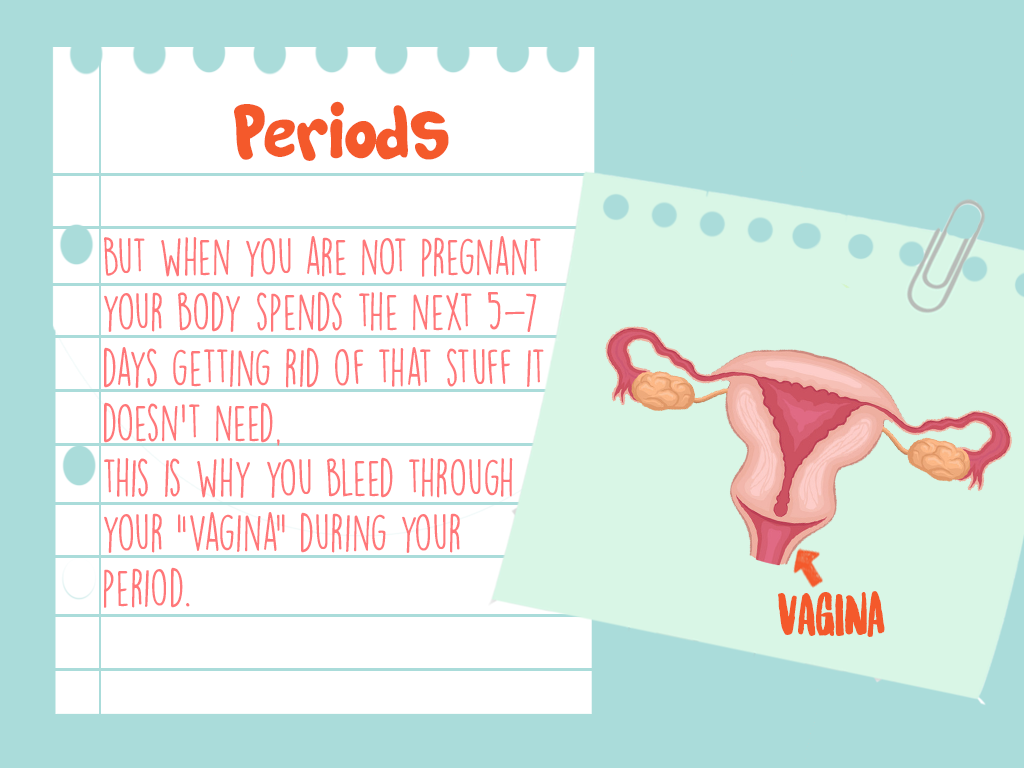
function tampon(){
document.getElementById("info").style.display="block";
document.getElementById("infop").innerHTML="Tampons are for inside the body and are inserted into the vagina. They absorb menstrual fluid as it is being released before it leaves the vagina. Each tampon must only be used once and changed every 4-6 hours or sooner if it is full. Some tampons come with applicators and some do not. Pick the one you feel most comfortable using. They also come in different sizes. If it’s your first period you may want to use slim or a thin tampon.";
document.getElementById("infohead").innerHTML="Tampons";
}
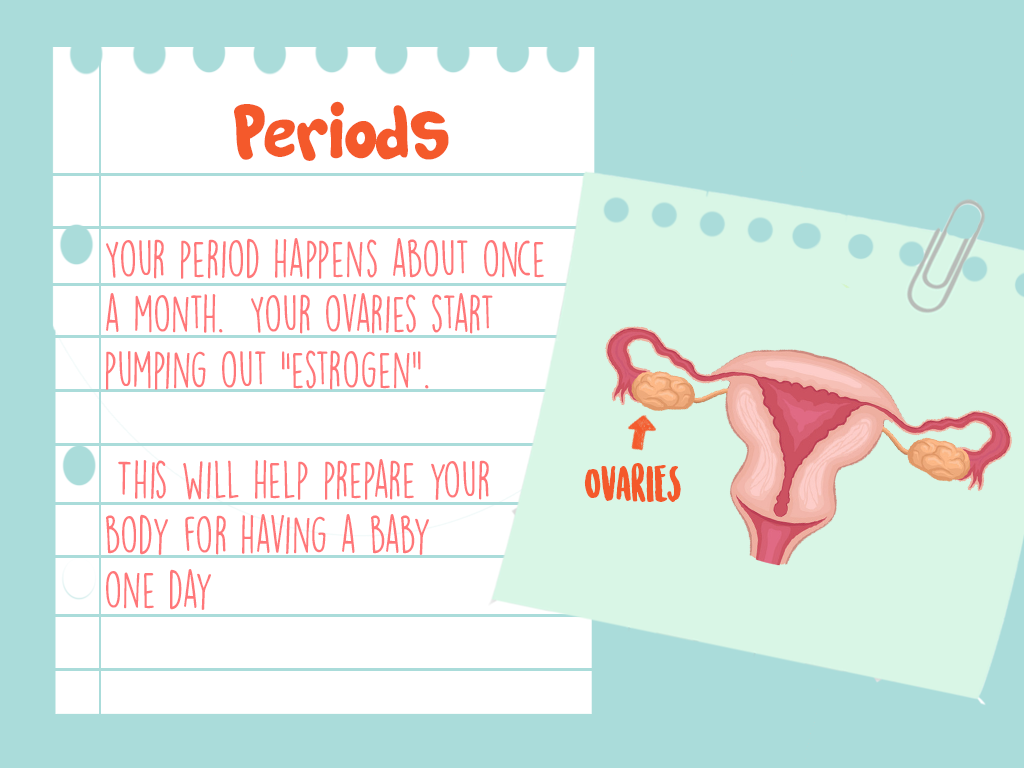
function menstrual(){
document.getElementById("info").style.display="block";
document.getElementById("infop").innerHTML="menstrual cups are for inside the body and are inserted into the vagina. Instructions with on the box will explain how to insert the cup. Cups do not come with an applicator, you will need to be comfortable touching your vagina to insert and remove the cup. Cups must be changed and cleaned every 12 hours and are reusable for up to a year. ";
document.getElementById("infohead").innerHTML="Menstrual Cup";
}
function hideInfo(){
document.getElementById("info").style.display="none";
}
function help(){
document.getElementById("help").animationName="bounceIn";
}
There were quizzes implemented in the application to test user understanding of the covered topics. These were facilitated using arrays which stored various questions and multiple choice answers, there were then displayed using javascript. When the quiz had been scored we added the score to local storage so it could be retrieved on the profile page. These pages all stored results to a different local storage variable. These quizzes were adapted from previous assignments and online tutorials . Below is the Javascript for one of the quizes
function Question(text, choices, answer) {
    this.text = text;
    this.choices = choices;
    this.answer = answer;
}

Question.prototype.isCorrectAnswer = function(choice) {
    return this.answer === choice;
}

function Quiz(questions) {
    this.score = 0;
    this.questions = questions;
    this.questionIndex = 0;
}

Quiz.prototype.getQuestionIndex = function() {
    return this.questions[this.questionIndex];
}

Quiz.prototype.guess = function(answer) {
    if(this.getQuestionIndex().isCorrectAnswer(answer)) {
        this.score++;
    }

    this.questionIndex++;
}

Quiz.prototype.isEnded = function() {
    return this.questionIndex === this.questions.length;
}

function populate() {
    if(quiz.isEnded()) {
        showScores();
    }
    else {
        // show options
        var choices = quiz.getQuestionIndex().choices;
        for(var i = 0; i < choices.length; i++) {
            var element = document.getElementById("choice" + i);
            element.innerHTML = choices[i];
            guess("btn" + i, choices[i]);
        }

        showProgress();
    }
};

function guess(id, guess) {
    var button = document.getElementById(id);
    button.onclick = function() {
        quiz.guess(guess);
        populate();
    }
};


function showProgress() {
    var currentQuestionNumber = quiz.questionIndex + 1;
    var element = document.getElementById("progress");
    element.innerHTML = "Question " + currentQuestionNumber + " of " + quiz.questions.length;
    console.log(currentQuestionNumber);
        if (currentQuestionNumber == 1){
            console.log("hello");
            document.getElementById("arrow1").style.display = "block";
            document.getElementById("arrow2").style.display = "none";
            }
        else if (currentQuestionNumber == 2){
            document.getElementById("arrow2").style.display = "block";
            document.getElementById("arrow1").style.display = "none";
        }
};


function showScores() {

    document.getElementById("arrow1").style.display = "none";
    document.getElementById("arrow2").style.display = "none";
    document.getElementById("result").style.display = "block";
    console.log(quiz.score);
 localStorage.femanatomyScore = quiz.score;
    document.getElementById("resultheader").innerHTML = 'You got <b>' + quiz.score + '/' + questions.length + '</b> questions correct.';
};

// create questions
var questions = [
    new Question("", ["Ovary", "Fallopian Tube","Uterus"], "Ovary"),
    new Question("", ["Ovary", "Fallopian Tube", "Uterus"], "Uterus"),

];

// create quiz
var quiz = new Quiz(questions);

// display quiz
populate();
Here is the html associated with the above quiz,
/style>
</head>
<body>
    <div class="grid">
        <div id="quiz">
            <h1>What is this body part called ?</h1>

            <div class="buttons">
                <button id="btn0"><span id="choice0"></span></button>
                <button id="btn1"><span id="choice1"></span></button>
                <button id="btn2"><span id="choice2"></span></button>

            </div>
            <footer>
                <p id="progress">Question x of y</p>
            </footer>
        </div>
    </div>
    <img src="assets/arrow.png" id="arrow1">
    <img src="assets/arrow.png" id="arrow2">
<div id="result"><p id="resultheader"></p></div>

<script src="labelquiz.js"></script>
</body>
</html>
References
Adams, D (2019), ‘Secure Login System with PHP and MySQL’, CodeShack.io, accessed 04/05/2019 via <https://codeshack.io/secure-login-system-php-mysql/>.
Lauren@phantomesse (n.d) ‘Multiple CHoice Quiz’, CodePen accessed 10/04/2019 via <https://codepen.io/phantomesse/pen/YPrqLJ/>.
Hansan,M (2018) ‘Making a multiple choice quiz using javascript arrays’ Youtube accessed 10/04/2019 via <https://www.youtube.com/watch?v=3hu5n3xHsnw&t=252s
UI Design – Screen Renderings
Making the Screens
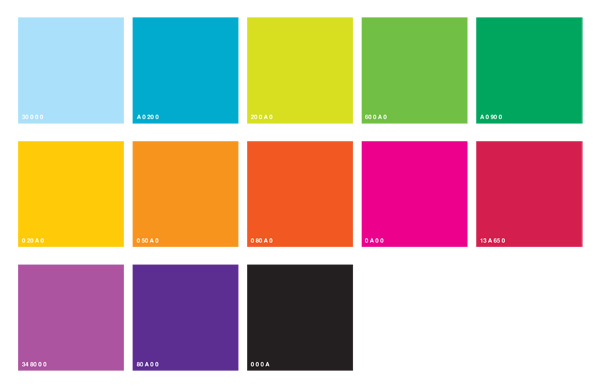
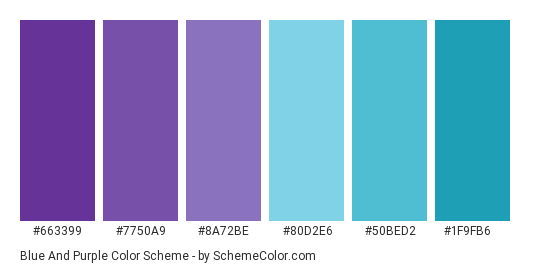
In order to bring the application fully into fruition it was necessary to create high resolution renderings of the final screens so as to guide the application development process carried out by other members. This began by working from the wireframes previously created based on the sitemap created earlier from the script provided. It was also necessary to develop visual elements interpreted from the script. These wireframes represented the structure of the application, the visual style of the application was represented in the screens created as part of this step in the project. The color scheme for the application was heavily influenced by the graphic design and other branding created for the project, variations of these colors were used to create a more extensive color scheme with which to work. A major aim in this stage of the project was to create a style for the application which encompasses both the visual style created for the characters and animations and the other graphic design elements created for this project.
Initial Screens
The first attempt at visually representing the UI of the project, although it was unsuccessful, did allow for the creation of a visual style that was carried onto the final screens. A problem that occurred with these initial screens was the metaphors behind the visual elements used. These visual elements included a ripped notebook page, which suggested that there was an element of shame and secrecy associated with the topics being discussed. These visual elements were intended to give the sense of a diary, but as they metaphor behind them wasn’t correct, it was decided that these should be redesigned.


Final Renderings
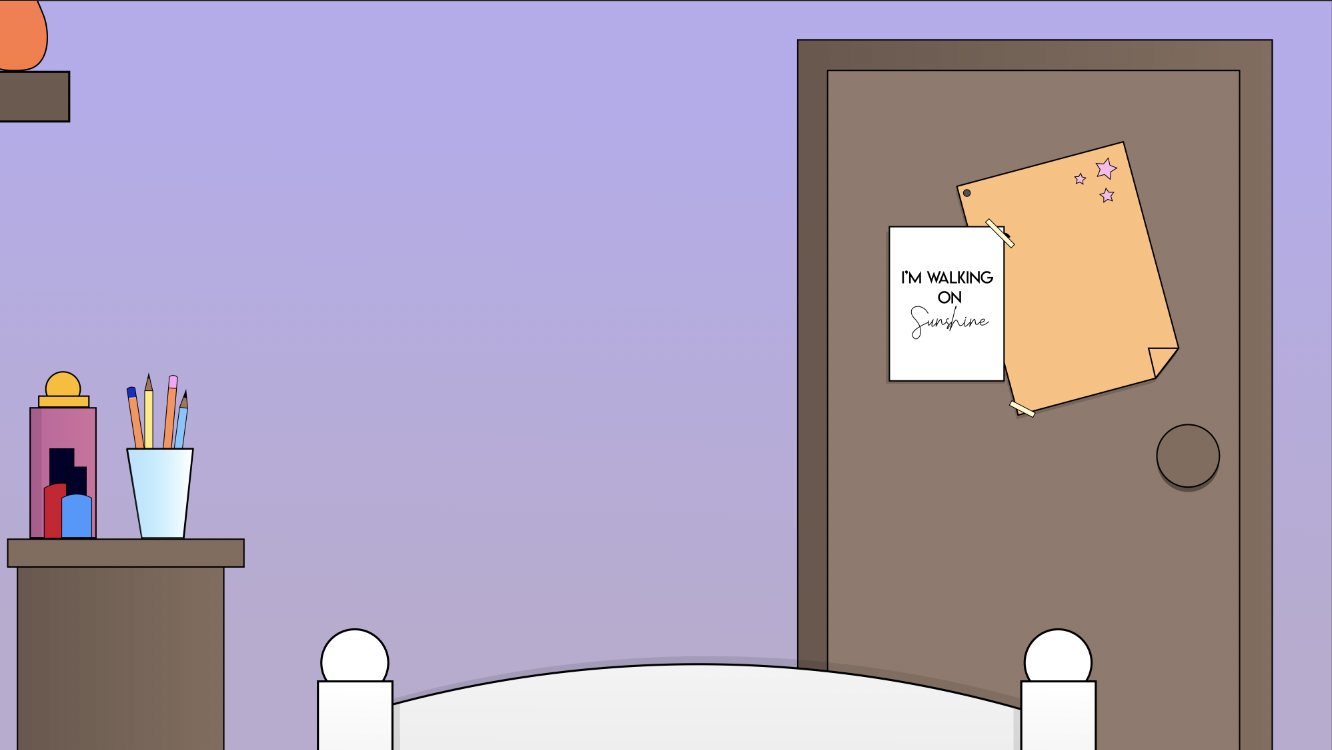
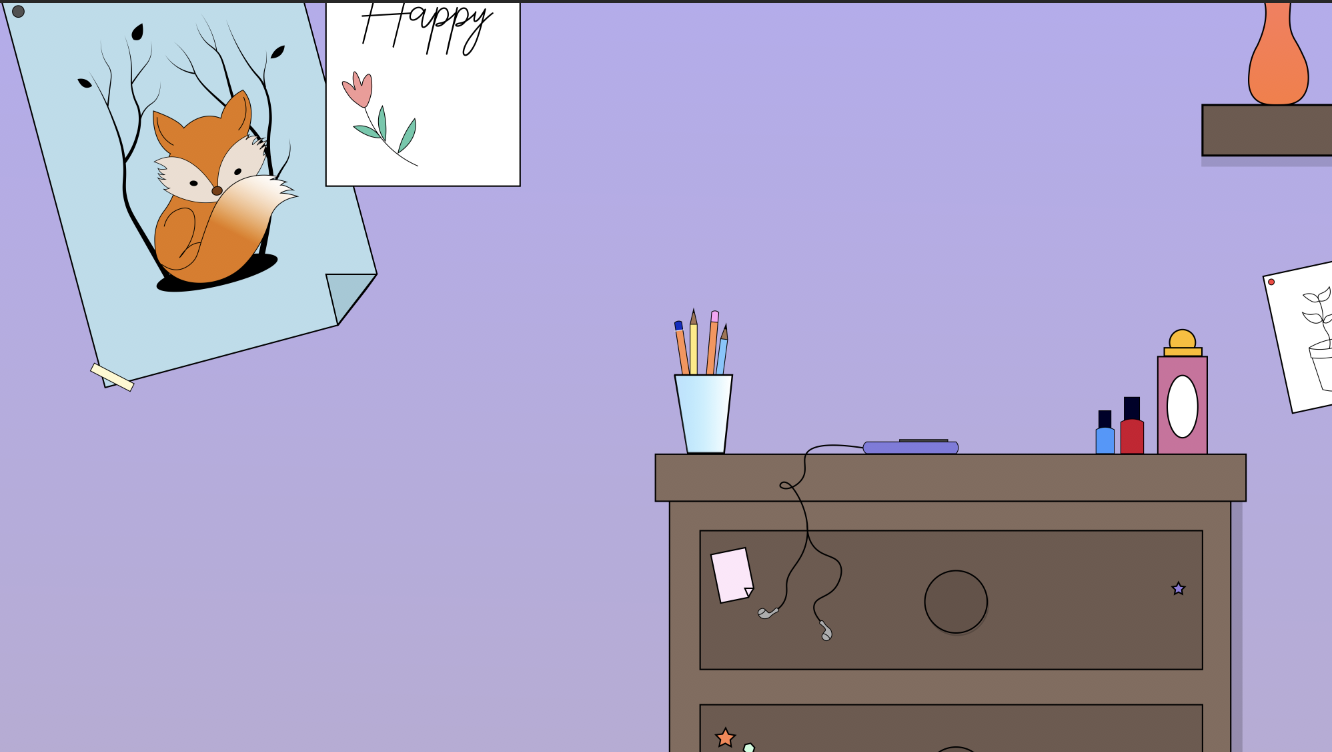
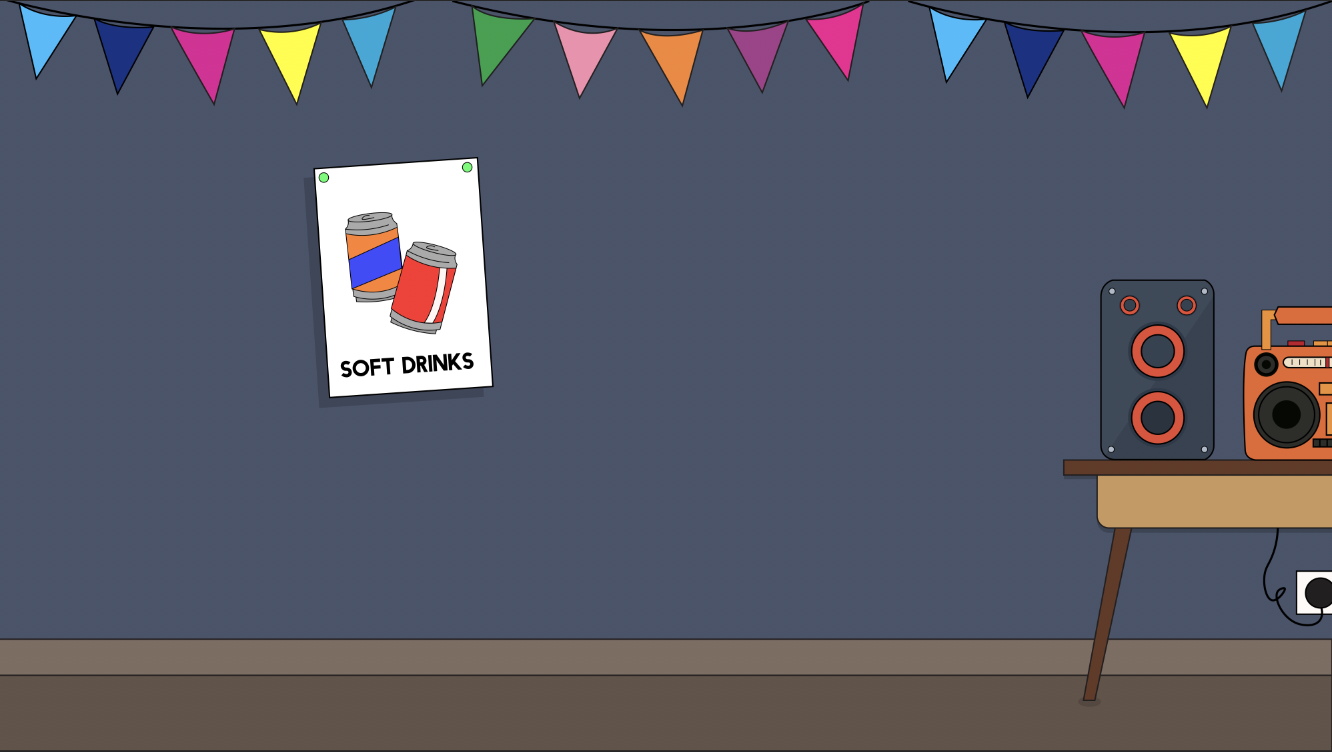
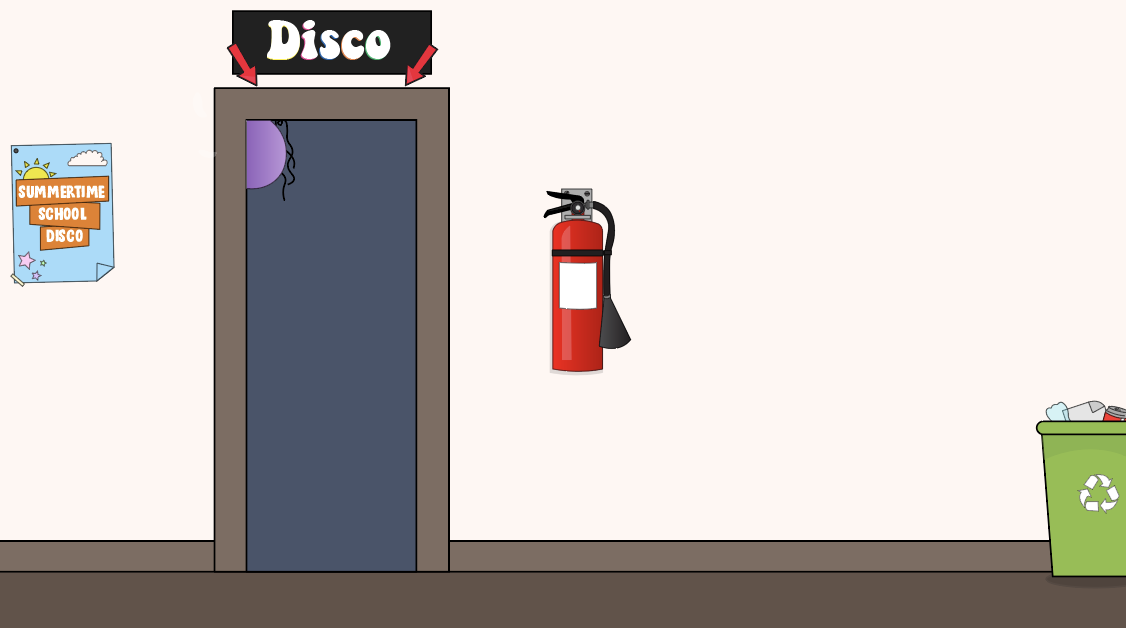
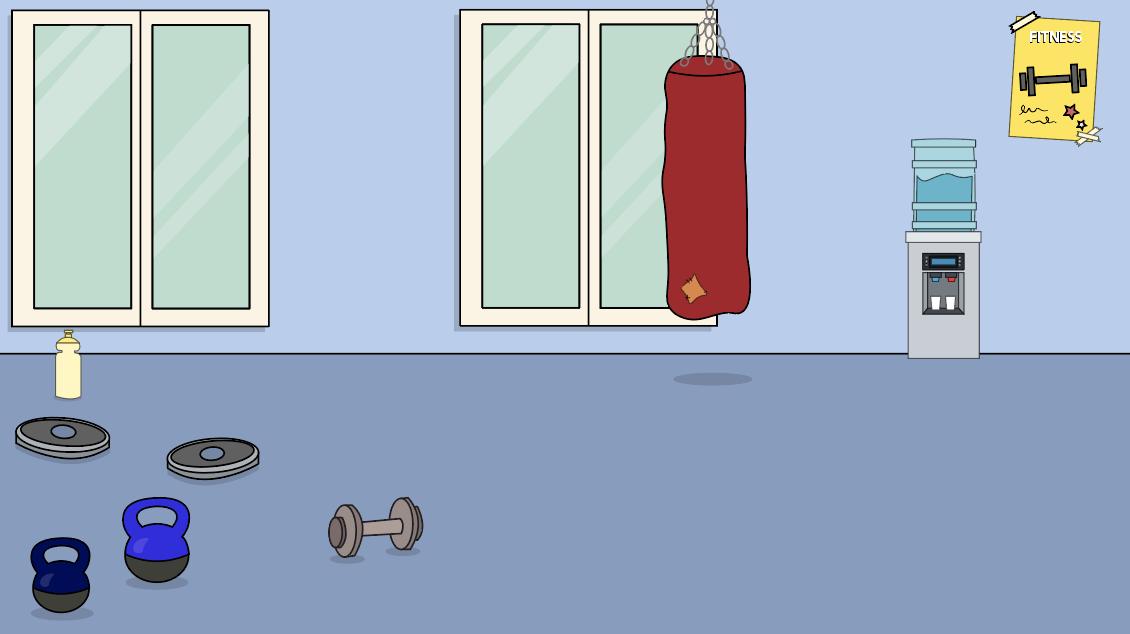
For the final screens it was decided that a book should be used at the visual style. This was to represent the journey associated with puberty, and the progression you will undergo both physically and emotionally during this time of your life. To facilitate the book aspect of the application a design was created that included forward, back, home, read and book buttons that allowed for the functionality of the book. For these a blue background with a deeper blue icon was used. For the screens themselves that were contained in these pages a background was created for each page, to add more interest to the screens. These patterned background added visual interest to the screen, especially as some of the screens were intended to be loaded blank and then have other elements appear after user interaction. The home page, rewards page and content unavailable page were created in a similar style to the poster, using the logo and the sky elements.
Preparing The Screens
As it was necessary for some of the elements included in the UI to be on seperate layers for the final application, it was important to correctly format the screens created so as to create a folder of assets that was easy to include directly into the application for the developer. This was done by exporting the individual layers included in each screen to separate pngs and organising them into clearly labelled folders. To ensure smooth teamwork and to make the already difficult task of application development easier it was necessary to properly organise the created assets so that other team members would easily be able to locate and access them. After these assets were correctly exported and labelled, it was necessary to upload them to a shared drive folder so as to ensure other group members would have proper access to them. A meeting was had with the application developer to discuss the functionality of each screen and explain how this is envisioned to be implemented. This ensured that the final application accurately represented the Ui that had been designed for this role within the project.The application developer and UI designer were in contact back and forth and other visual elements ended up being created upon request to allow for the developed functionality, these items included a parents manual download screen and a content not yet developed screen. The UI design can be seen in its final form at the following web address, using login demouser and password demouserpwd.
http://webdevcit.com/2018/Sem2/R00138548/letstalkfyp/index.html
Think Aloud Protocol User Testing – Findings and Solutions
Think Aloud Protocols are designed to highlight the strengths and weaknesses in a system by encouraging participants to voice their thoughts as they navigate through the system. After conducting a think aloud experiment with four participants, there were elements of our system that caused confusion amongst multiple participants. These elements of our UI may not be designed in the best possible way to ensure a positive user experience. The aim of these experiments was to discover what elements of our system need to be redesigned so that we can offer the best user experience possible and ensure navigation through our application is easy for the user.
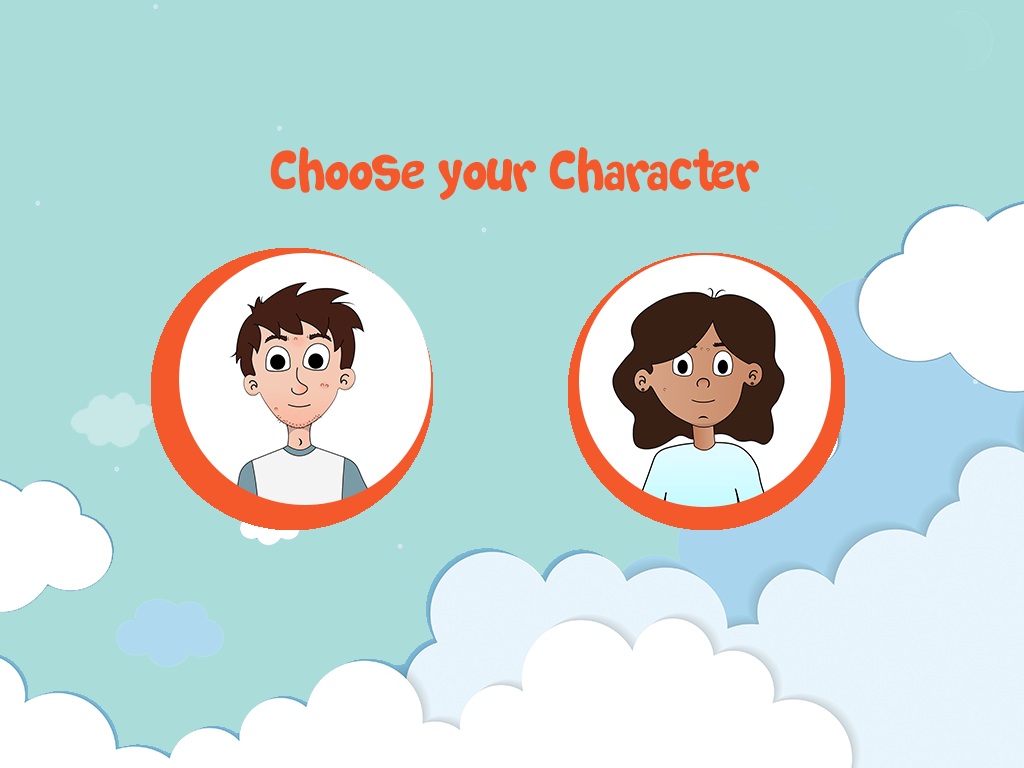
There were a few elements of our interface that caused participants difficulty, one of which was the select character screen. One user attempted to press the characters name as opposed to her avatar in order to select the character. This caused confusion as the interface did not react to this interaction. This is a simple design flaw and can be easily fixed by adding a link to the characters name, that way either the avatar or character name will allow the user to progress to the next screen.

A prominent issue that occurred during the experiments was users overlooking the read button that displays the informational text, a few participants had navigated through a few screens before they realised that the button was important to gain the information and put the imagery into context. As a default we had designed the application so that the text div was collapsed, and muted. To fix this design issue the read button will by default have the text on-screen and the button can then collapse it. The voiceover will also play automatically. These design changes will ensure that users are aware of the information text from the beginning as it is of huge importance within the app.


For one participant it took a few screens until they realised there was an interaction when they tapped the image on every page. The user did not press the image and see that they could interact with it, they were a few pages in before they realised that was an option. To fix this issue on the first page with an interaction, the informational text will instruct users to interact with the imagery on screen. Any interactions or animations that can be played on loop to add interest to the imagery should also play without a trigger. This will allow for the screen to seem more interactive and less static.
The final issue that occured with participants was confusion between the ovulation and menstruation screens, as the imagery is similar aside from the position of the egg on screen, one user initially navigated past the second screen assuming it was the same as the first. To solve this issue the background colour on the second screen will be changes so that it is different from that on the first. This will ensure that it is obvious to users that the screens are different. Going forward we will also ensure that all consecutive screens have different background colors.


Illustrations for the animated scenarios
Working within Illustrator
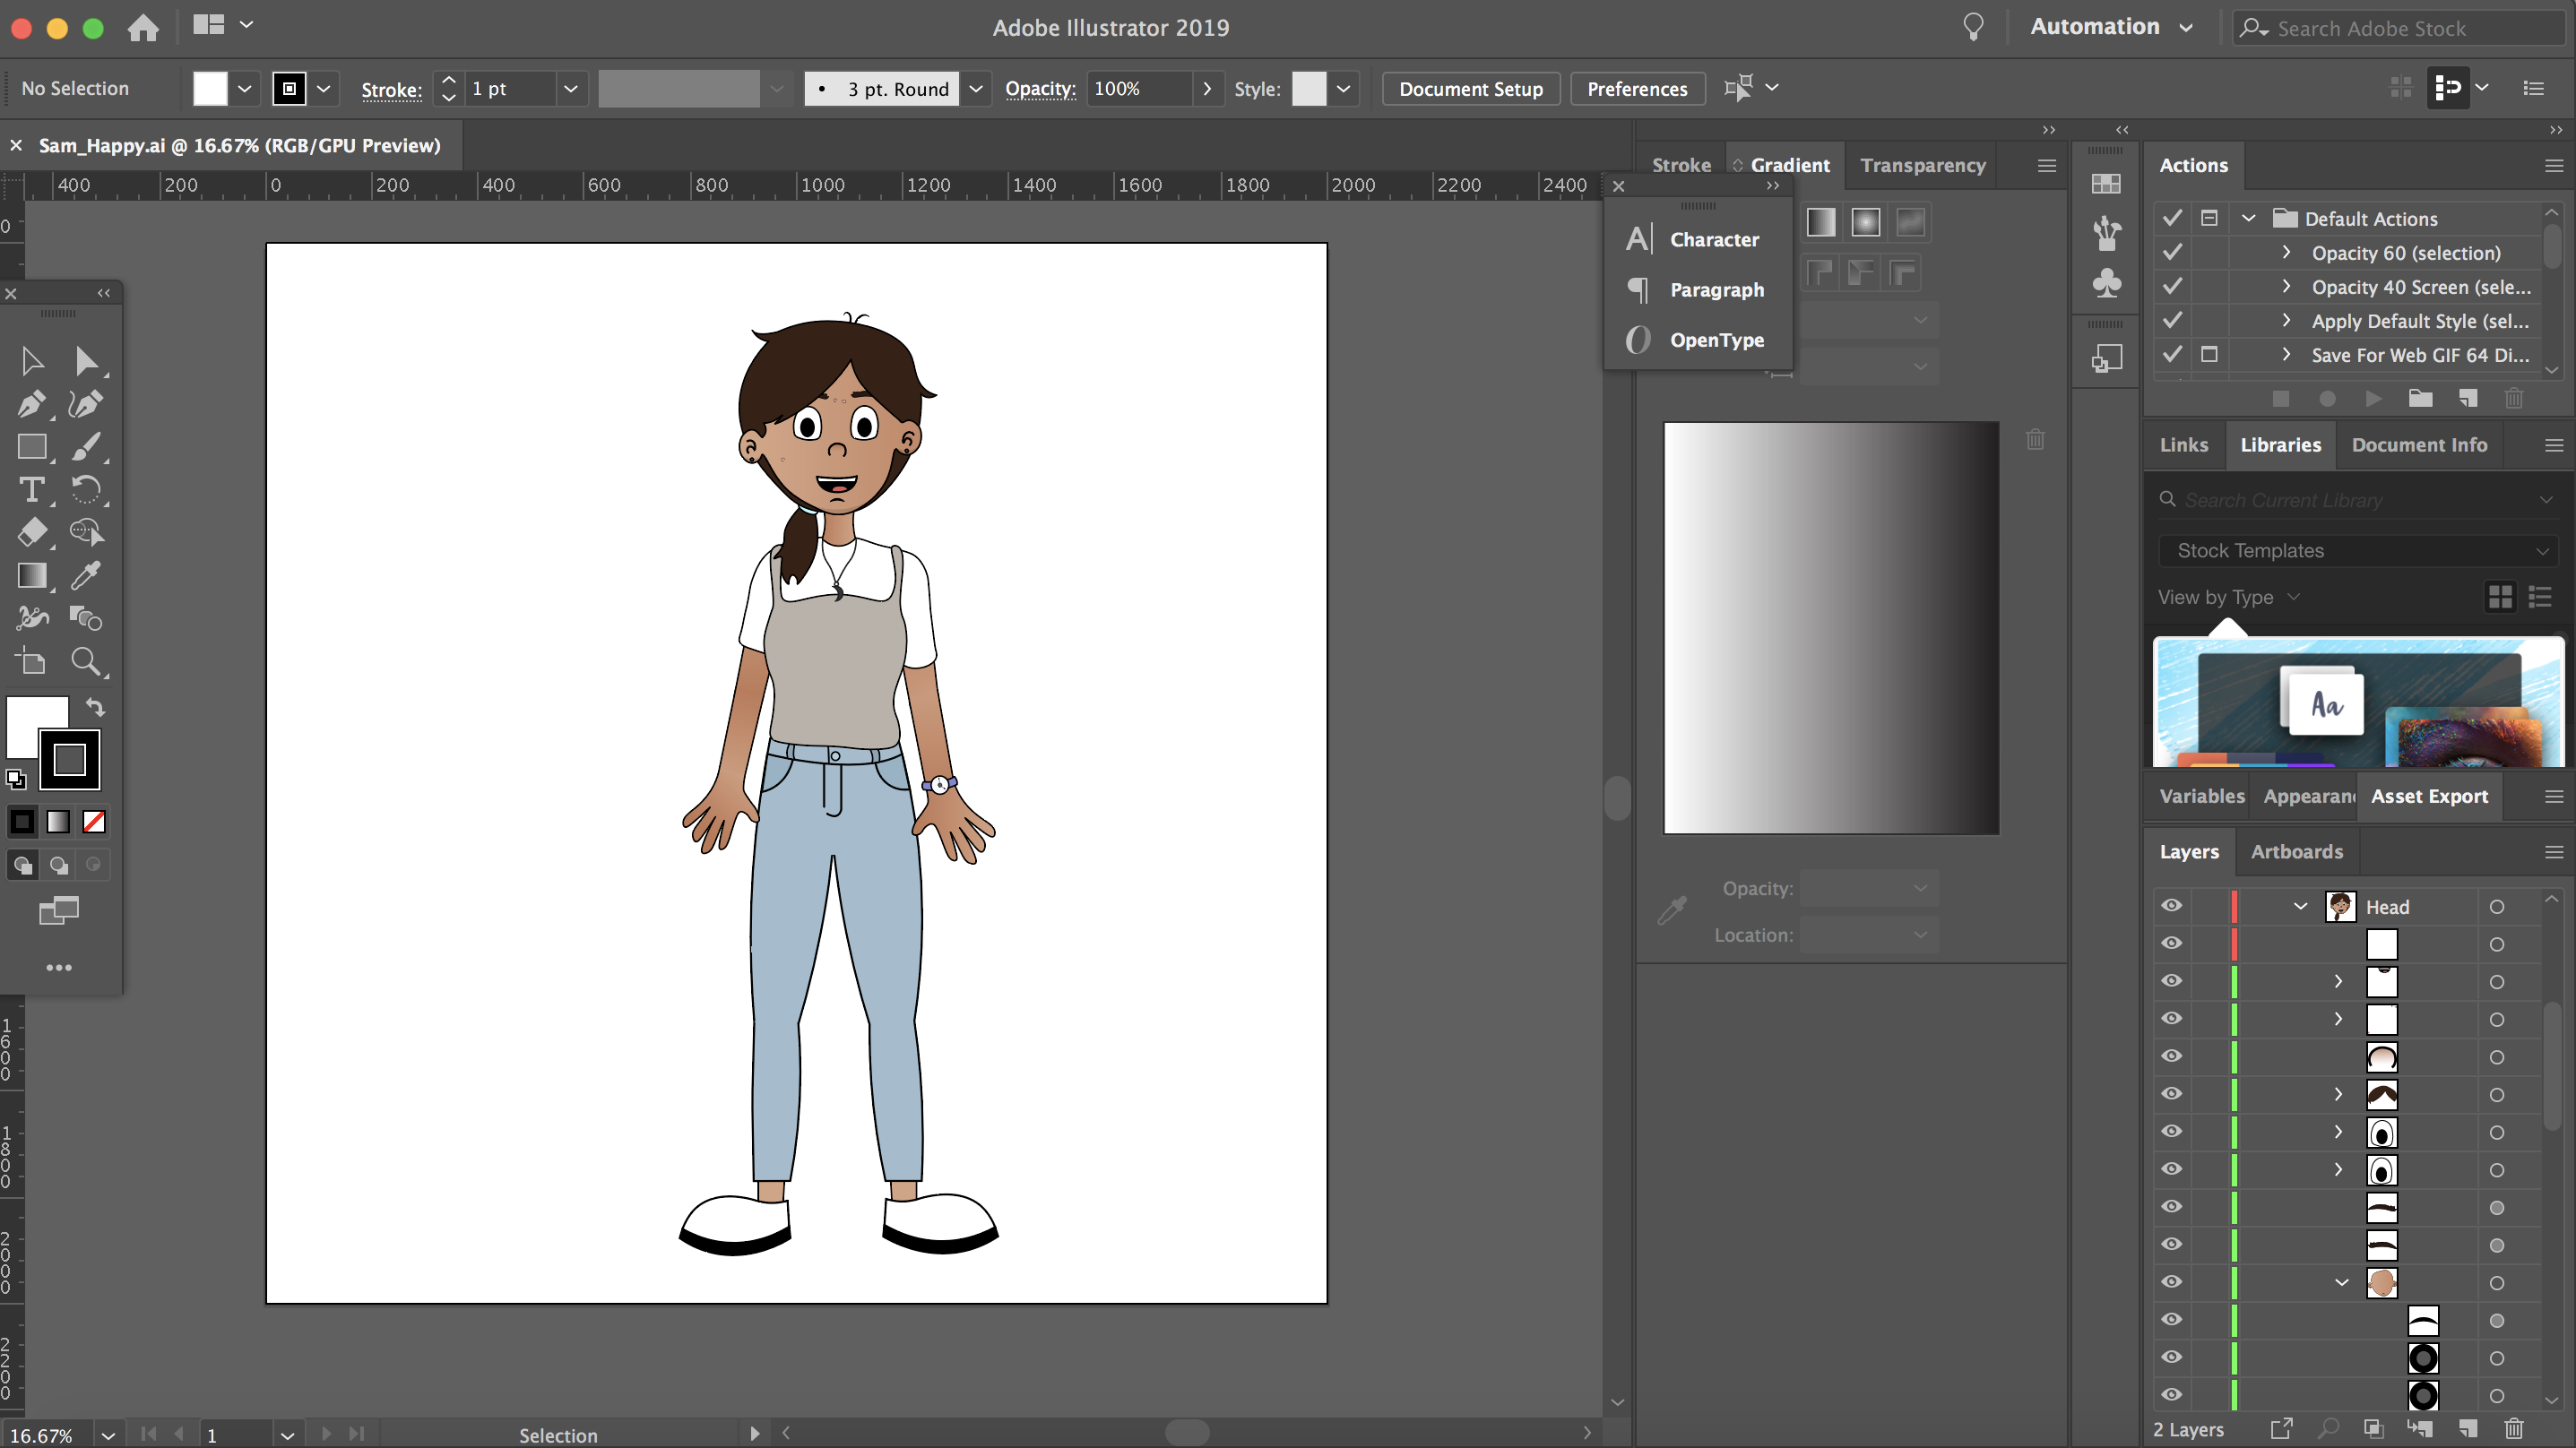
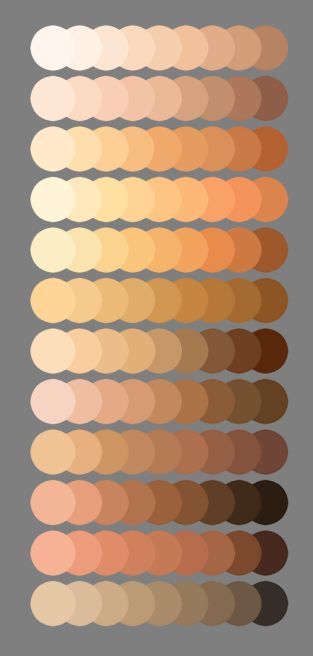
Colour scheme

![]() Characters
Characters

Other assets
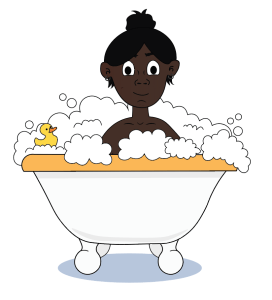
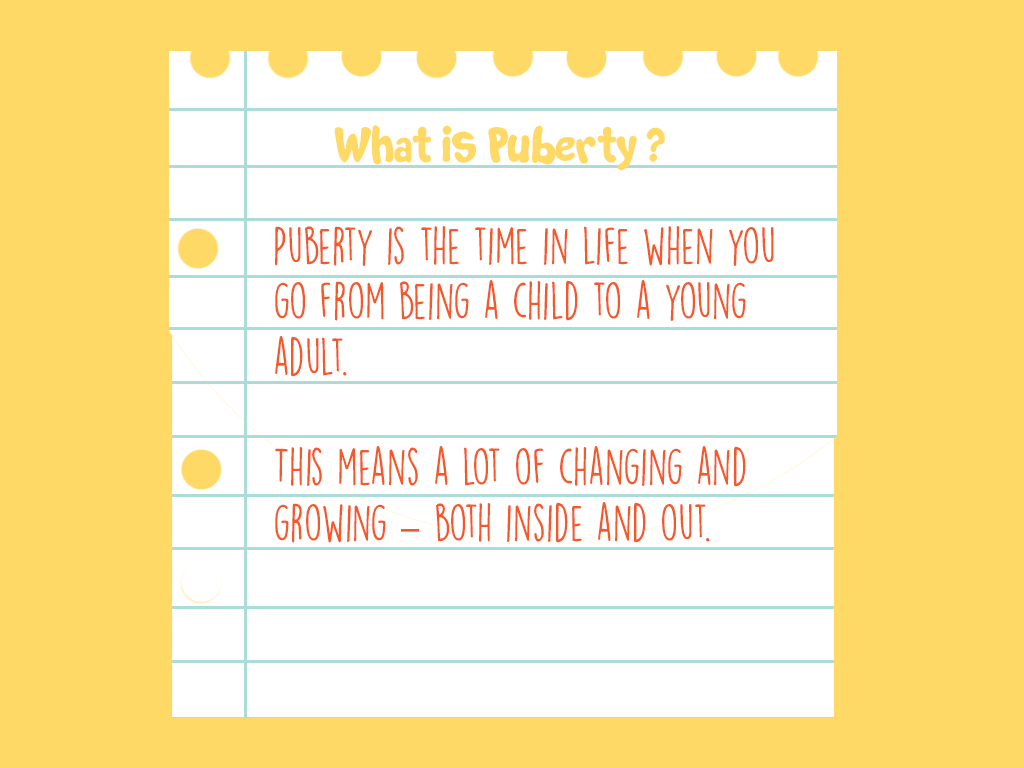
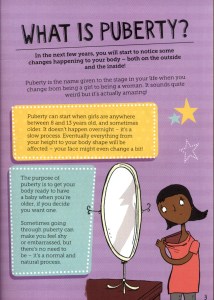
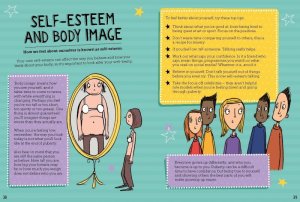
What is Puberty?
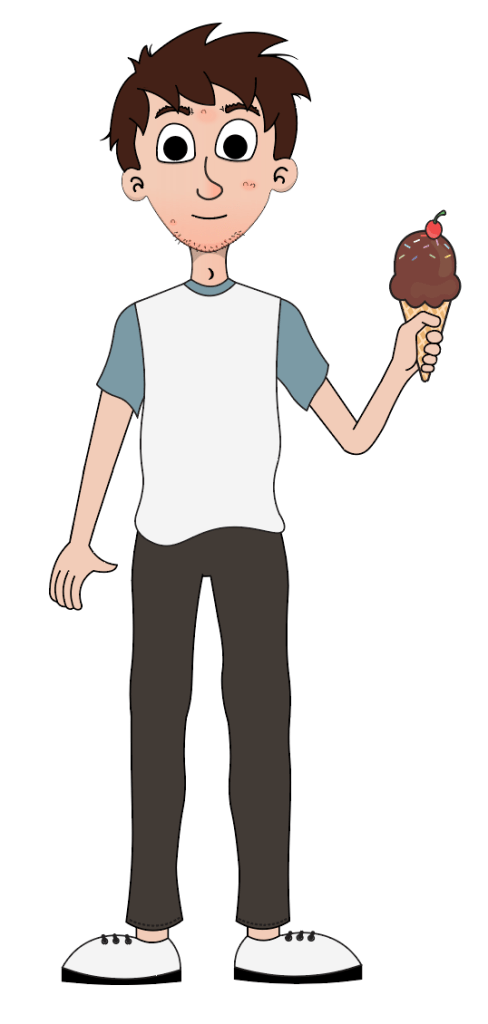
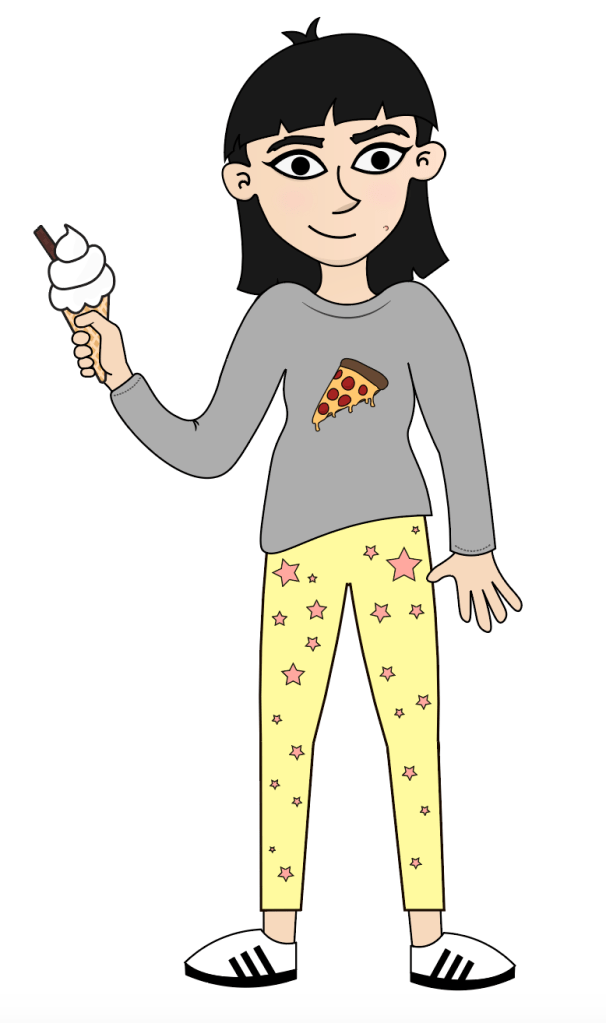

Helpful hint


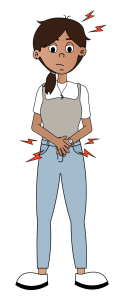
Period scenario


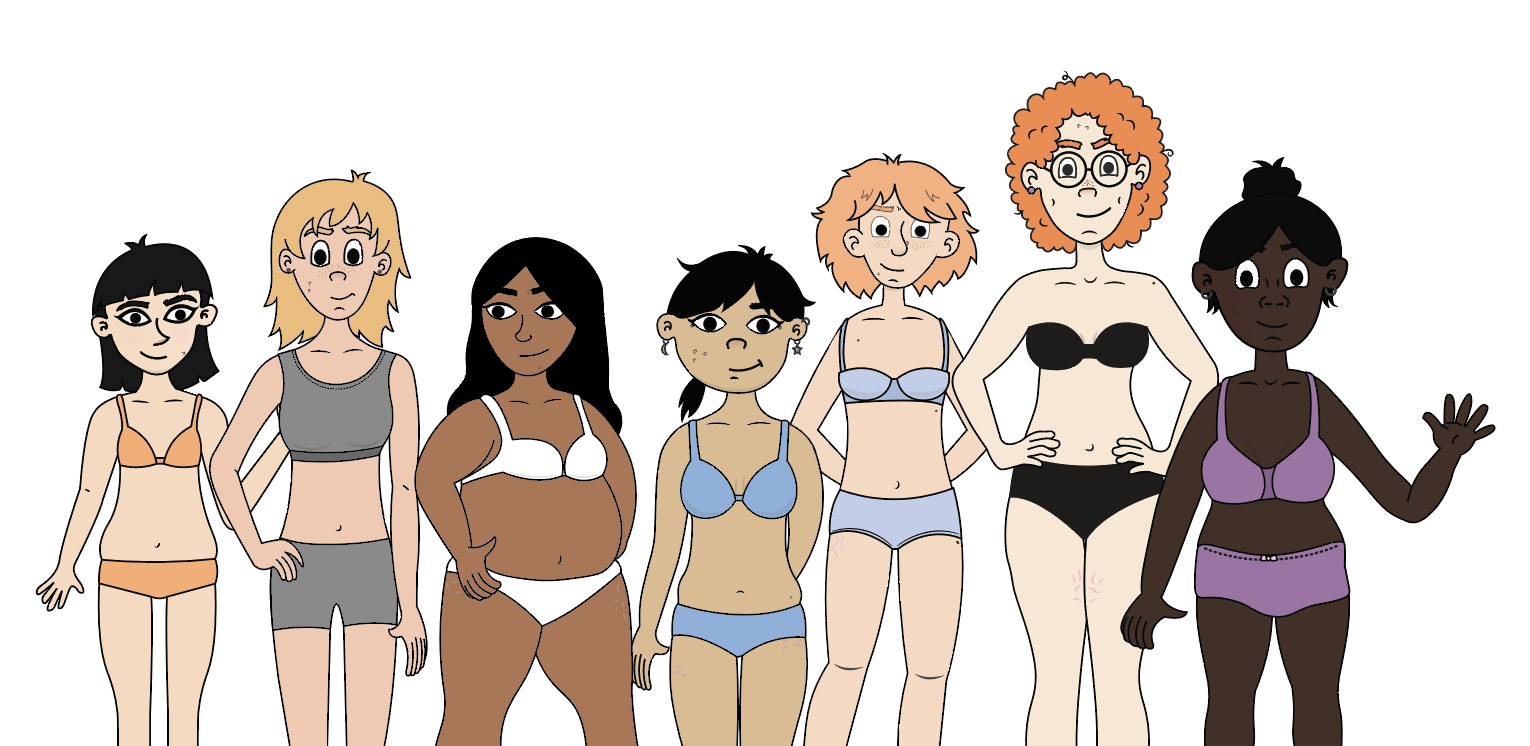
Girl Body Shapes Scenario


Voice Breaking

Boys Body shapes
Backgrounds
Period scenario


Girl Body Shapes Scenario
Voice Breaking Scenario

Boy Body Shapes Scenario
Think Aloud Protocol – User Testing Study Design
To test the UX of our application a think aloud protocol was completed, concerning the prototyped section of the application. Participants were asked to complete the tasks below using the application provided to them on our tablet, and think aloud as they are doing so.
Why Think Aloud ?
“Think Aloud (TA) studies provide rich verbal data about reasoning during a problem solving task. Using TA and Protocol analysis, investigators can identify the information that is concentrated on during problem solving and how that information is used to facilitate problem resolution.” (E. Fonteyn, Marsha & Kuipers, Benjamin & Grobe, Susan. 1993). This method involves providing participants with a task and asking them to think aloud as they attempt to complete the task. Participants verbalize their thought patterns as they navigate through the system, and from this we gain an insight into what a user who is unfamiliar with the system experiences when the interact with our UI. The reason this is important is because as designers we have become familiar with the system we are developing and we may often overlook details that may cause confusion to our users. “With the rise of cognitive psychology over the past 30 years, thinking aloud has again become a standard method for studying human thought. The conditions under which it provides access to silent thoughts are now believed to be well understood..” (Dumas, Joseph 2001).
The purpose of this think aloud study for us was to gain an understanding into how the developed UI is interacted with by users. The aim was to gauge what elements of the application may cause individuals confusion, were users able to navigate through the system, and what elements of the system did people think were effective. We completed this study on four participants, notes were taken while each person completed the task and a screen recording was also captured to record the users movements through the system.
The Study Design
Research Methodology : This study takes a qualitative approach and aims to gather rich data about ‘Let’s Talk’ prototype through the use of think aloud protocol. Participants will be asked to complete a series of tasks with the Let’s Talk Prototype and think aloud as they attempt to complete these tasks.
Methods : Think Aloud Protocol, this allows researcher to gather rich verbal data on a users thought process during the completion of a set of tasks.
Location: The location of this study will be in an environment that is private and comfortable for the individual participants, be it their own home or a classroom, where they can speak freely without fear of being overheard. The task will be completed on a Alba Nou Tablet, provided by the researcher.
Participants:
Population: We will be focusing this study on people above the age of 18 due to the sensitive content in the application
Sample Size: As Think Aloud Protocol will provide us with rich qualitative data we conducted this study with a sample size of 4 participants.The participants may have a range of technical abilities, ages and genders.
Study Procedure : Participants will be asked to complete a set of tasks using the ‘Let’s Talk’ application prototype and think aloud while they are doing so.
Please complete the tasks below and think aloud as you are doing so..
- Open Let’s Talk Application
- Login Using these details….
Username: username
Password: passcode
- Select Rosin as your Character
- Navigate through the application until you reach the section on period pain
Data gathering : Notepad and paper to take notes of what participant is saying and a screencast to record their movements on the application interface
What was gathered ?
Screencasts :https://photos.app.goo.gl/ULiYdgd5D9gACPcQ6ts
Notes: (See Blogpost on Data Analysis)
References
Dumas, Joseph. (2001). Usability testing methods: Think-aloud protocols. 22/04/2019 via URL https://www.researchgate.net/publication/319130250_Usability_testing_methods_Think-aloud_protocols
E. Fonteyn, Marsha & Kuipers, Benjamin & Grobe, Susan. (1993). A Description of Think Aloud Method and Protocol Analysis. Qualitative Health Research – QUAL HEALTH RES. 3. 430-441. 10.1177/104973239300300403, accessed 22/04/2019 via URL https://www.researchgate.net/publication/249674934_A_Description_of_Think_Aloud_Method_and_Protocol_Analysis
Wireframes
Following the development of the sitemap it was important to create wireframes in order to represent the pages of the application that must be developed. Wireframes are essentially the bones of a website or application, they represent the visual aspects of the application devoid of any design elements. Emphasis is placed on layout and content placements, placing functionality to the forefront of the development process. As sitemaps can be difficult to visualize it is important to develop wireframes as they are the first visual process when developing a navigation, and allow you to focus on developing a successful user interface (UI). They allow for the elimination of any unnecessary pages and allow for changes to the navigation before the development phase. “During a wireframe project, web designers have the chance to focus on user experience only – the factor that matters most to everything from conversion, to customer loyalty. Without the distraction of fonts, colours and imagery, wireframes can allow designers to work on the underlying elements of a website, and eliminate the need for expensive changes in the long-run.” ( McLoughlin, 2017)
Early variations of the wireframes were unsuccessful as they focused on design and details as opposed to functionality, which in turn led to the development of a prototype that was difficult to use. When redeveloping the wireframes focus was placed on functionality, referring back to personas and scenarios were quite beneficial when creating the wireframes. It is important to focus on usability during the wireframing process. Placement of content and functionality are the two key aspects when creating wireframes. Redeveloping the wireframes allowed for the application’s architecture to be restructured in order to develop a more successful navigation. “Wireframes allow you to map out the functionality of the pages, catch problems early, and save time on revisions later.” (Pronto, 2017)
Wireframes allow the focus to be placed on usability and functionality as opposed design. Wireframes bring clarity to a project and allowed for the development of content placement and the interactions of the application.


References
McLoughlin A, (2017), 5 Key reasons why wireframing is important in web design, viewed 17/04/19 via <https://www.tone.co.uk/5-key-reasons-wireframing-important-web-design/>
Pronto.io, (2017), Why Wireframes Are Important in the Design Process. 17/04/19 via <https://medium.com/@protoio/why-wireframes-are-important-in-the-design-process-de4e773e611>
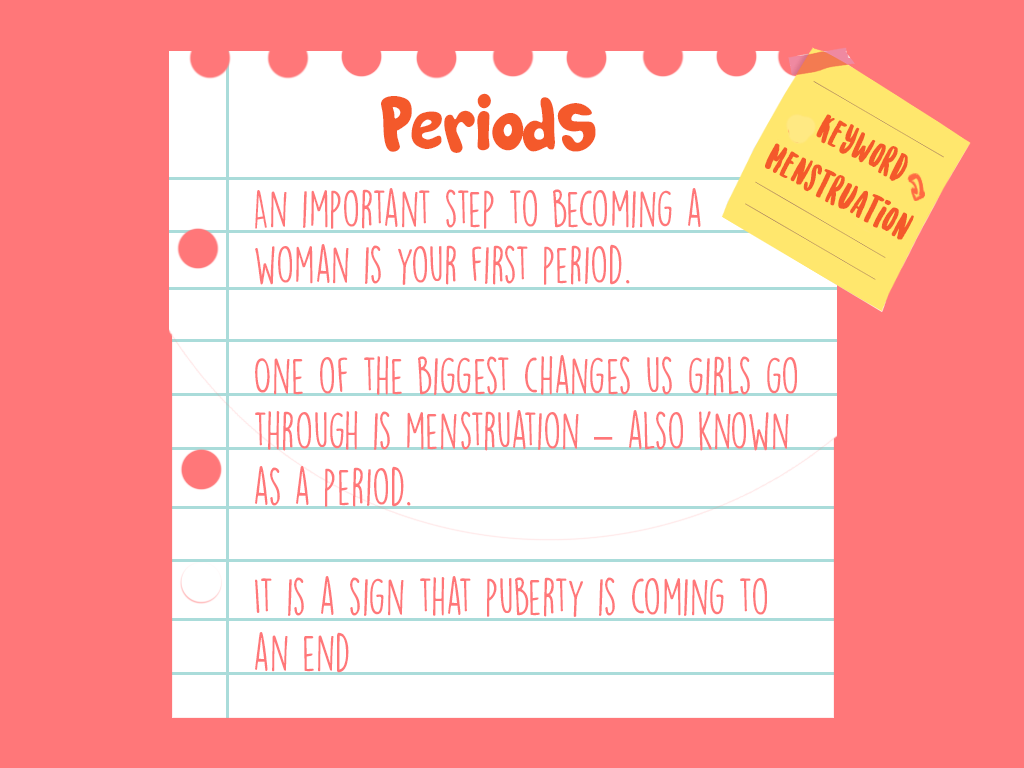
Writing the Script for Let’s Talk
As part of my role and responsibilities for creating Let’s Talk, I had the task of developing the Script and managing the content throughout the app. This involved writing the dialogue for the chapters with the information about the changes boys and girls experience during Puberty, How Babies are Made, and Consent. I also brainstormed ideas for the animations which the characters feature in to create a scenario a young person may find themselves in such as a boy’s voice breaking, a girls first period and explaining the different body shapes boys and girls have. I wrote the dialogue for these animations which I then gave to the lead animator within the group who could use this for reference when illustrating the backgrounds, characters and animating the scenes.
To begin the process of writing the script for Let’s Talk I began researching methods on storytelling, writing for animation and writing for multimedia and visual media. A book by Michael D. Korolenko entitled ‘Writing for Multimedia: A Guide and Sourcebook for the Digital Writer’ was very helpful in explaining the steps involved in writing a script.
“The Writer must deal with six considerations during preproduction: The Idea, The Audience, Brainstorming, Goals and Objectives, The Treatment and the Content Outline.” (Korolenko, 1997)
The idea: The idea is the first step of the project and deals with what the project will do and gives the project a “terminal object” meaning what the users will be able to do when the course is completed. In my case it is a project which provides children with the information they need as they experience puberty in a modern, story-based and interactive way.
The Audience: Finding the target audience for any multimedia project is the main focus when it comes to the design aspect. We need to know the knowledge our users have when creating a learning program such as Let’s Talk. Carrying out the Assure Model was helpful in doing this as it gave an insight to who the learners are. The Target audience will be children ages 8-14. It is important to understand who we are designing and writing for so the users can get the most out of their experience with the application.
Brainstorming: “Brainstorming, sometimes called “free association”, is when one approaches a subject from every conceivable angle, writing down ideas as they come. During an interactive multimedia project, brainstorming often occurs in a group of writers, designers and directors all working together to think up ideas and jot them down” (Korolenko, 1997) I used the brainstorming technique at the beginning of writing the content to help narrow down what topics needed to be covered for both boys and girls. I used this method again when coming up with ideas for storylines in the animation which the characters would experience such as buying your first bra.


Goals and Objectives: Goals and objectives are knowing what you want the user to learn and what the message of the project is. The goal of Let’s talk is children will have a safe interactive and fun tool where they can learn about Puberty and Sex education. The objectives of Let’s Talk which will be the steps users must do to achieve the goal will be in the form of quizzes and animations. Using the “CABD” format: Conditions, Audience, Behaviour and Degree, the objectives for Let’s Talk are:
- C = Conditions: “Chapter about Girls Body Changes is read..”
- A = Audience: “the child”
- B = Behavior: “will be able to label the parts of the female anatomy”
- D = Degree: “100% correct”
The Treatment: “The treatment is the written summary of what one wants the final multimedia product to look like and how the user will interact with the product” (Korolenko, 1997) The treatment determines the “flavour” of the program whether it is selling something or is funny, serious or informative. Getting the treatment done early is important as it is the guide for the script writer and how the programs navigation will work. Using storyboards can be useful in making the treatment visual.
The Content Outline: “The Content outline is a specific list of what will actually be included in the project” (Korolenko, 1997) Doing this will ensure that all group members are on the same page and are aware of what is needed for the application.
When researching material online and in books I accumulated the information needed for the app and started writing the script for each chapter. In order to learn about the topics of Puberty and ensure I was using the correct terminology I watched Youtube videos such as WellCast (WellCast, 2014) and AMAZE (AMAZE Org, 2016) which helped with explaining the various chapters such as periods, erections, hygiene, how babies are made and consent.
My aim was to write a script which was appropriate for young people and wasn’t too complicated like a biology textbook. I also kept this in mind when writing the dialogue for the characters. The characters speech needed to sound natural and believable in what they were saying as well as being suitable for what was on screen. Some characteristics to take into consideration when writing the dialogue of the characters are Age, gender and education. The age of the users will be between 8-14 so the characters needed to sounds relatable to that age group.
Gaining an insight into how Dialogue plays an important factor in storytelling helped me to understand essence of good dialogue. It depends on may factors such as who the characters are, their relationships, the situation they are in, the length of the script as well as the age of the target audience. I learned the difference between different types of dialogue that can be used such as “Real Talk” and “Reel Talk”. “Real Talk” is more natural, like how we sound in our every day lives We talk with “uhhs” and “ahms” during pauses and use jargon and colloquialisms.


“Emotions change dialogue. Keep it simple; less is more. The words must always be easily understandable and clear to everyone. You might want to repeat important story points, especially for preschoolers, but repeat with a twist” (Wright, 2013)
Repeating that changes which happen during puberty are normal was an important lesson to repeat for the users of Let’s Talk. I wanted to make it clear in the animations that when something happened for the first time that the characters were reassured that this was normal. I also wanted the script for the information in the chapters to reiterate this point also. In doing so, children will not have any doubts about what is happening to their bodies at such an awkward time in their lives.
References
AMAZE Org (2016). Top Signs Boys are in Puberty. Available at: https://www.youtube.com/watch?v=onggxBVl4qw&t=3s [Accessed 13 Apr. 2019].
Korolenko, M. (1997). Writing for multimedia. Wadsworth Publishing Company, pp.110,111,113,114,115,116,117.
WellCast (2014). What is Puberty? Decoding Puberty in Girls. Available at: https://www.youtube.com/watch?v=Tr8ZSH3eghs [Accessed 12 Apr. 2019].
Wright, J. (2013). Animation Writing and Development. Burlington: Focal Press, pp.196,197.
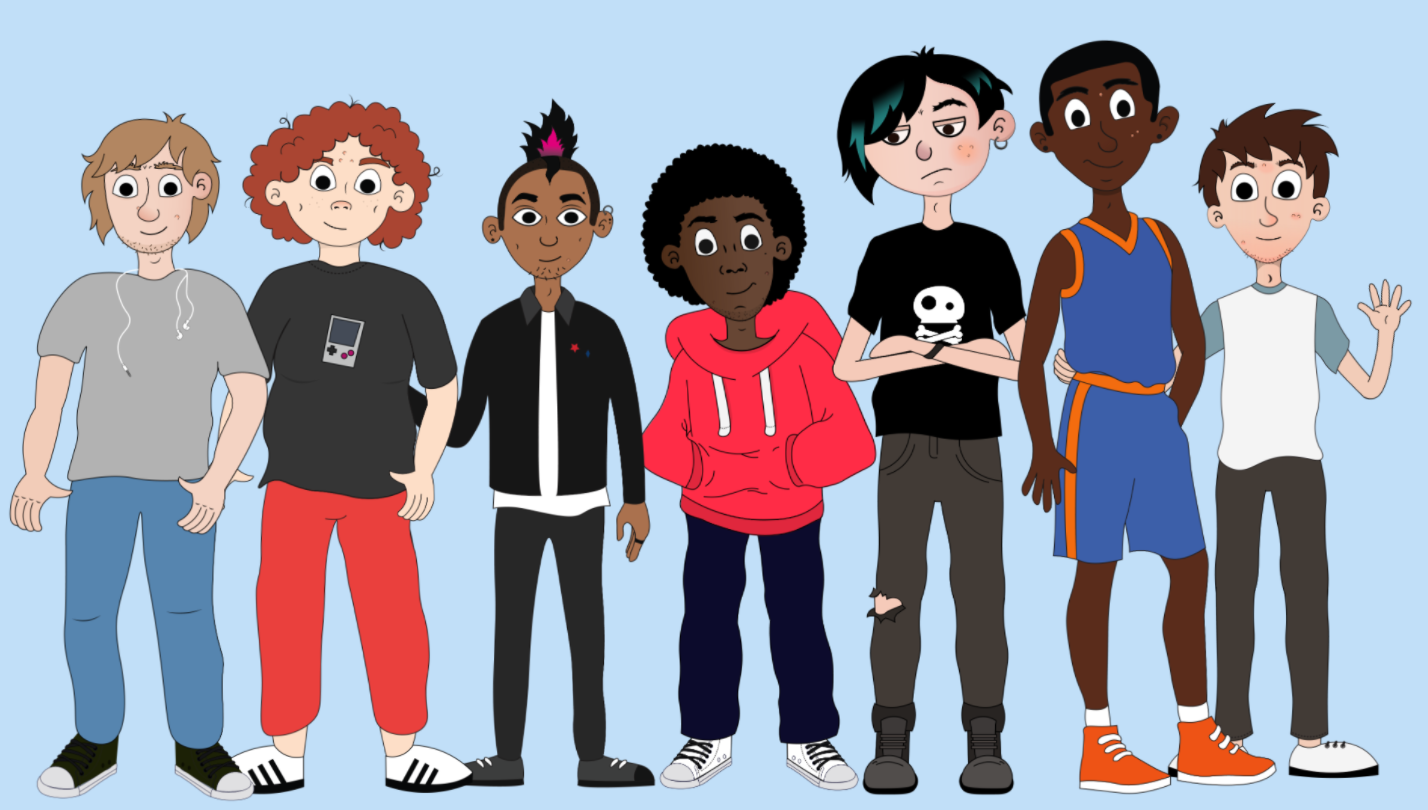
Sketching the characters and backgrounds
When the storyboards where created I then knew what kinds of situations the characters would be exposed too. I took great inspiration from the books “The care and keeping of you” by Valorie Schaefer. (Schaefer, 2013) As their illustrations were a great reference to how I wanted our characters to be drawn.


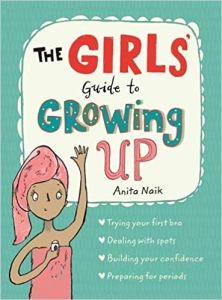
Other books that I used were ‘The boys guide to growing up’ (Wilkinson, 2017) and ‘The girls guide to growing up’ (Naik, 2017).


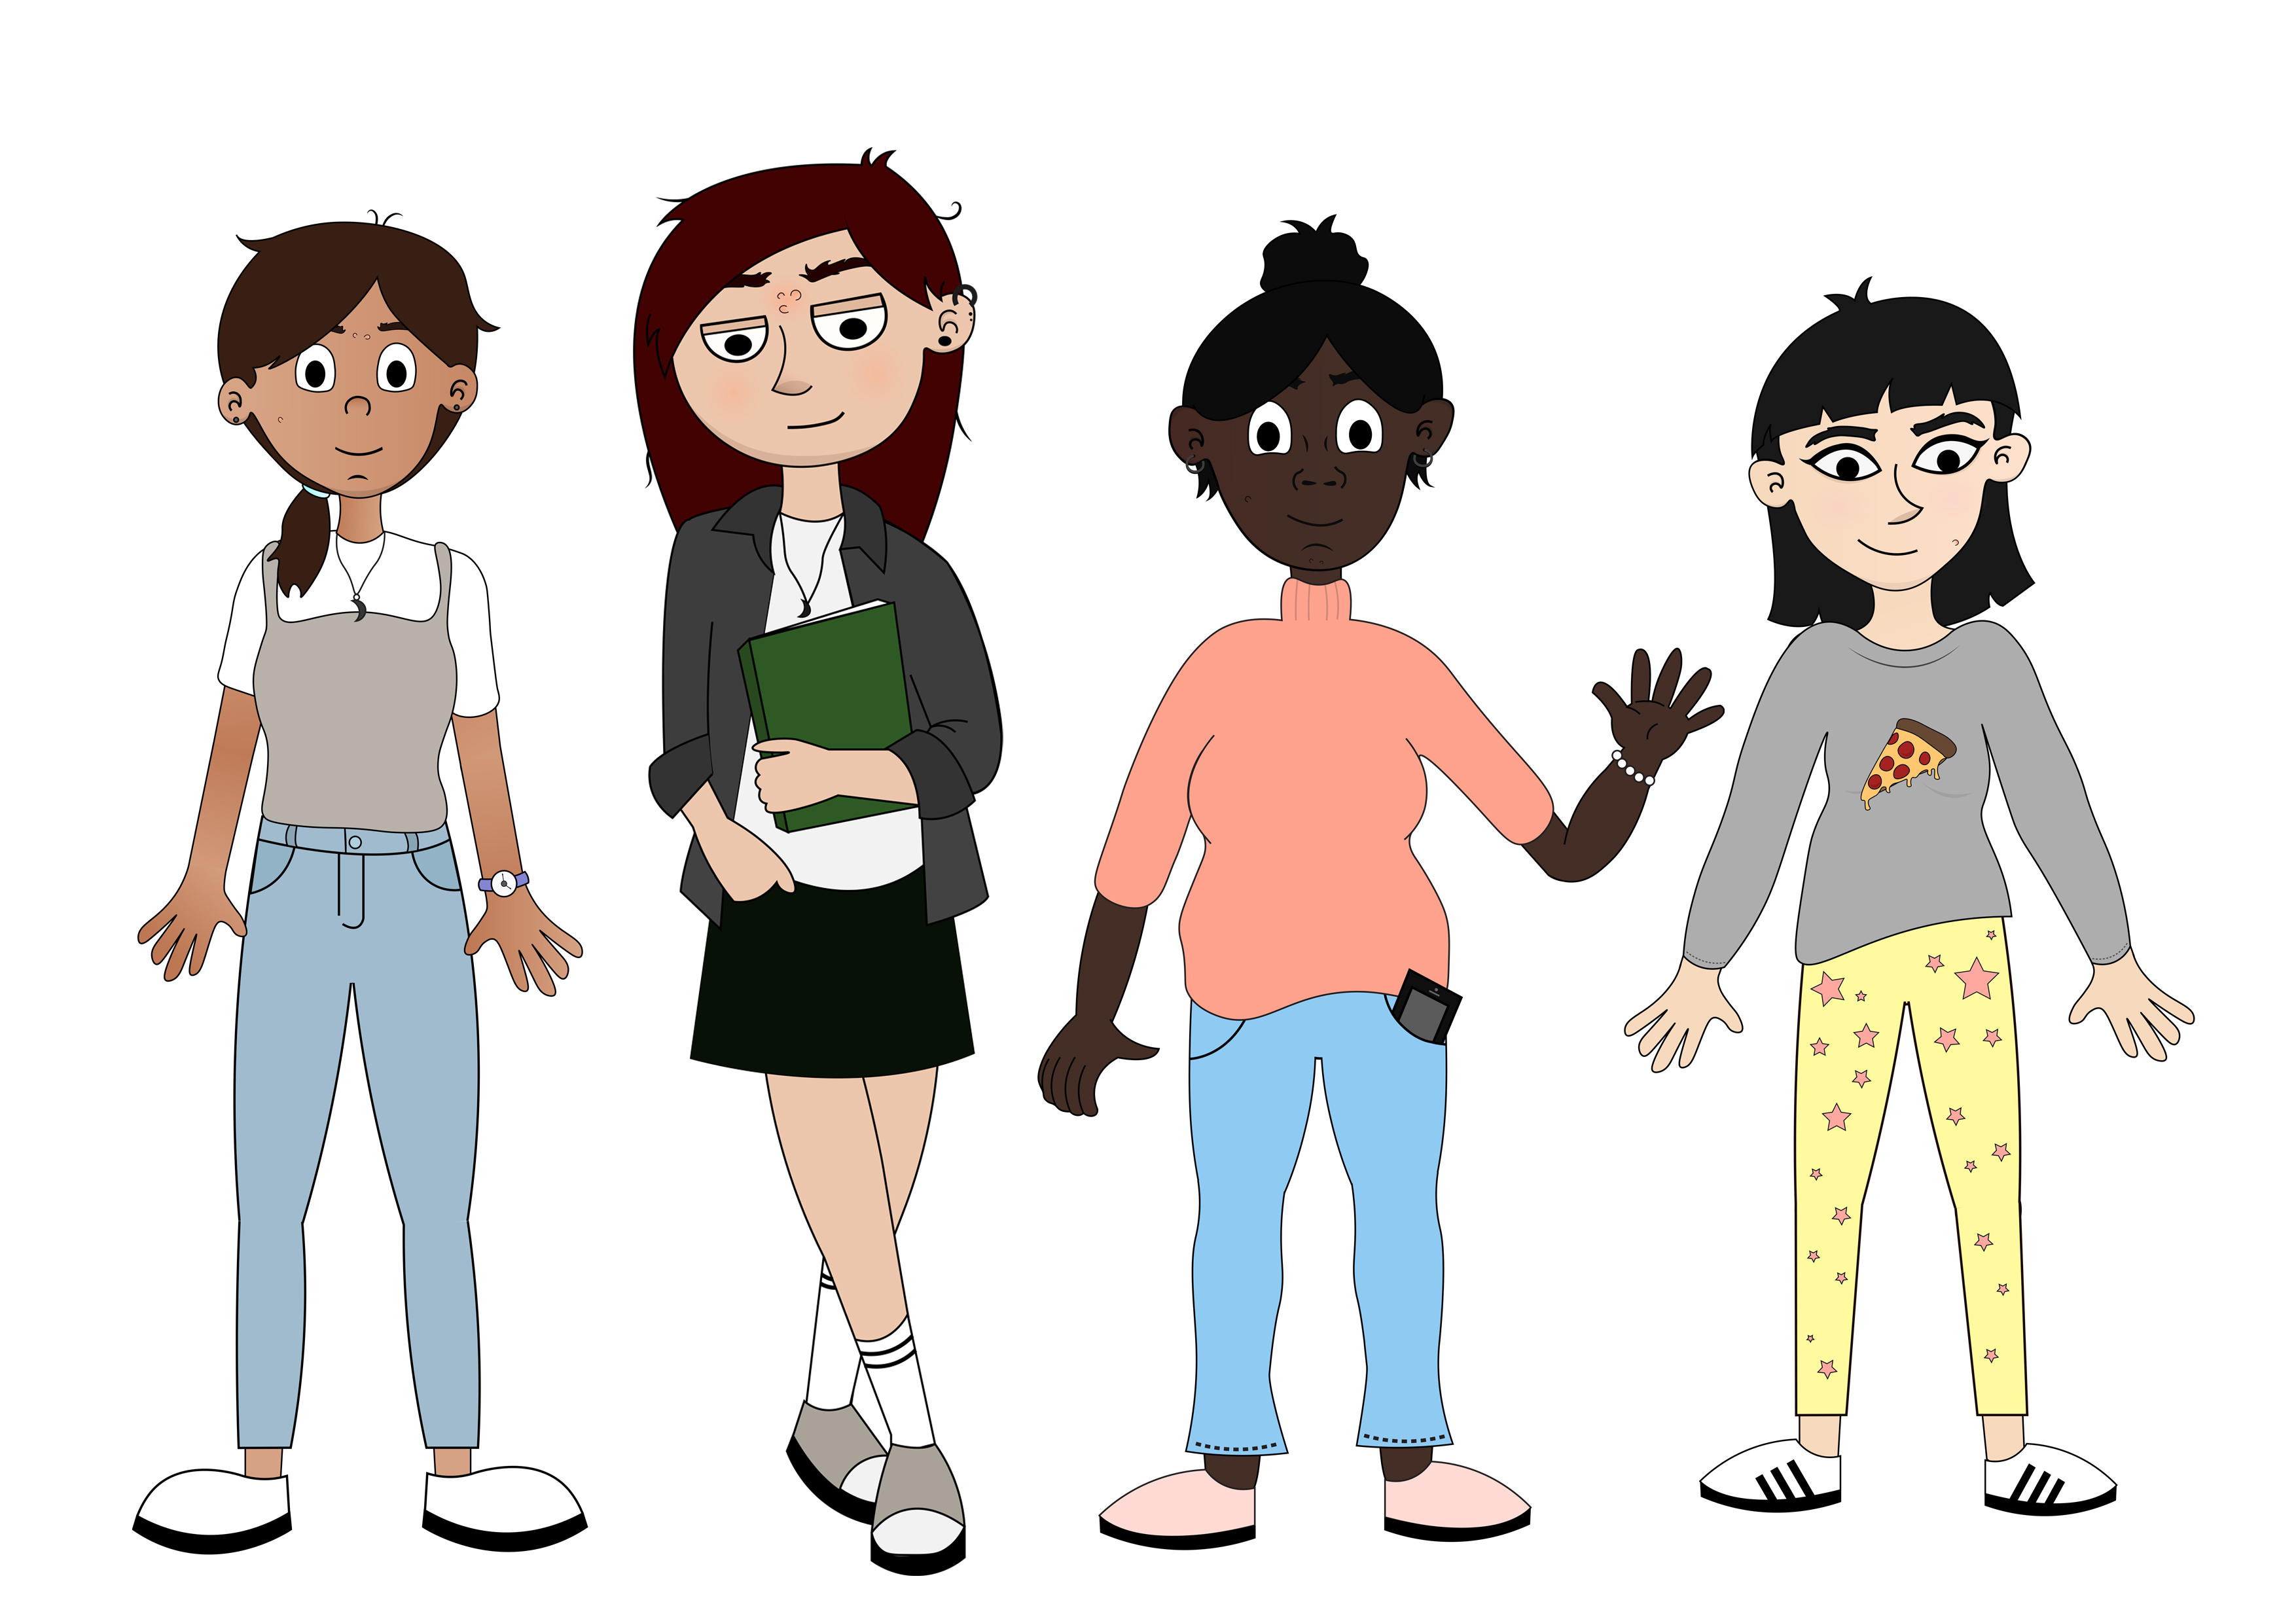
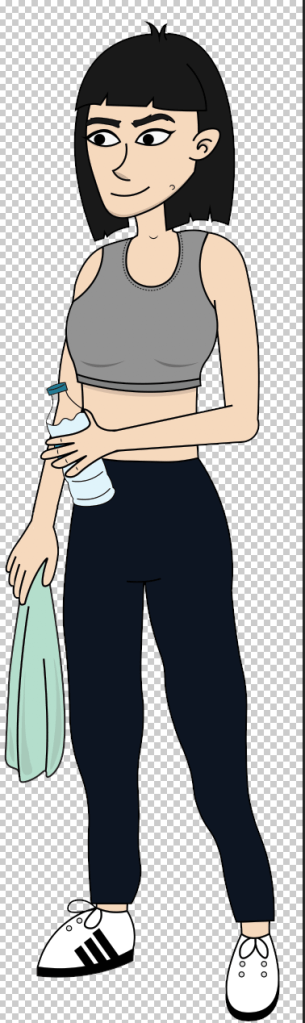
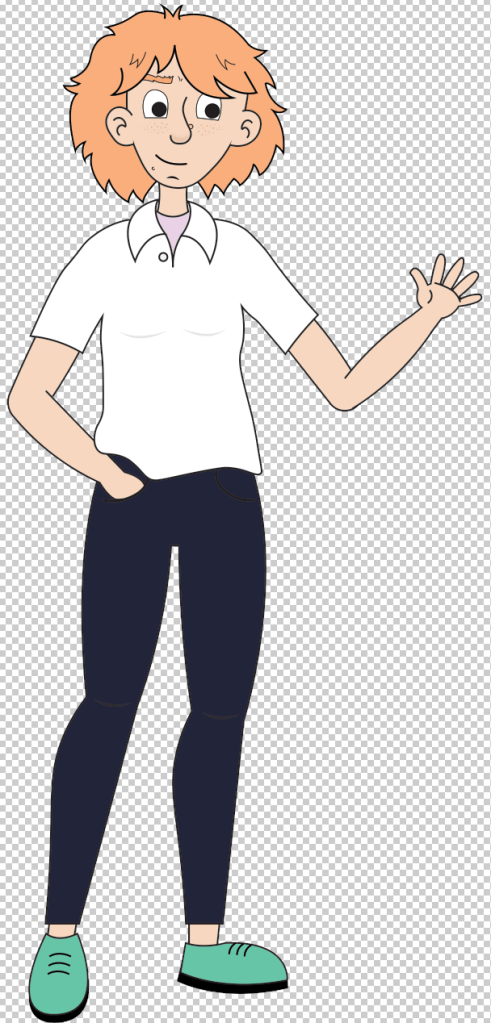
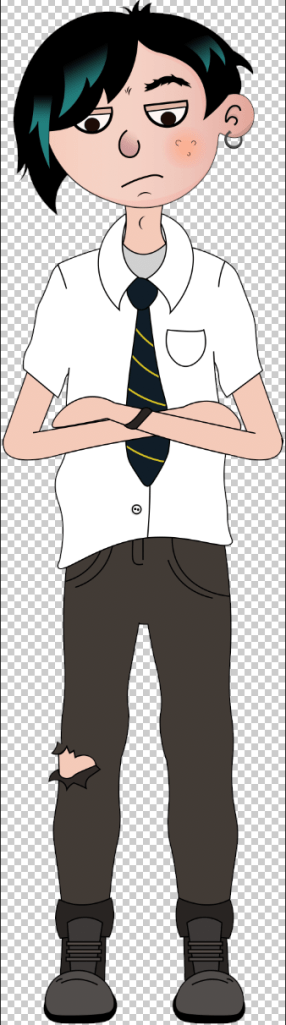
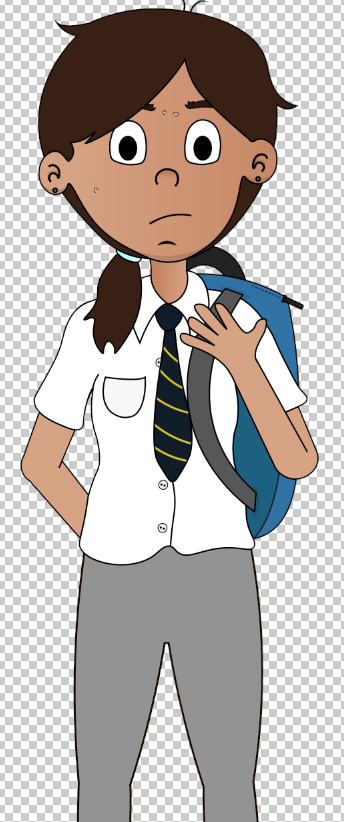
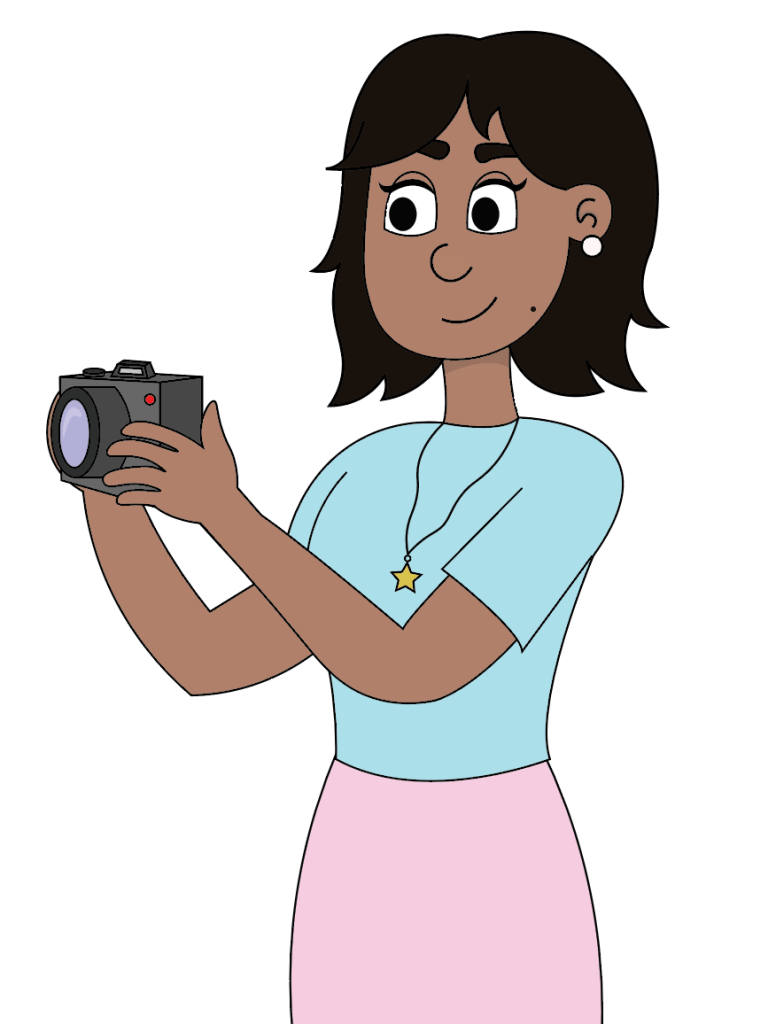
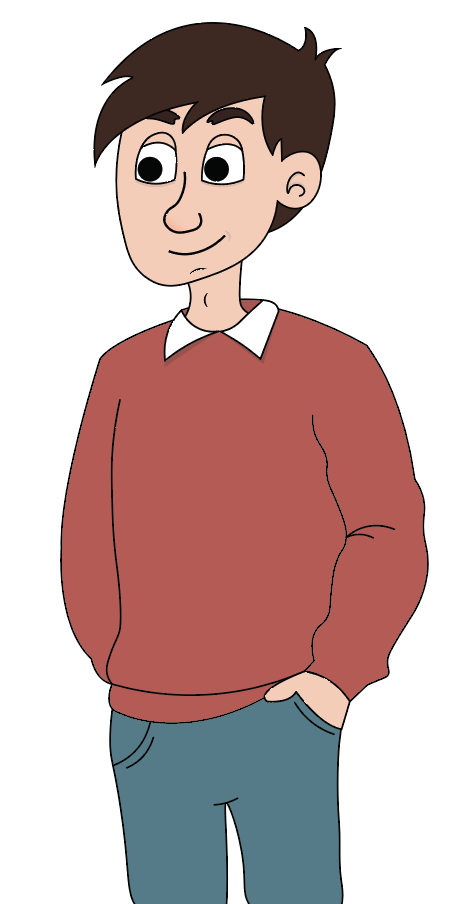
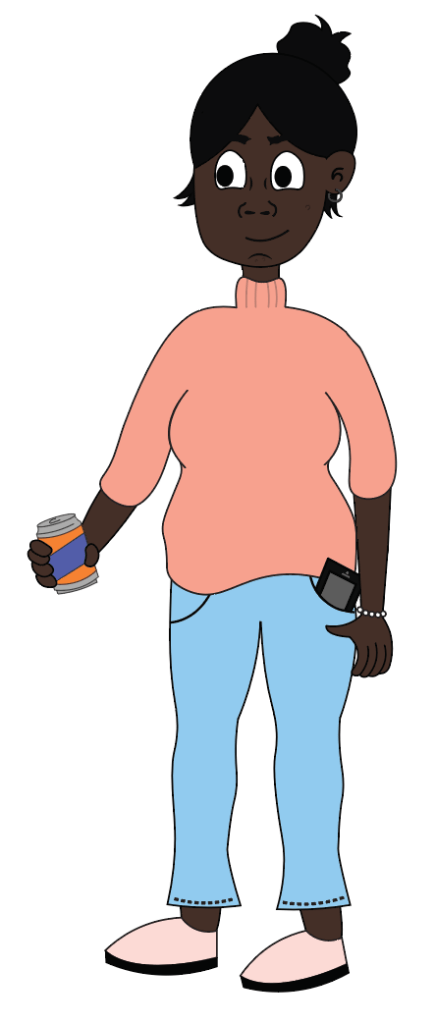
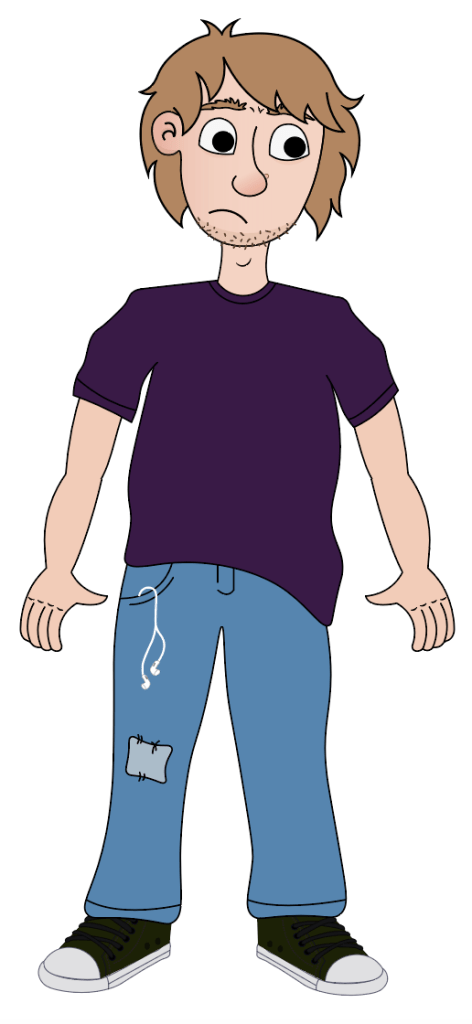
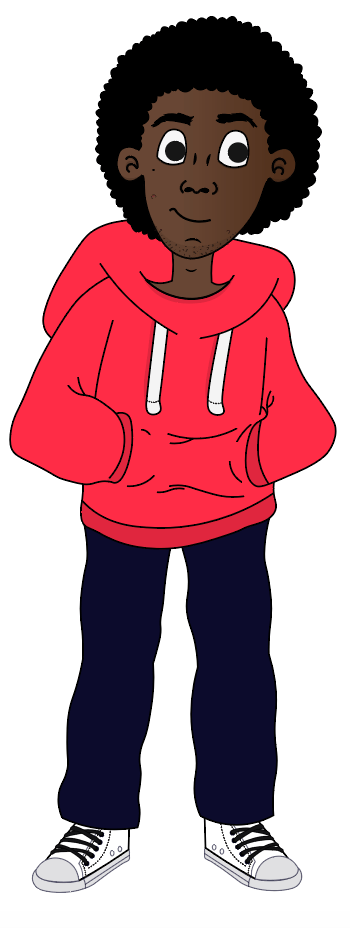
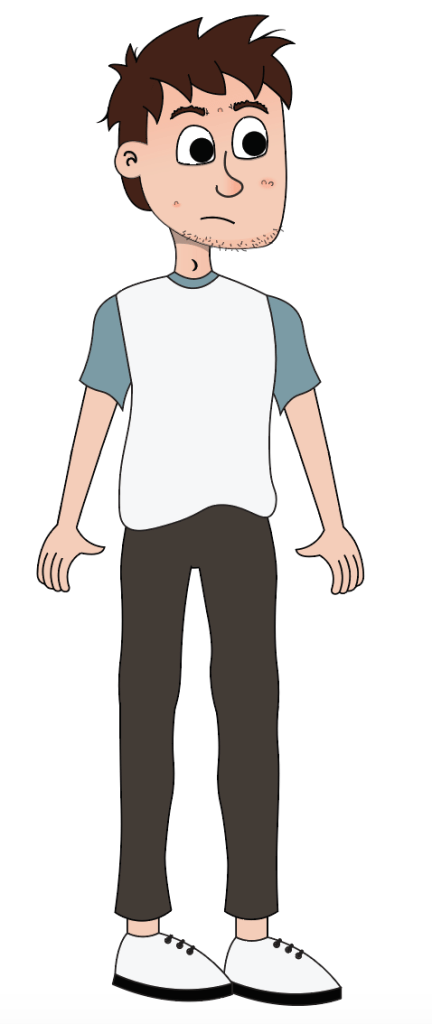
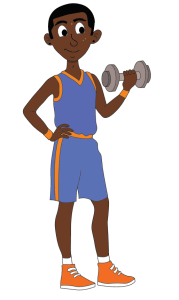
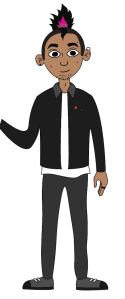
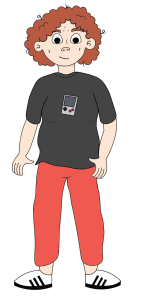
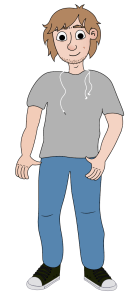
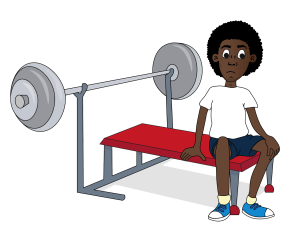
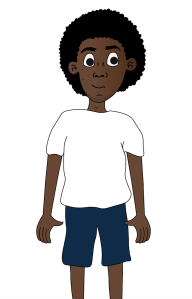
Characters
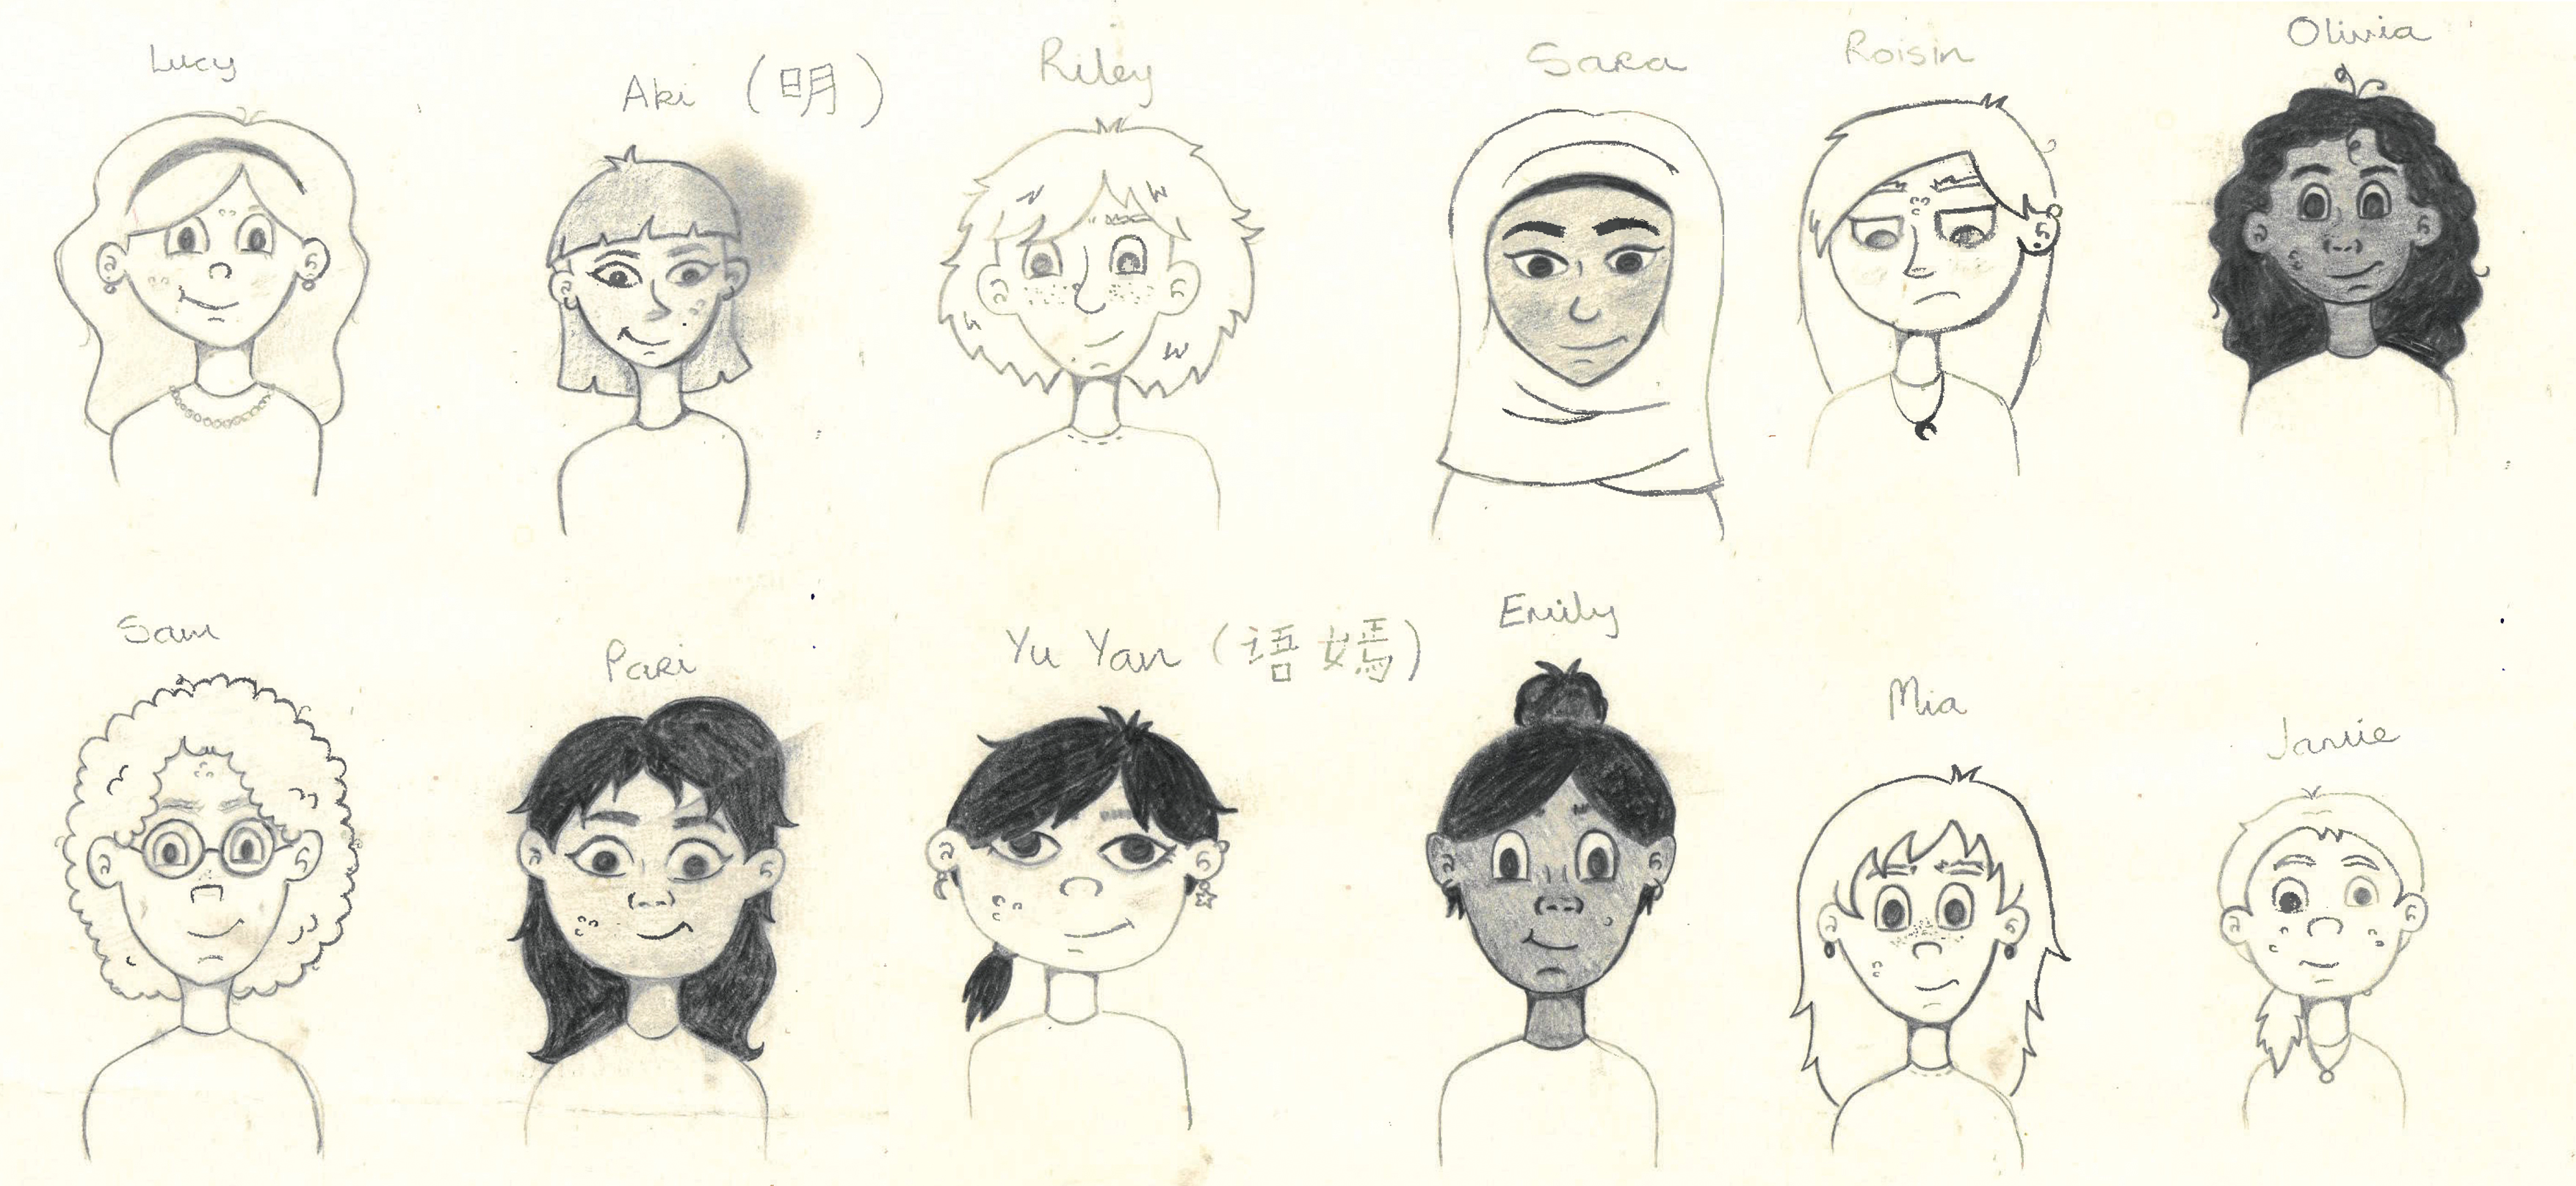
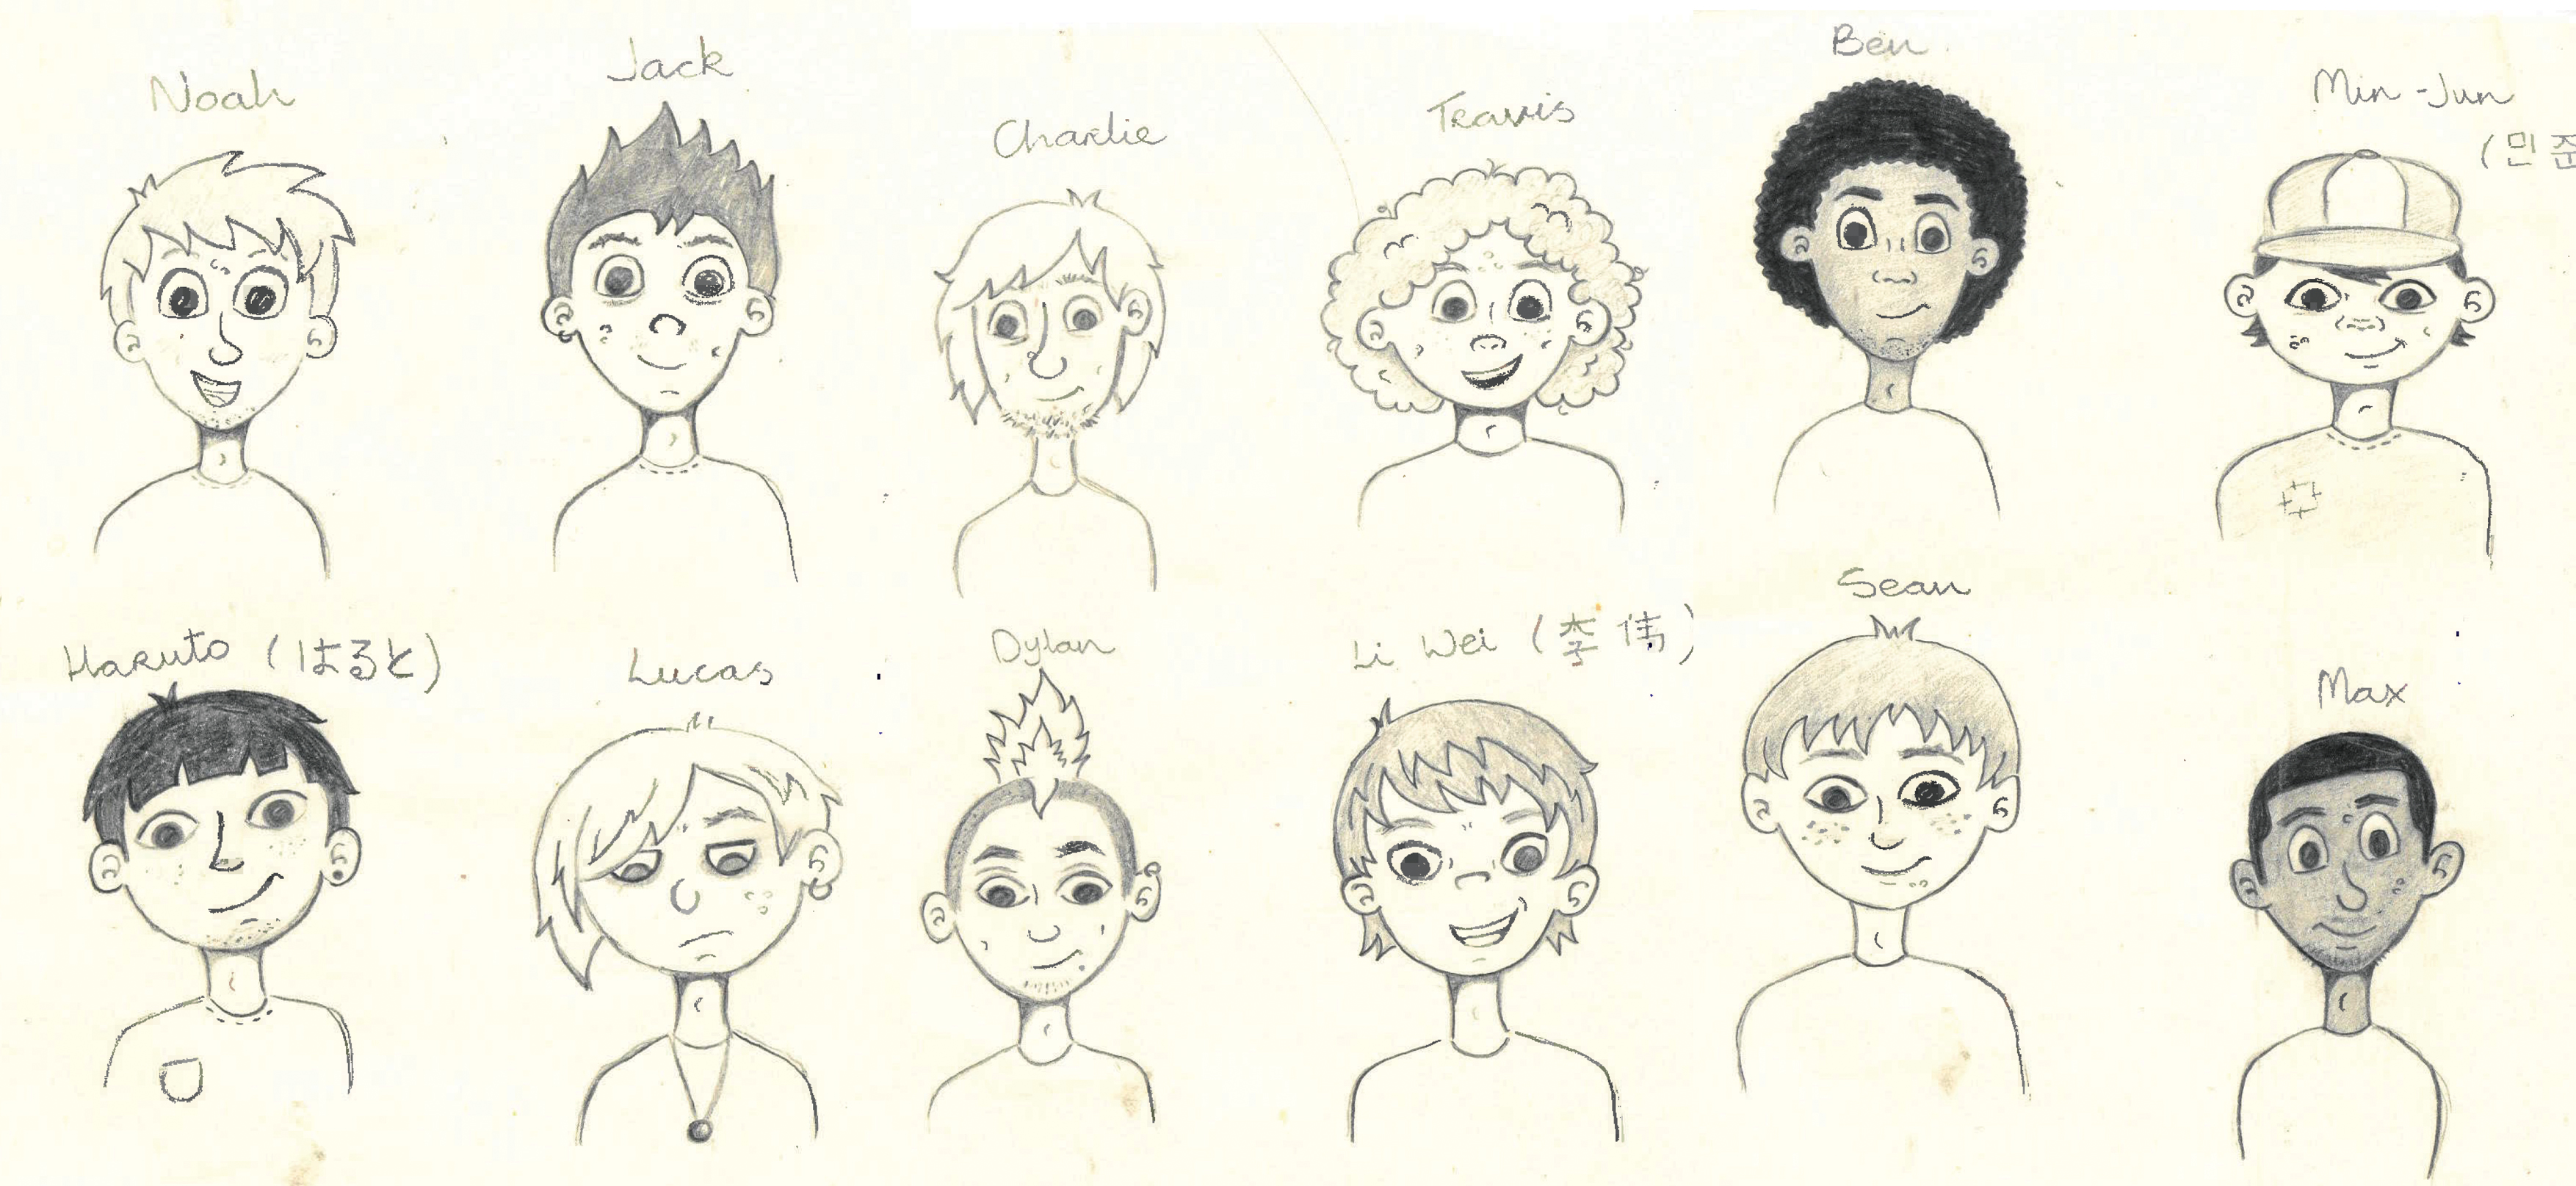


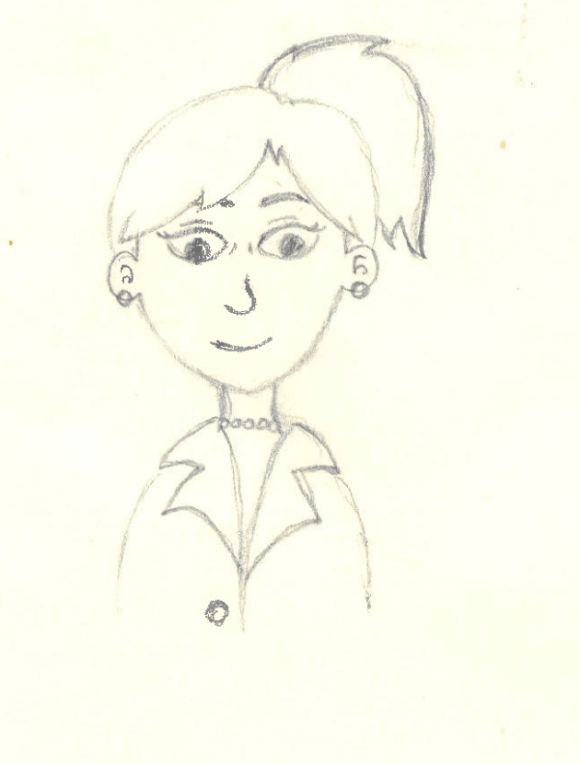
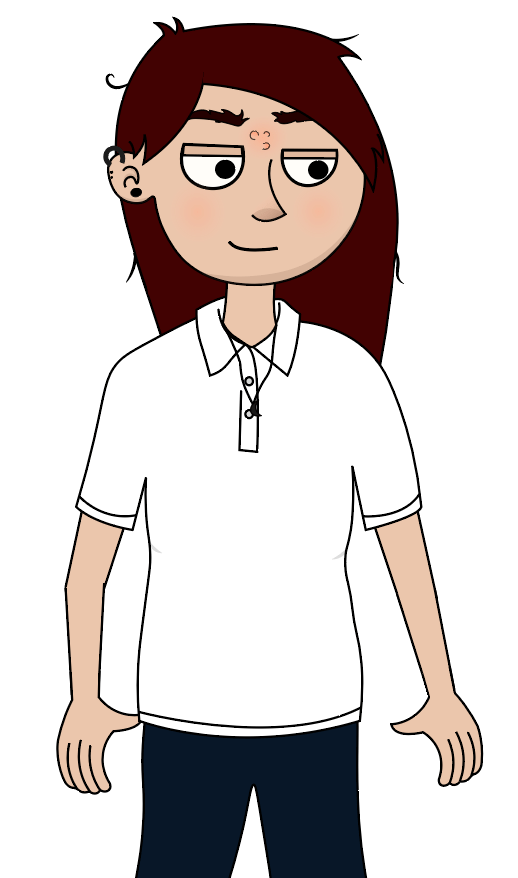
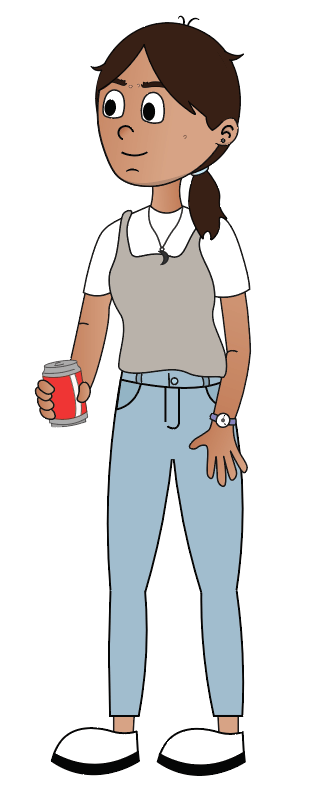
With the characters costumes I wanted it to reflect both the character’s culture and personality. I wanted the child to see themselves within the characters by the way they look and dress.


References
Naik, A. (2017). The Girl’s guide to growing up. London: Wren & Rook, an imprint of Hachette Children’s Group.
Schaefer, V. (2013). The care and keeping of you 1. American Girl Library.
Wilkinson, P. (2017). The boys’ guide to growing up. London: Wren & Rook, an imprint of Hachette Children’s Group.
Sitemap
When developing the user interface (UI) for the project “Let’s Talk” it was vital to first outline the steps a user must take to get from point A to point B when using the application. In order to create a successful and user friendly interface it was important to first develop a sitemap for the project. A sitemap is a representation of the applications pages, created to help users navigate the application. It is a hierarchy of the pages organised that will allow for the clarification of the content that needs to be created for the application, while also allowing for the elimination of any unnecessary or duplicated pages before the development phase of the application. “Most sitemaps are arranged as a flowchart. Like laying a foundation for a house, a sitemap gives your team a base to build on. It lets the team decide how best to organize the sections and individual pages of the website.” (Kathy, 2019)
It was important to develop a sitemap for the application before the development and design phase as it helped clarify the application’s aim. Outlining the content and hierarchy of pages was beneficial in ensuring that all aspects of the application supported the aim of the application, to educate children safely on puberty and sexual education. It was also beneficial in eliminating any content that was not reinforcing the applications aim. In the development of the sitemaps duplication of content became apparent, which was leading to conflicting information being portrayed. Pages and content were either combined or adapted in order to create a more successful navigation. “Take this opportunity to eliminate any clutter that might confuse or distract your customers. Clearly identifying your website’s purpose will lead to a more effective site.” (Kathy, 2019). Once the initial sitemaps were developed the next step was to create user flow diagrams in order to gauge how a user may use the site in order to eliminate any unnecessary steps that were excessive ot may lead to confusion. Developing the sitemaps for “Let’s Talk” were also beneficial in order to allow all team members to be on the same page in relation to both content creation and development of the application. In order to develop a successful UI the creation of a sitemap was necessary as it allowed for a clear and direct approach to developing the application “Let’s Talk”.

References
Kathy (2019), Why Create Sitemaps and Wireframes Before the Visual Design?, viewed 08/04/2019 via
