To start I wanted to know what was the definition of Characterisation. According to Collinsdictionary.com, characterisation is the way an author or an actor describes or shows what a character is like. Also a description of the character and their traits of their personality. (Collinsdictionary.com, 2019)
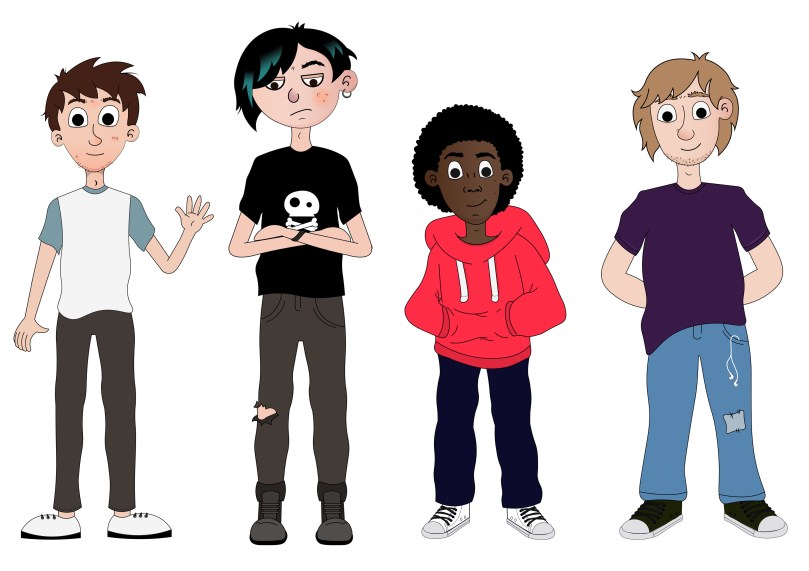
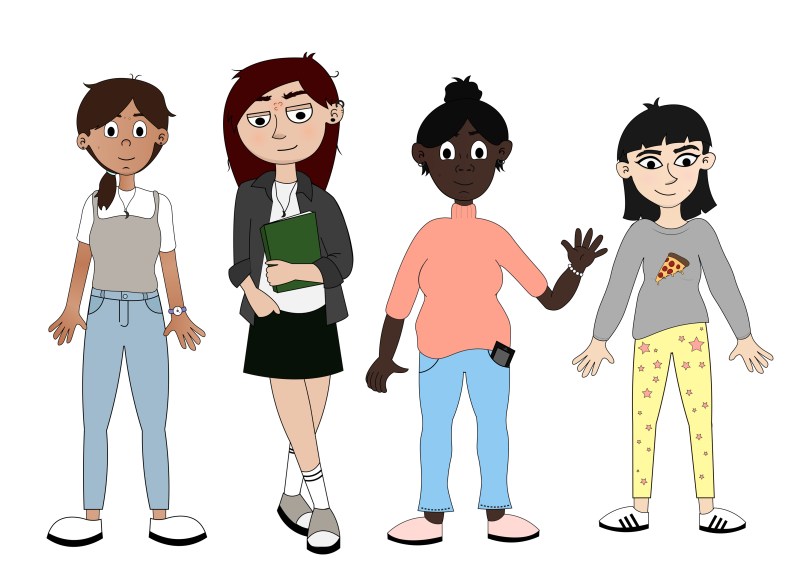
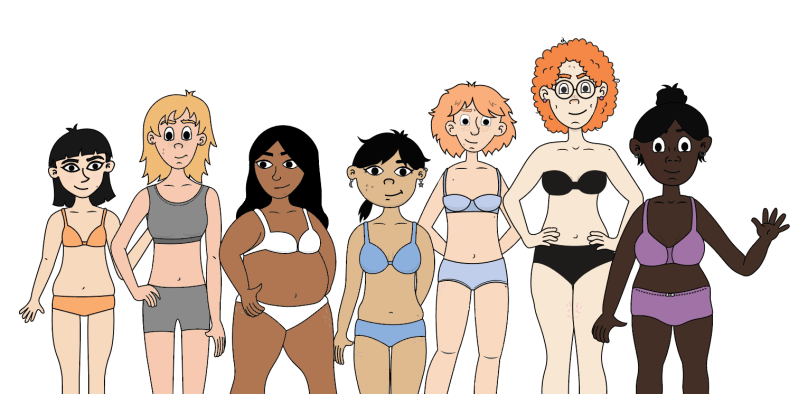
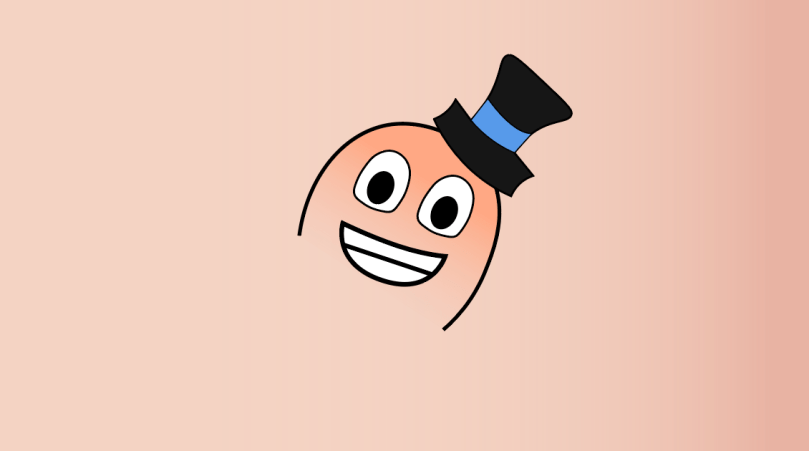
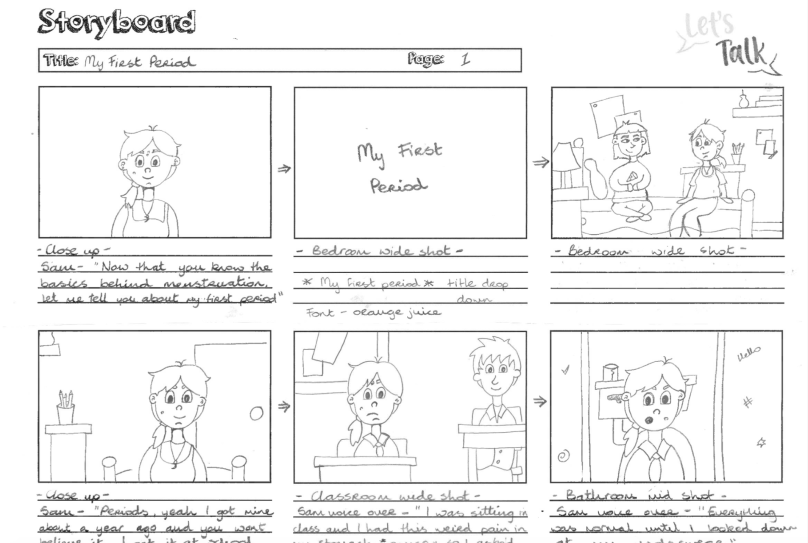
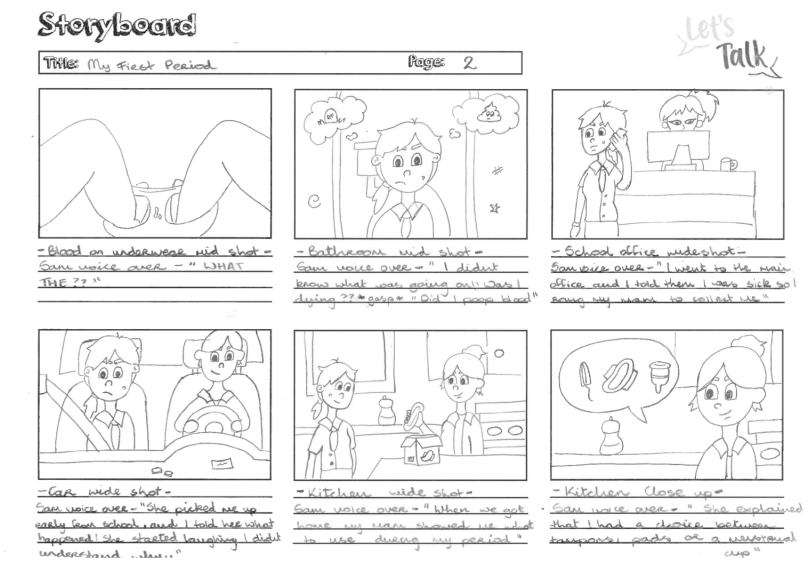
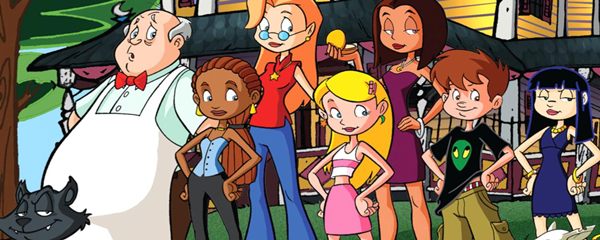
The main goal I wanted to achieve with the characters is to have them all have their own personality and look so that we can have a wide range of people represented throughout the Let’s Talk app. The important idea that everyone is unique in their own way. As our app is targeted at children aged 8-12, therefore the characters personalities will have to be relatable to that age range. My aim is to do this by having characters that have strong personality traits that are common among children of that age.
Good character design is one of the cornerstones of good animation. Designing your character properly will make their personalities jump off the screen. Your audience will know who your characters are immediately and like them. When you pair a great design with a great personality, the results can be wonderful. (Maestri, 2006, p3) I keep this idea at the forefront when I was designing the characters for the app.
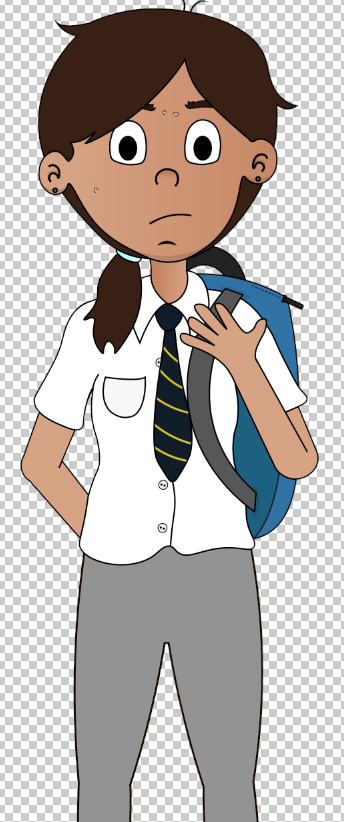
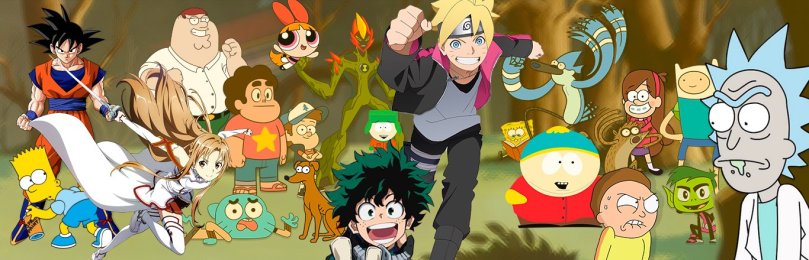
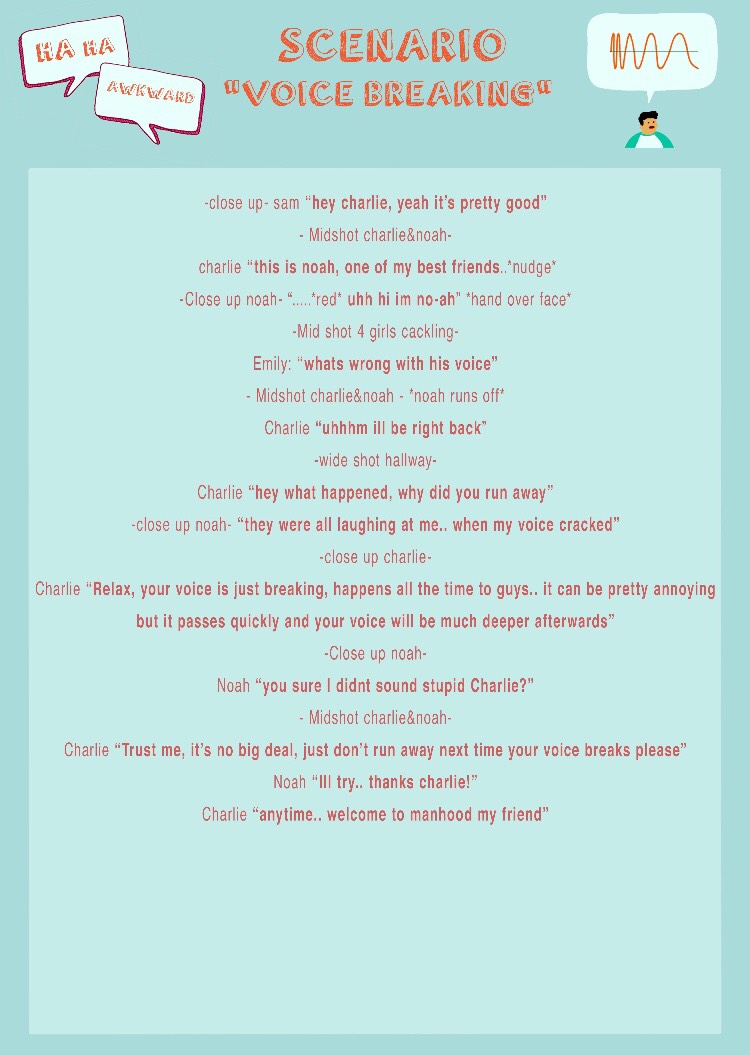
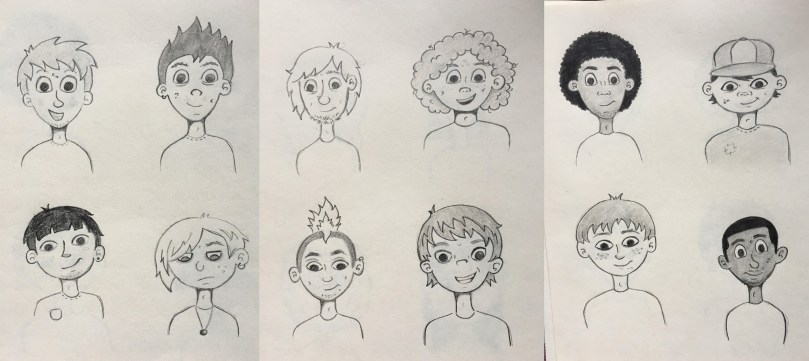
A huge part of characterisation is the way a character use their facial expressions and the way they move their body. According to UK Essays for animators gesturing parts of the body mainly the features of the head are very important when creating charactisation for their animation. The eyes, nose, mouth and ears are all vital in creating the illusion of human emotion. They say that there is a general rule when it comes to which shapes go with different characters. Such as kind gentle characters usually have soft rounded faces with wide smiles and larger eyes. I think Tweety is a good example of this idea. But for more evil villains usually have more angular features. They might have a sharp chin and smaller eyes with a crooked mouth that show a wicked grin. I think Esma from Emperors new Grove is a good example of this way to represent a villain in animation. This idea for characterisation can act as a visual shorthand for the viewer. They can optimise the impact of the character by the way they look and how they express their emotions. This helps the viewer to make connections and process the narrative about the characters easier. (UKEssays.com, 2018)
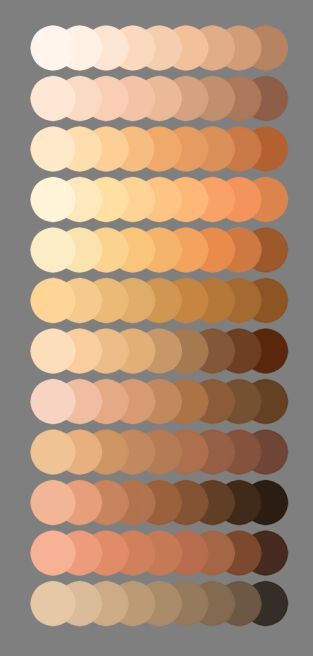
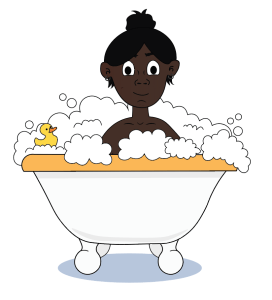
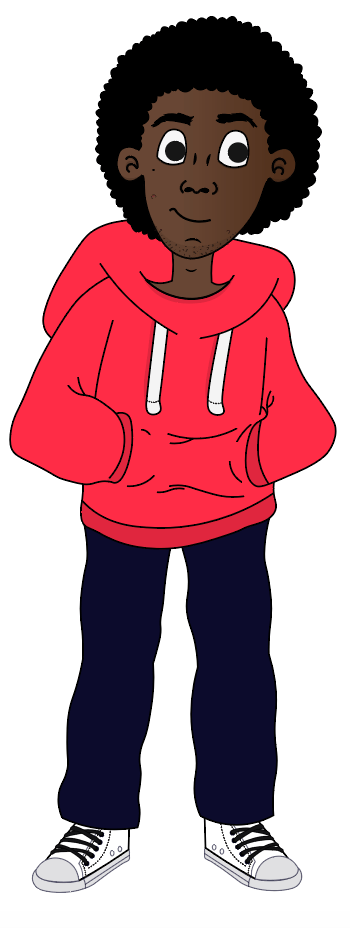
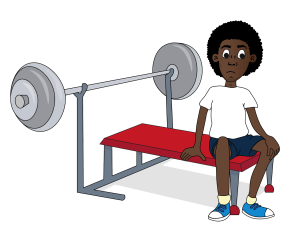
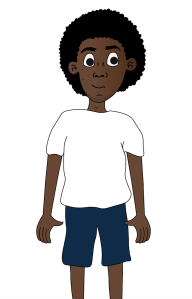
Another vital part when designing the characters was showcasing different ethnicities to make sure the characters were culturally diverse. From watching animations myself the use of different ethnicities is starting to take off with movies such as Moana and Coco. I wanted to reflect this new way of repenting all kinds of people throughout our Let’s Talk app. As puberty is a topic that effects everyone as the grow up, the idea of using a view range of characters was fundamental. Within the world of animation in the past the majority of Disney princes and princesses have been white and thin. Disney animator John Lasseter has been extremely critical about this and is trying to change this way in creative direction. He has said that “It’s very important to us to have female and ethnic characters” (Bell, 2015). So when I am designing the characters for the app I will be conscious about including a wide range of different cultures and races.
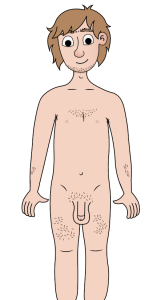
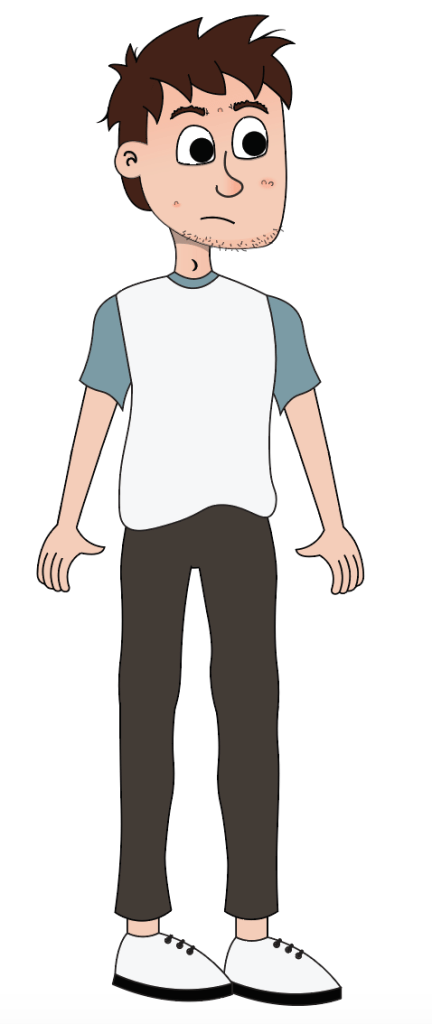
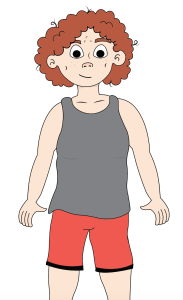
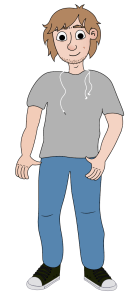
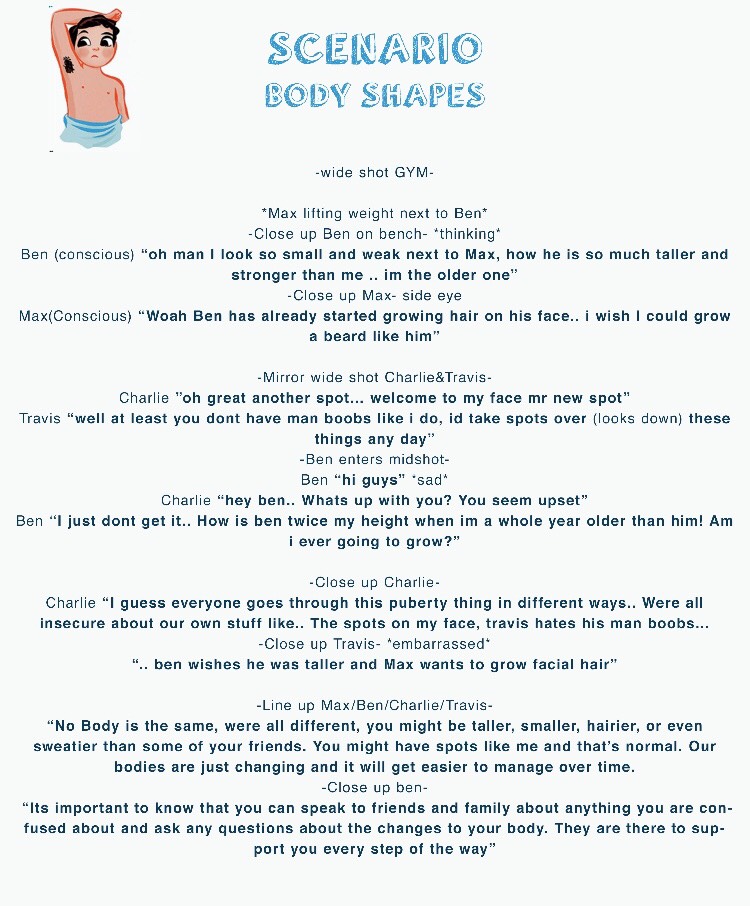
Another fundamental aspect of our character design was drawing different body shapes for boys and girls. I felt this was an important step when drawing the characters. Having a range of body types represented is a huge factor when showing that the characters were individuals.
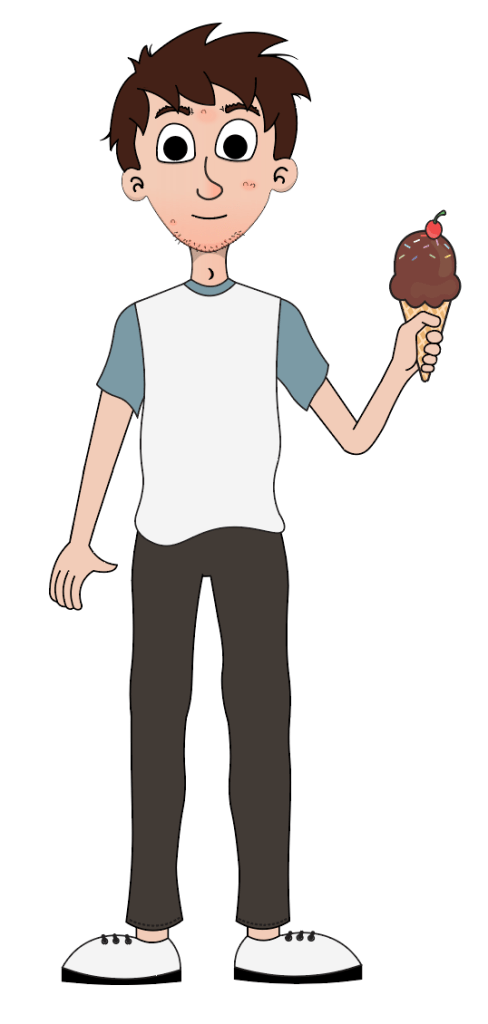
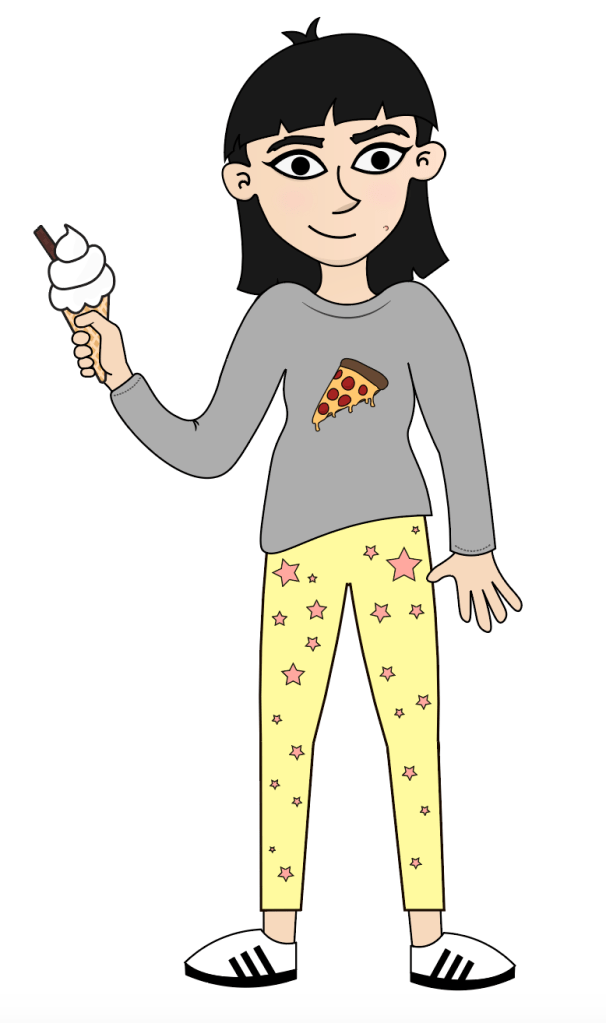
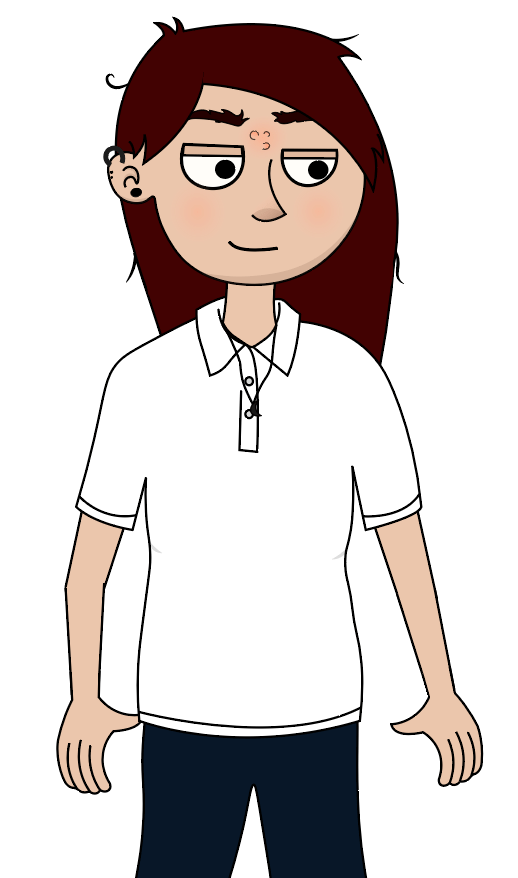
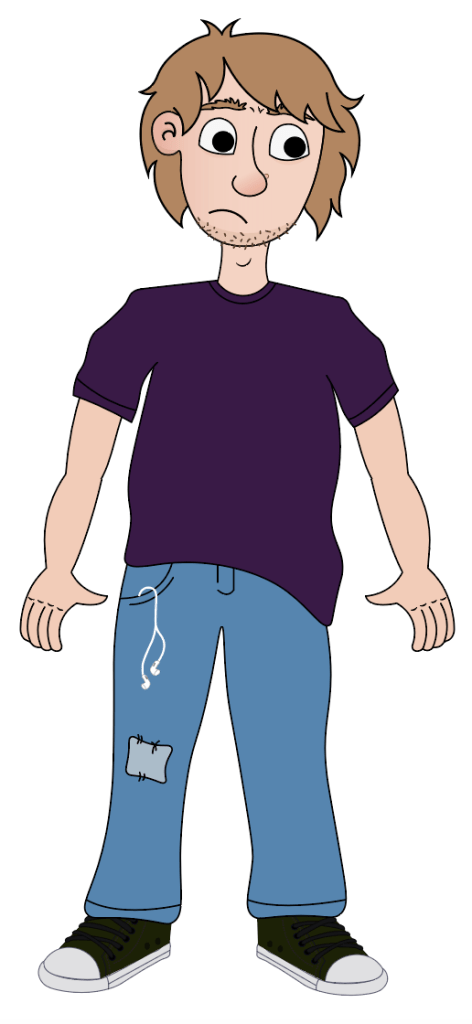
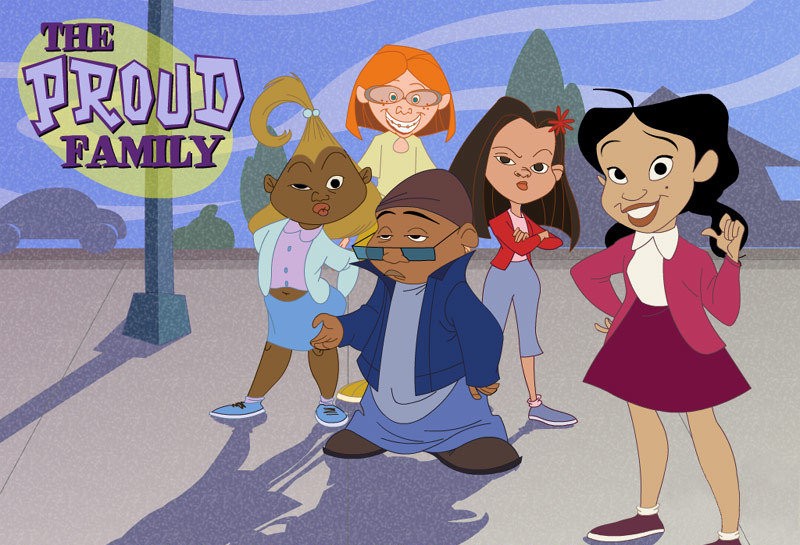
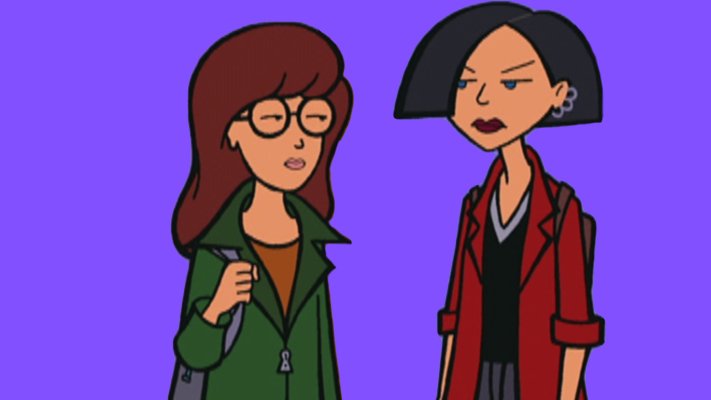
When deciding on what style I wanted for our character I looked at other characters with a similar aesthetic that I wanted to emulate through my design. Looking at animated shows such as “The Proud Family”, “Daria” and “Sabrina, the Animated Series”, they all had teenage characters and I took notes on how they were designed. When designing our range of characters creating their appeal was one of the main challenges. Having a realistic look by drawing them with imperfect skin and different body shapes was very important. I wanted to draw the characters with unique features such as big noses, spotty skin and messy hair. I also giving them their own personal style and personality which would add to their overall appeal.
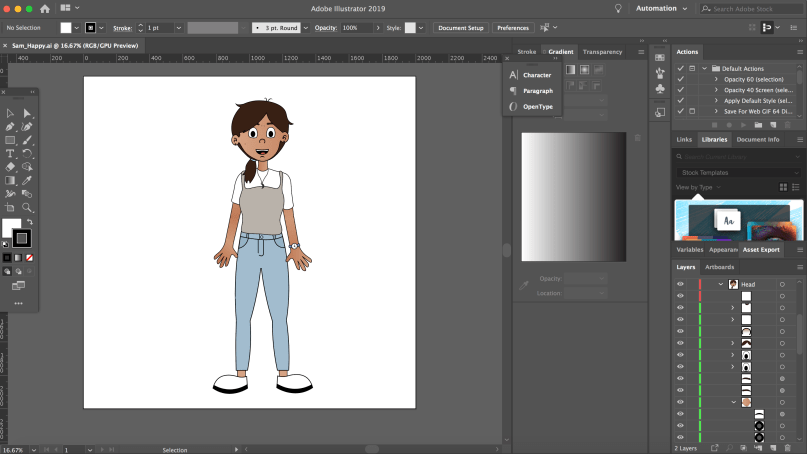
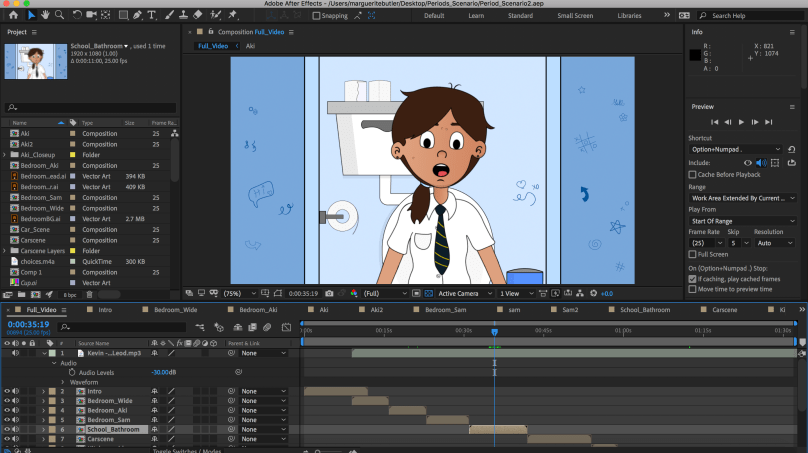
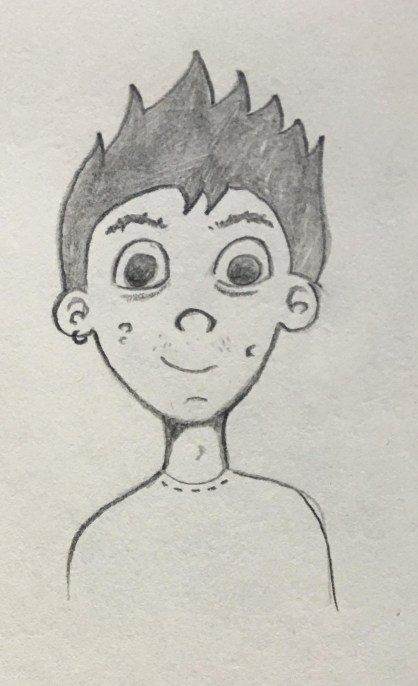
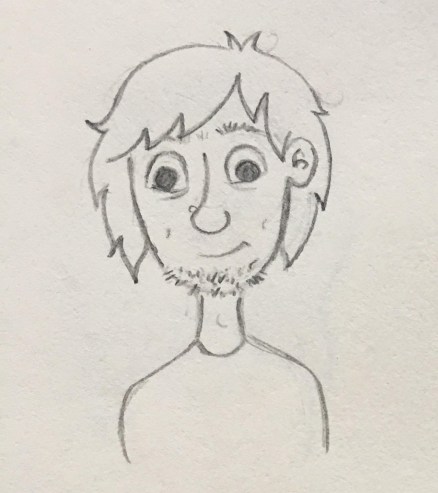
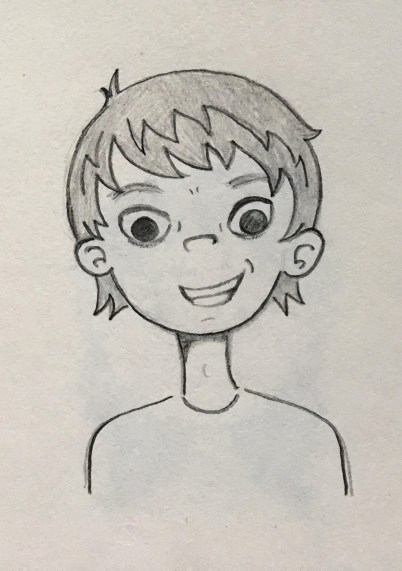
Drawing the Characters
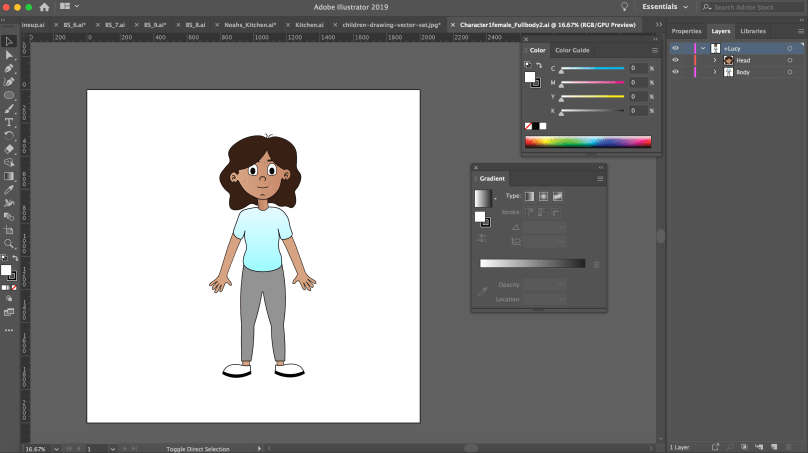
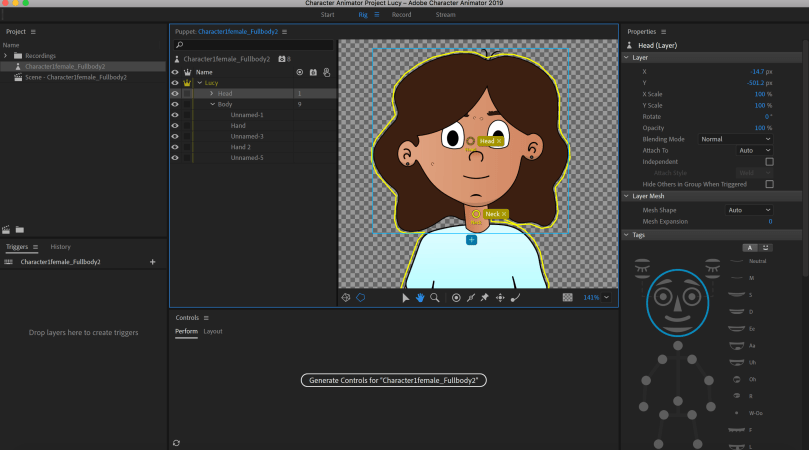
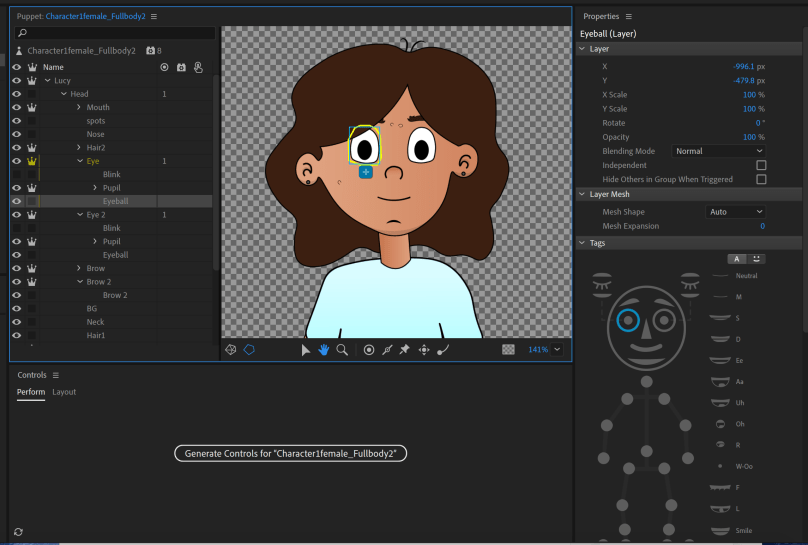
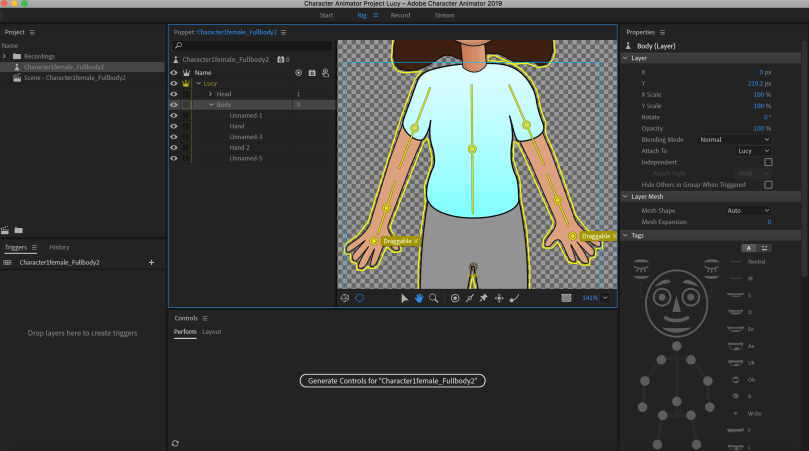
A helpful tip I got from George Maestri book was, as you design, you do need to keep technical considerations in mind. The technical limitations can affect the design and forces it to stay simple. Use the strong points of your software to your advantage, and design around you limitations. (Maestri, 2006, p7) When drawing the characters I kept this in mind. As I would be using Illustrator, Character Animate and After Effects how I drew the characters in a way that all their features where on different layers. After designing 12 male and 12 female characters, I began to give each names and their own personality traits. When choosing names for the characters I thought about their nationality and their personalities. I researched what names were culturally correct to each character. I also used some unisex names. I wanted their names to be inclusive just like their design.
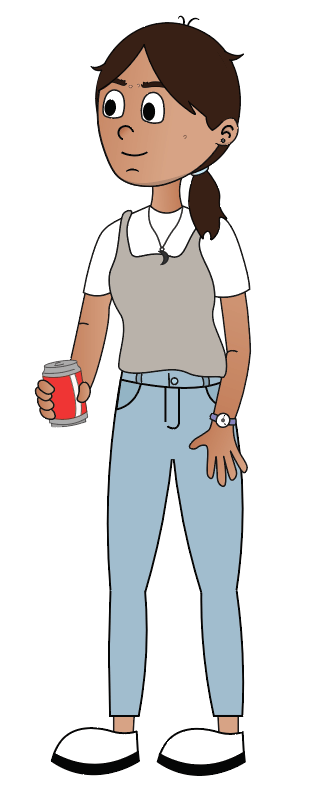
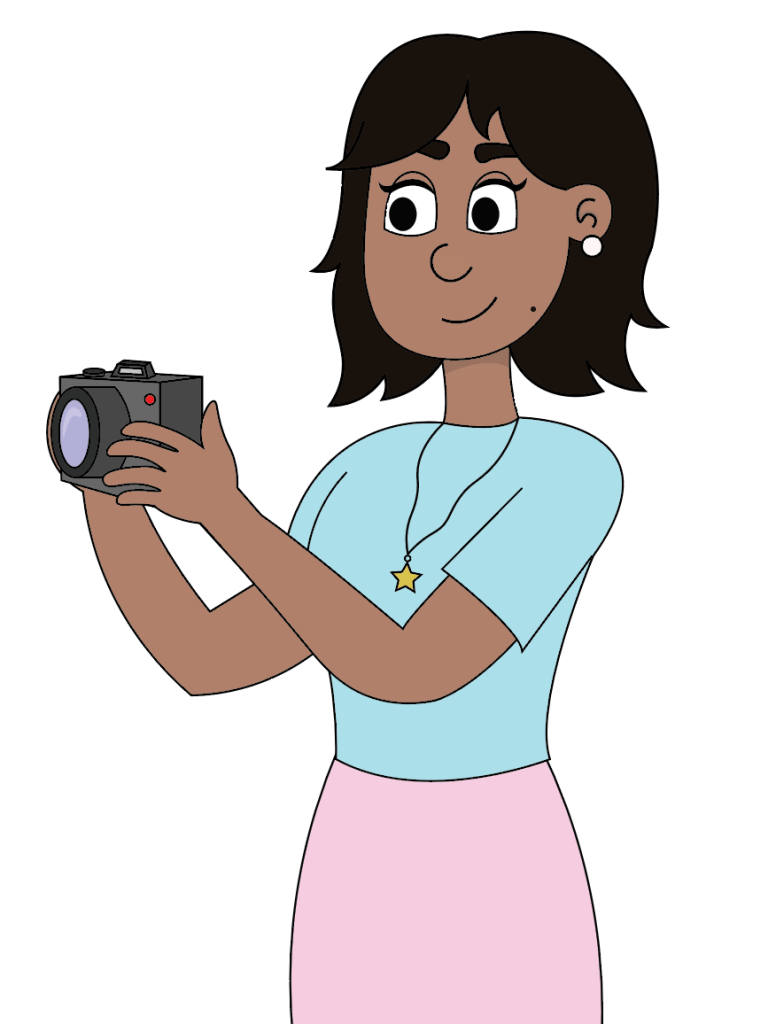
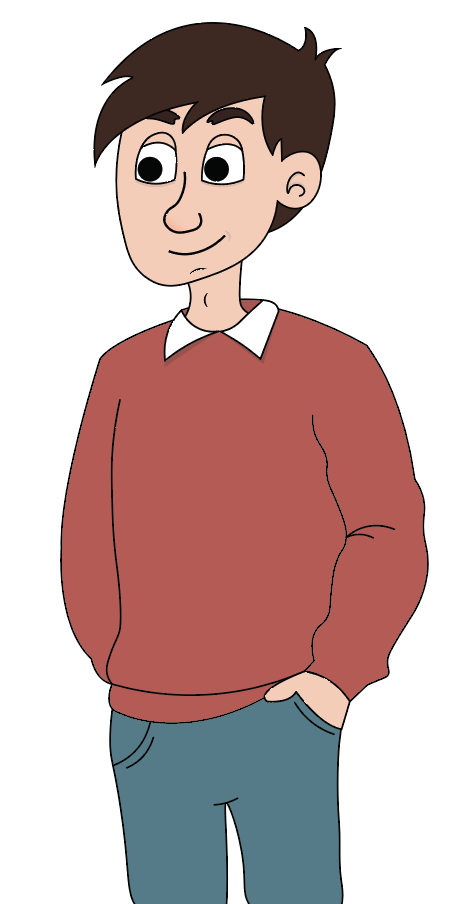
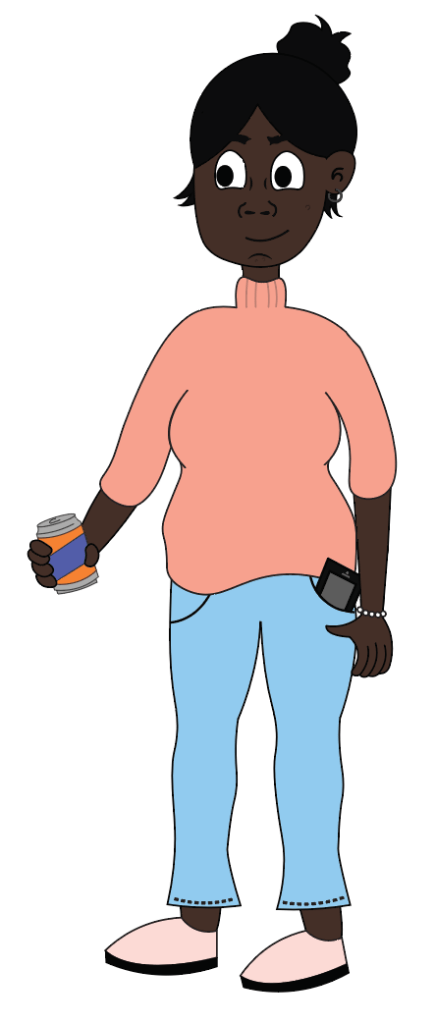
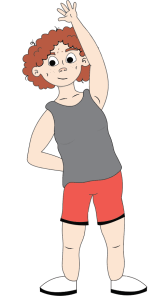
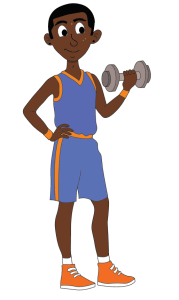
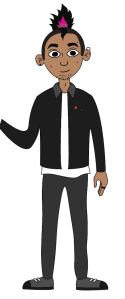
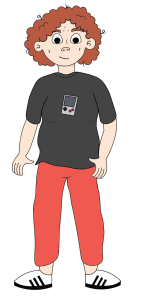
Final designs
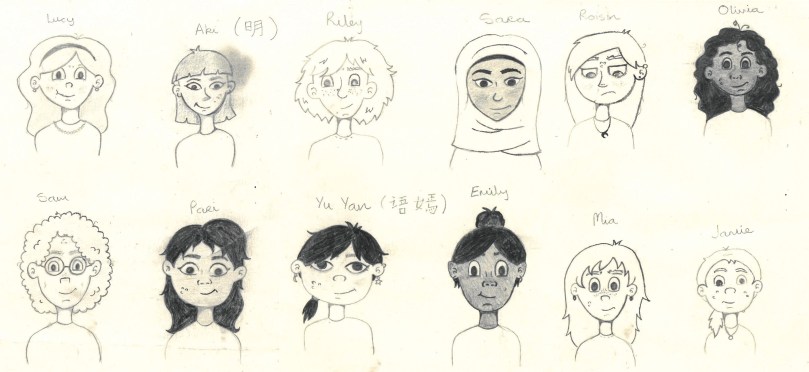
Character Profiles
Name: Lucy
Traits: Sociable, Cheerful, Questioning

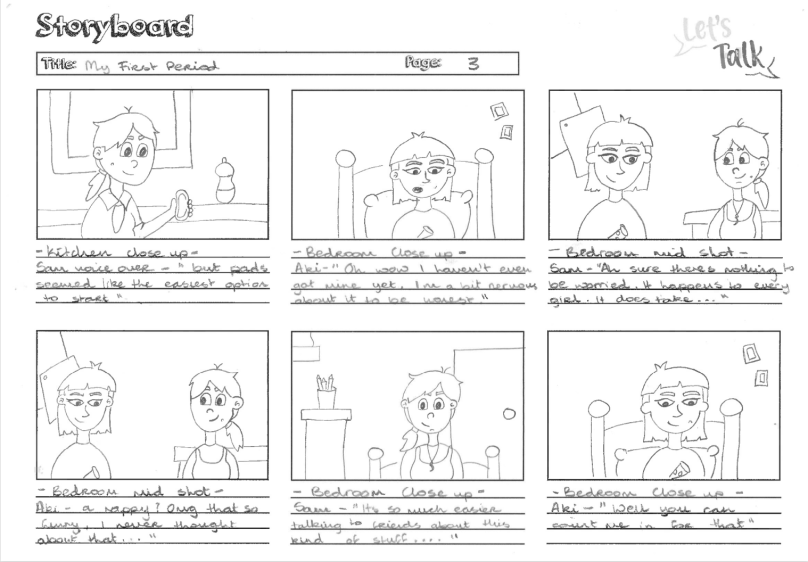
Name: Aki 明
Traits: Silly, Outgoing, Active

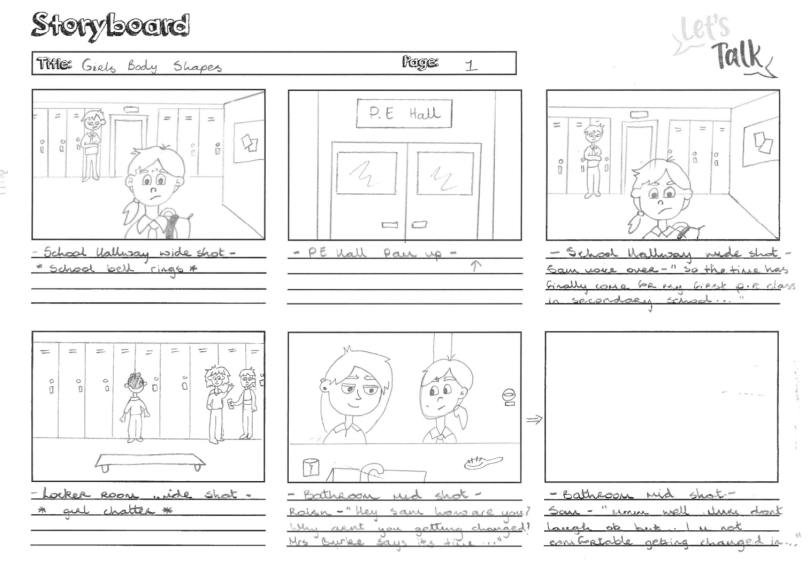
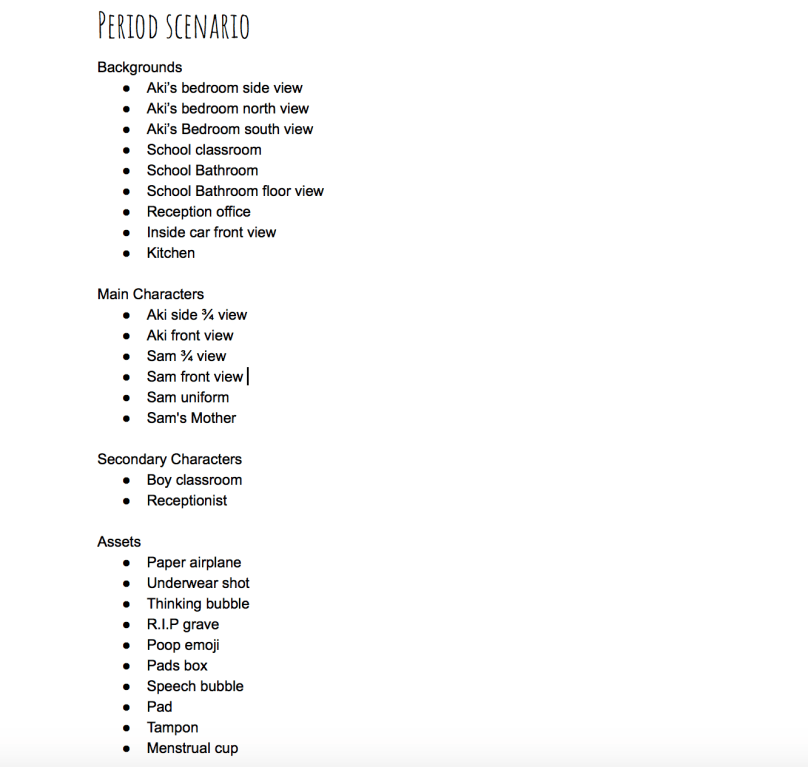
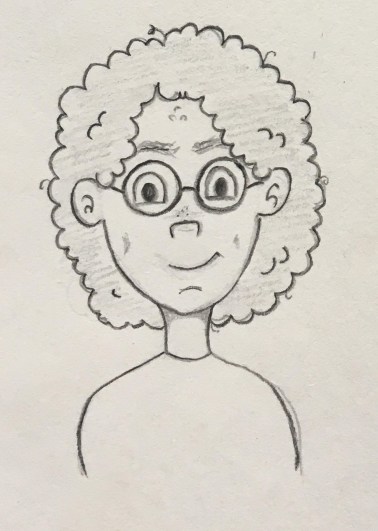
Name: Sam
Traits: Independant, Hardworking, Shy
Name: Pari
Traits: Charismatic, Generous, Impatient

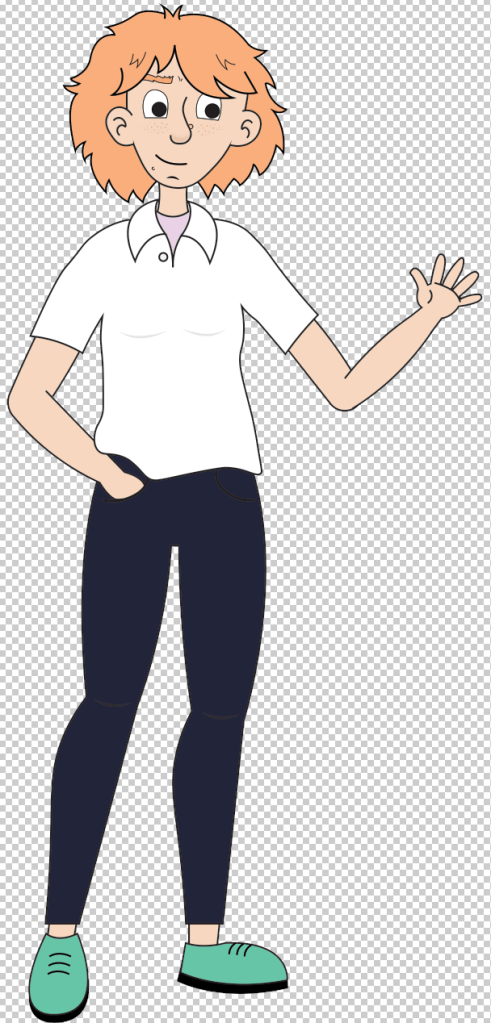
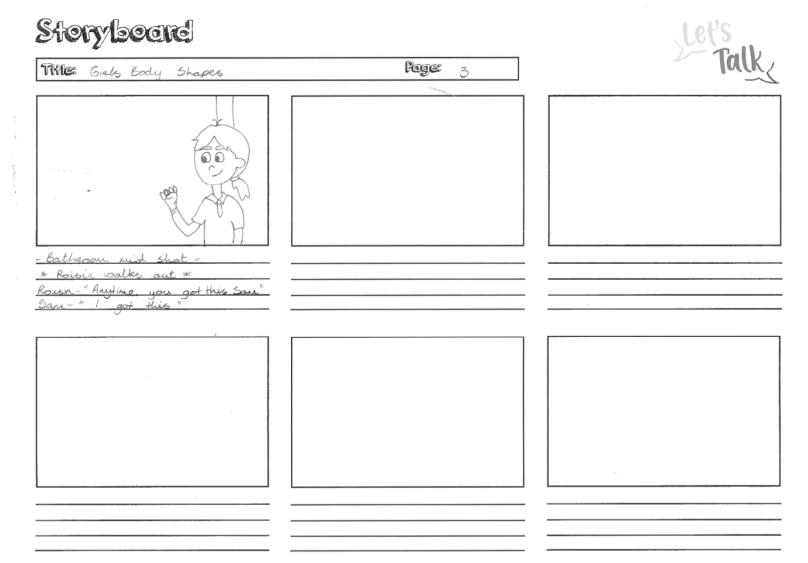
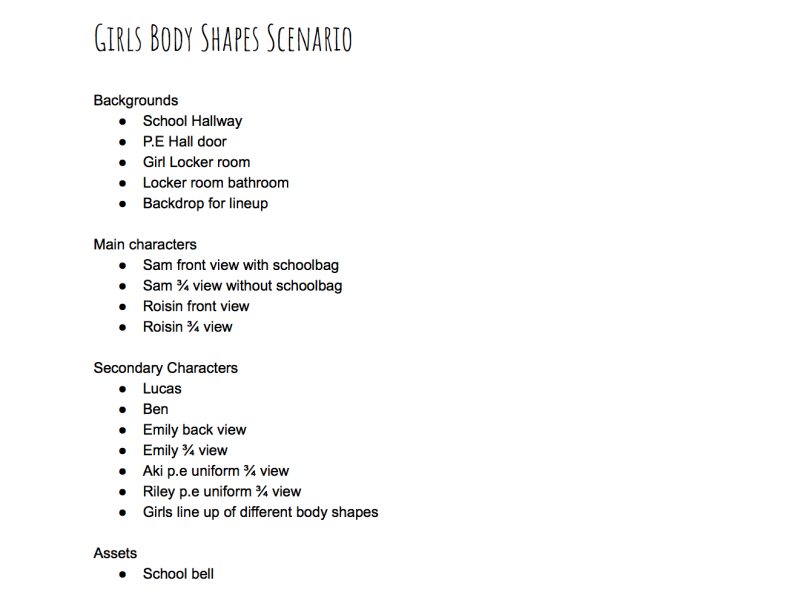
Name: Roisin
Traits: Kind, Loyal, Friendly

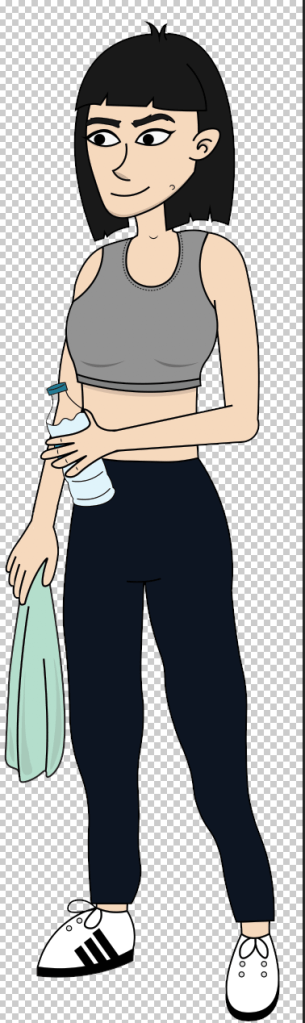
Name: Olivia
Traits: Sporty, Logical, Competitive

Name: Mia
Traits: Caring, Lyrical, Self conscious

Name: Jamie
Traits: Observant, Creative, Quite

Name: Riley
Traits: Adventurous, Humorous, Impulsive

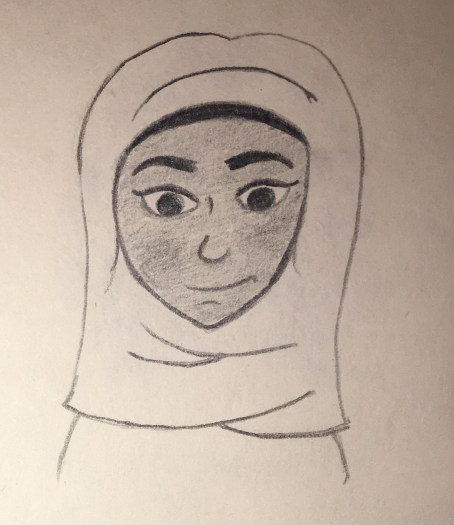
Name: Sara
Traits: Dedicated, Curious, Clumsy
Name: Yu Yun 语嫣
Traits: Imaginative, Crafty, Gullible

Name: Emily
Traits: Neat, Organised, Controlling

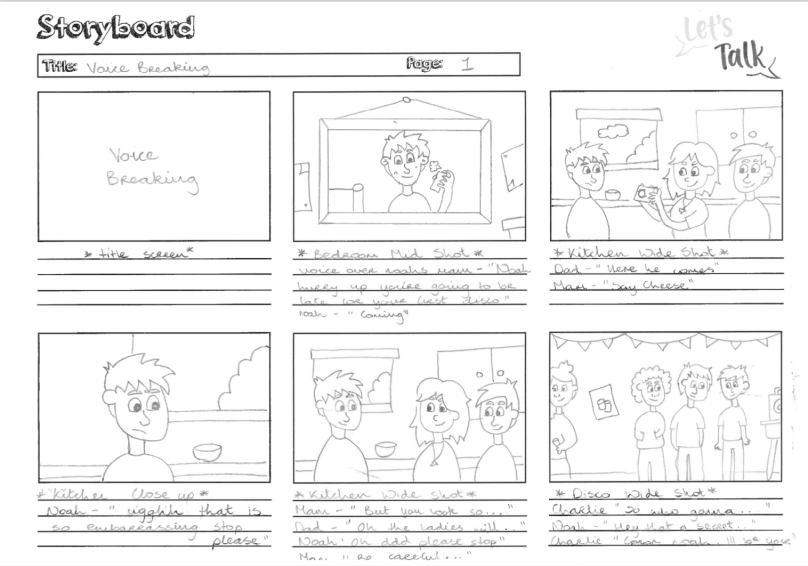
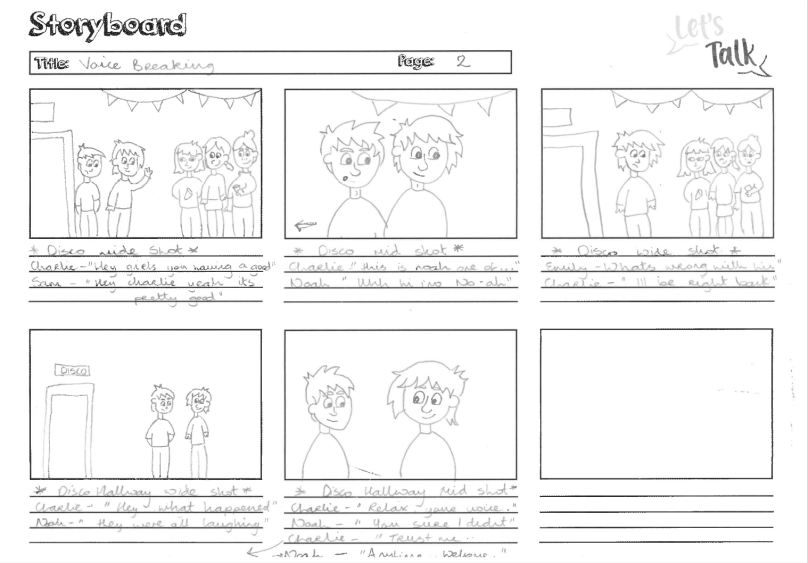
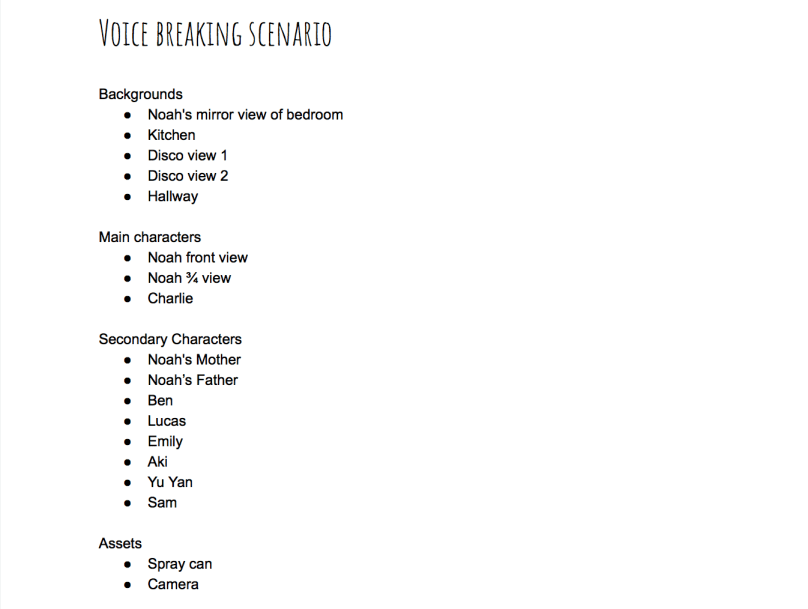
Name: Noah
Traits: Charismatic, Curious, Demanding
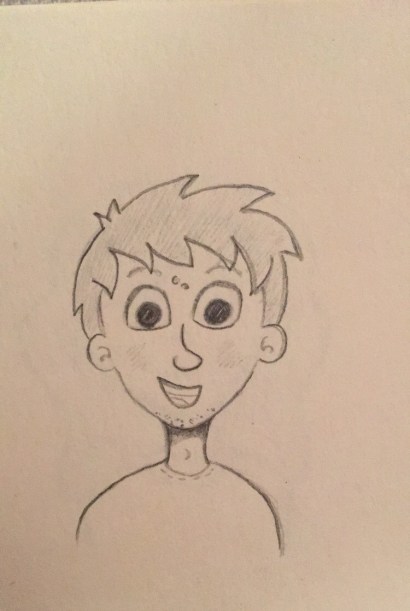
Name: Jack
Traits: Energetic, Honest, Sarcastic
Name: Haruto
Traits: Friendly, Patient, Forgetful

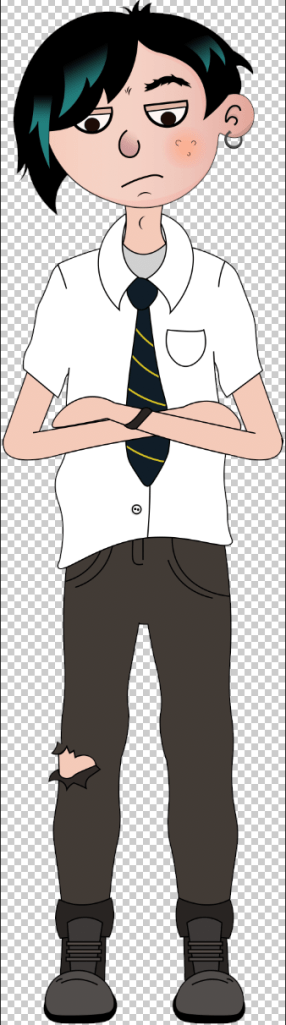
Name: Lucas
Traits: Innovative, Freethinking, Gloomy

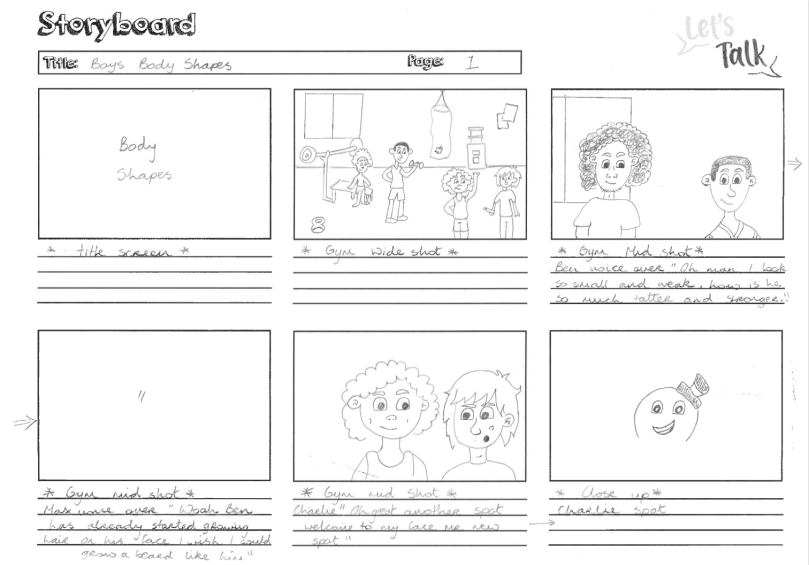
Name: Ben
Traits: Funny, Confident, Lazy

Name: Min-Jun
Traits: Sociable, Mischievous, Witty

Name: Sean
Traits: Lazy, Playful, Relaxed

Name: Max
Traits: Trusting, Genuine, Reserved

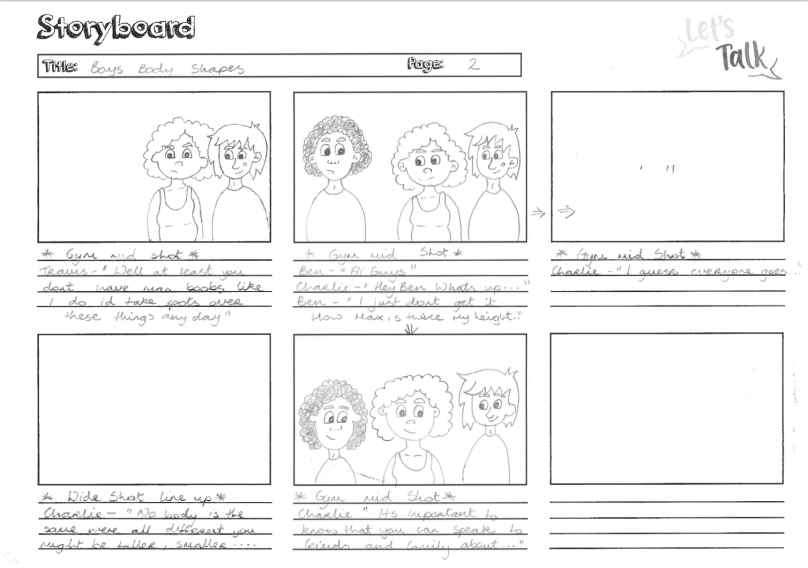
Name: Charlie
Traits: Quirky, Dependant, Selfless
Name: Travis
Traits: Sensitive, Kind, Curious

Name: Dylan
Traits: Spontaneous, Colourful, Stubborn

Name: Li Wei
Traits: Fearless, reactive, impulsive
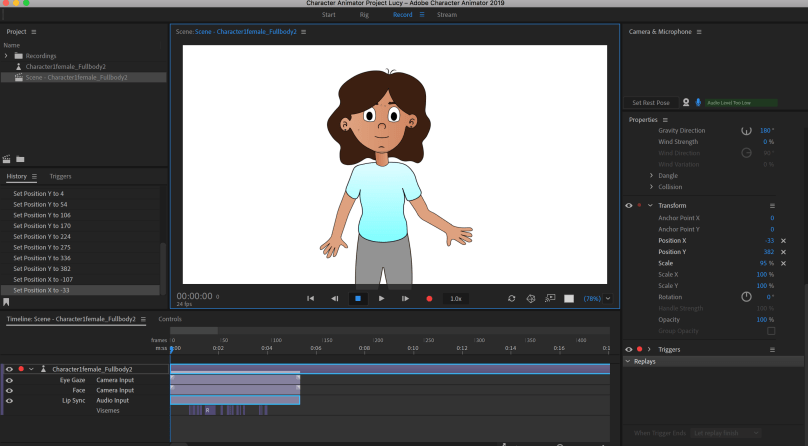
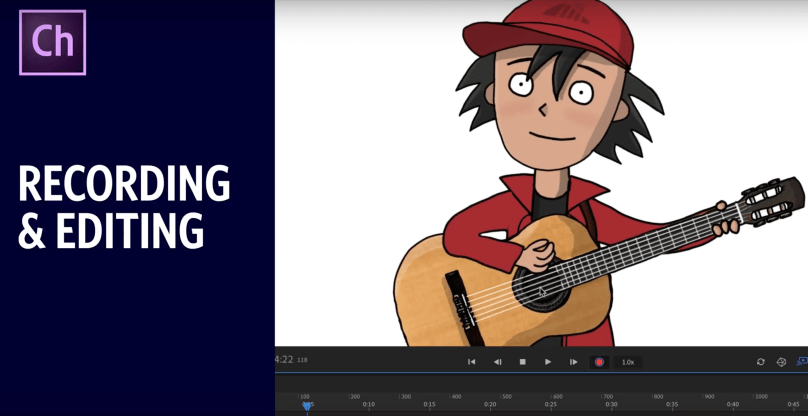
Voice acting
Having good voice acting is another way to add to the characterisation of a character. “A good script and voice performance will help your character appear real and will make their personalities pop off the screen” (Maestri, 2006, p276)
Characters characteristics and qualities are defined by a persons personality. It is also important how they use their voice. Whether the character is an introvert or extrovert arguably their voice can have a big impact on how they engage in conversation and the types of dialogue they choose to build. Their personally traits play a major role in defining their voice. So take time when deciding their personality. (Kieffer, 2018)
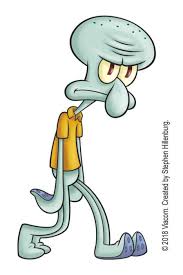
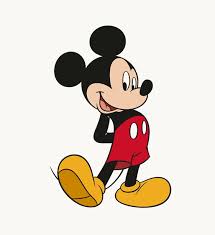
From my own knowledge characters with a distinctive voice adds to their personality. For example Squidward from the show Spongebob Square Pants has a dull drawn out voice which highlights his personality traits such as gloomy, depressed and annoyed. Another character is Mickey Mouse his hi pitch voice compliments his happy personality traits.
So when deciding what voice actors to use within the Let’s Talk app keeping this idea in the forefront of my mind will help to chose the correct voice for each character.
References
Bell, C. (2015). Here’s How Animation Is Paving The Way For A More Diverse Hollywood. [online] MTV News. Available at: http://www.mtv.com/news/2244276/animation-diversity-hollywood/ [Accessed 26 Feb. 2019].
Collinsdictionary.com. (2019). Characterization definition and meaning | Collins English Dictionary. [online] Available at: https://www.collinsdictionary.com/dictionary/english/characterization [Accessed 27 Feb. 2019].
Kieffer, K. (2018). How to define your characters unique voice. [Blog] Well-storied. Available at: https://www.well-storied.com/blog/how-to-define-your-characters-unique-voice [Accessed 6 Mar. 2019].
Maestri, G. (2006). Digital character animation 3. Berkeley, Calif.: New Riders, p.3. p.7 p.276
UKEssays.com. (2018). Characterisation in 2D Animations. [online] Available at: https://www.ukessays.com/essays/animation/characterisation-in-2d-animation.php#citethis [Accessed 26 Feb. 2019].